


40
Attaching/Removing the Projection Lens
Attaching/Removing the Projection Lens
• Turn off the projector and disconnect the AC power cord from a wall outlet before you remove/
attach the projection lens.
• Be careful not to drop the projection lens.
• Avoid removing/attaching the lens with the projector installed suspended from a ceiling.
• Avoid touching the lens surface.
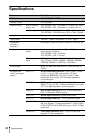
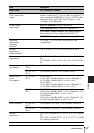
• For usable projection lenses and a lens adapter, see “Specifications” (page 46).
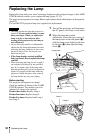
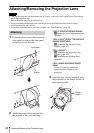
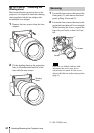
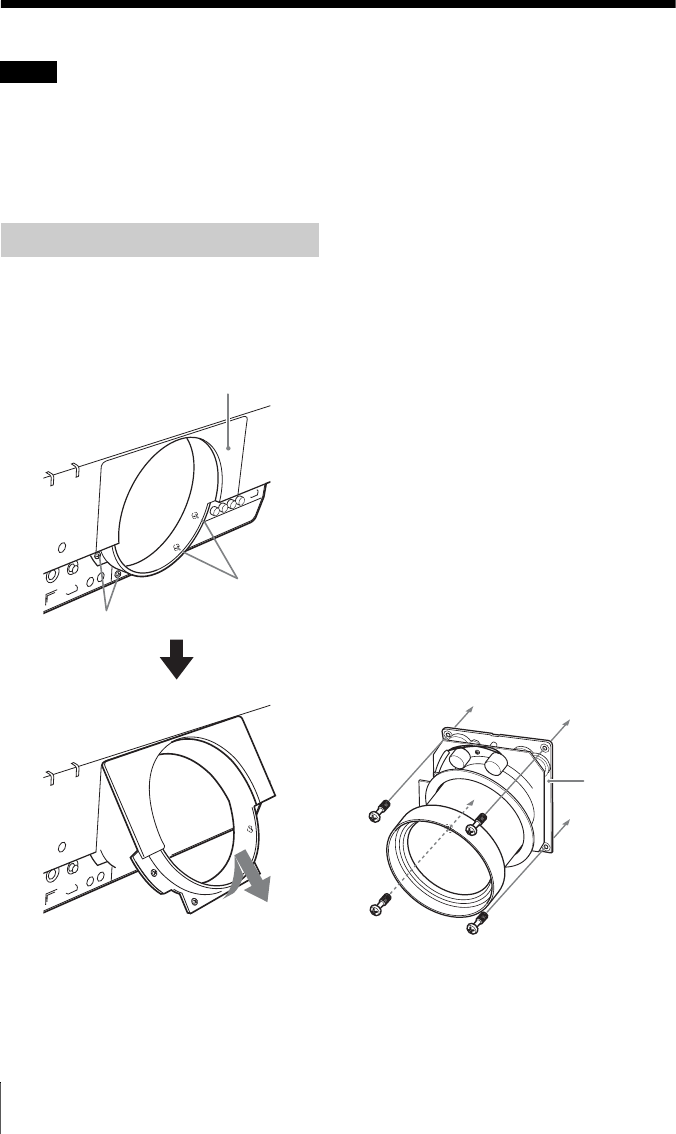
1 Loosen the four screws that secure the
front panel to remove the front panel
in the direction of the front.
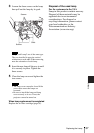
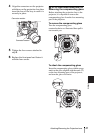
2 Make the preparations required for
the projection lens you are using.
VPLL-FM22/ZM32/ZM42/ZM102:
A Removing the compensating glass
(page 41)
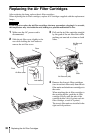
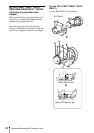
VPLL-FM21
*1
/ZM31
*1
/ZP41/FM22/
ZM32/ZM42/ZM102:
B Attaching the projection lens
adapter (page 42)
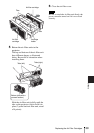
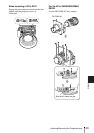
VPLL-ZM101
*1
:
B Attaching the projection lens
adapter (page 42)
C Attaching the shading sheet
(page 44)
VPLL-4008/Z4015/Z4019/Z4025/
Z4045
There is no need to attach the
projection lens adapter to the
projector.
3 Insert the four screws (supplied with
the projector) to the flange section of
the projection lens.
Notes
Attaching
Front panel
Screws
Screws
Flange
section