


44
Attaching/Removing the Projection Lens
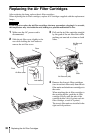
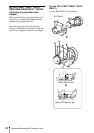
C VPLL-ZM101*
1
: Attaching the
shading sheet
Before attaching the projection lens to the
projector, it is required to attach the shading
sheet supplied with the lens adapter after
attaching the lens adapter.
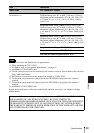
1 Remove the two screws from the lens
adapter.
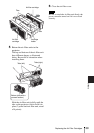
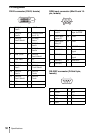
2 Fit the shading sheet to the projection
lens as illustrated and fasten it to the
lens with the two screws.
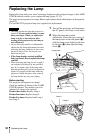
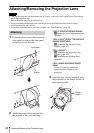
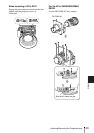
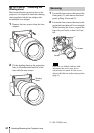
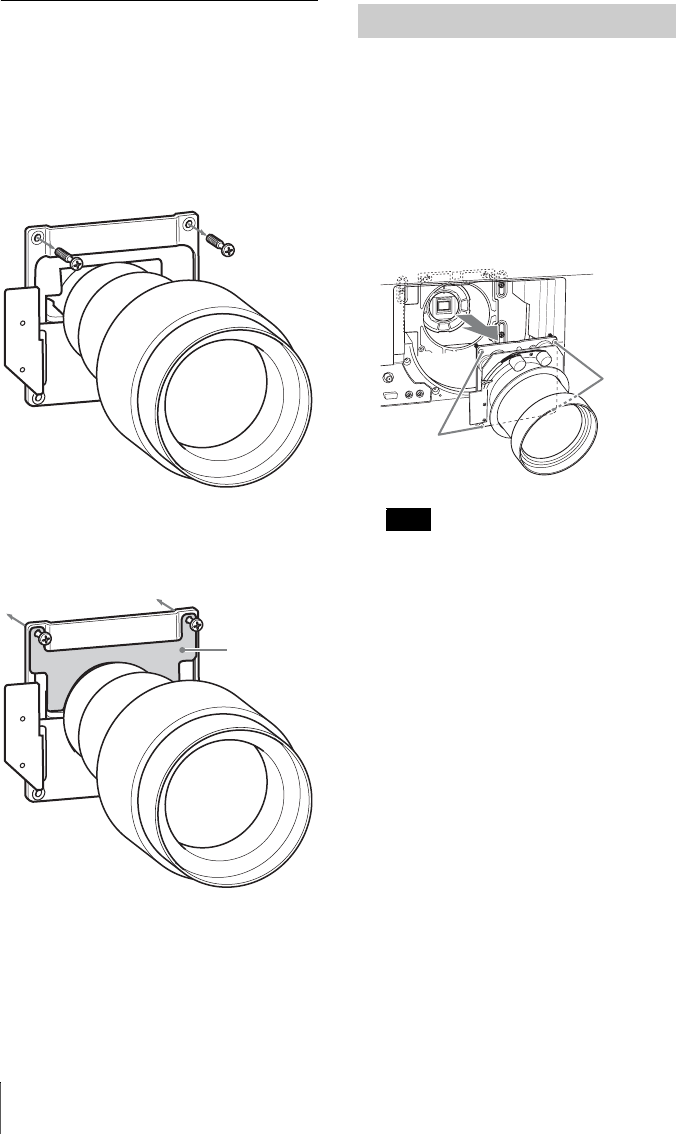
1 Loosen the four screws that secure the
front panel (1), and remove the front
panel, pulling it forward (2).
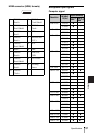
2 Loosen the four screws that secure the
projection lens then pull it out straight.
When loosening the screws, support the
lens with your hands so that it will not
fall.
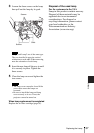
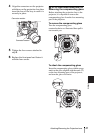
If the lens was shifted with lens shift
adjustment, the screws may be too
constricted to loosened. In such a case,
adjust to shift the lens to the center position
(page 13).
*1: VPL-FX500L only.
Shading
sheet
Removing
Note
Screws
Screws