


43
Cleaning the Air Filter
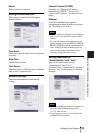
Maintenance
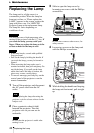
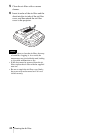
6 Insert the new lamp all the way in until
it is securely in place. Tighten the two
screws. Fold down the handle.
• Be careful not to touch the glass surface
of the lamp.
• The power will not turn on if the lamp is
not secured properly.
• When attaching the lamp, be careful not
to overtighten the screws.
7 Close the lamp cover and tighten the
screw.
Be sure to attach the lamp cover securely
as it was. If not, the projector cannot be
turned on.
8 Turn the projector back over.
9 Connect the power cord and turn the
projector to standby mode.
10Press the following keys on the
control panel in the following
sequence for less than five seconds:
RESET, <, ,, ENTER.
Do not put your hands into the lamp
replacement spot, or not fall any liquid or
object into it to avoid electrical shock or fire.
Disposal of the used lamp
For the customers in the USA
Lamp in this product contains mercury.
Disposal of these materials may be regulated
due to environmental considerations. For
disposal or recycling information, please
contact your local authorities or the
Electronic Industries Alliance
(www.eiae.org).
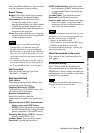
Cleaning the Air
Filter
The air filter should be cleaned whenever
you replace the lamp.
Remove all traces of dust from the outside of
the ventilation holes with a vacuum cleaner.
The time needed to clean the air filter will
vary depending on the environment and
on how the projector is used.
When it becomes difficult to remove the dust
from the filter with a vacuum cleaner,
remove the air filter and clean it.
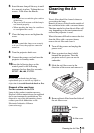
1 Turn off the power and unplug the
power cord.
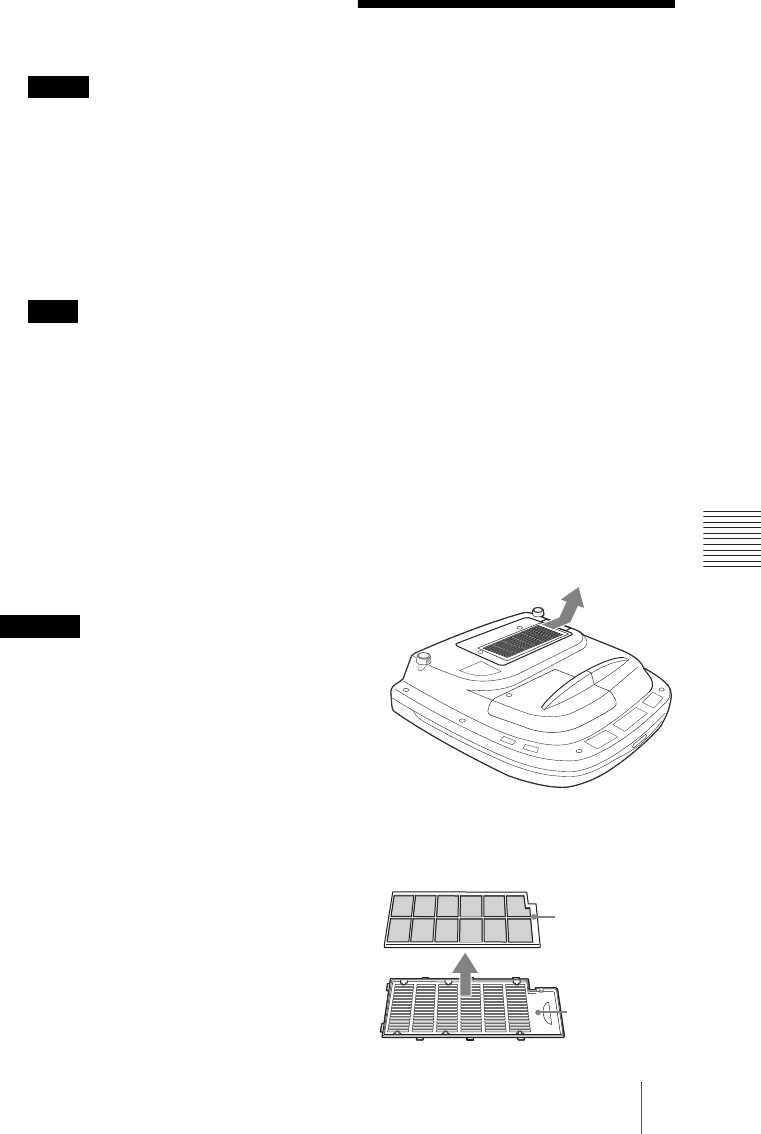
2 Place a protective sheet (cloth)
beneath the projector. Turn the
projector over so you can see its
underside.
3 Slide the air filter cover in the
direction of the arrow and remove it.
4 Remove the air filter from the 6 tabs of
the air filter cover.
Notes
Note
Caution
Air filter
Air filter cover