


17
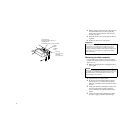
❏ Close the tractor covers. At this point you can
make final adjustments to the paper position by
releasing the gray levers and moving the tractors.
The paper should lie flat with no buckling or
bulging (tractors too close) or no stretching or
elongation of the holes (tractors too far apart).
After making these adjustments, be sure that you
re-lock the tractors by pushing the gray levers
back into their original positions.
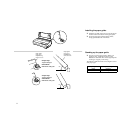
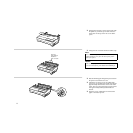
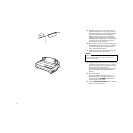
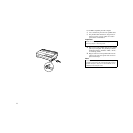
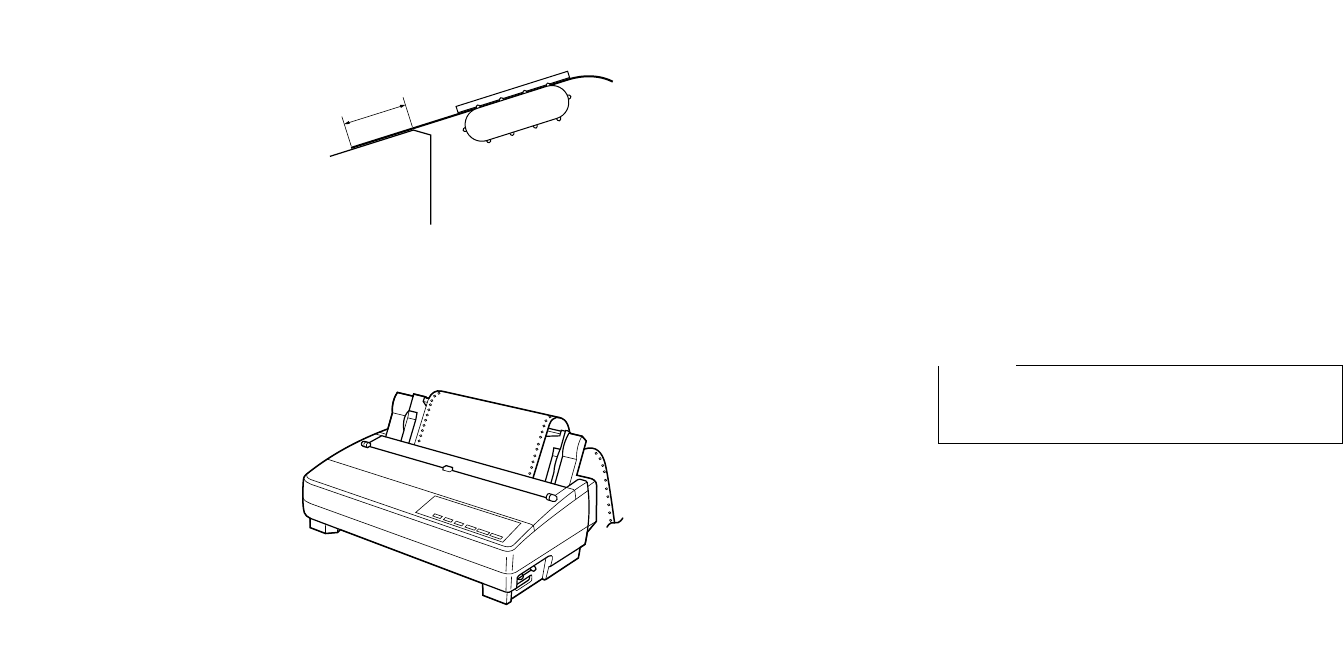
❏ Before printing, make sure that the leading edge
of the fanfold paper extends about 0.8 inch (two
centimeters) past the front the paper chute, as
shown in the illustration below.
❏ Close the rear cover and press down gently on it
until it locks into place with a click.
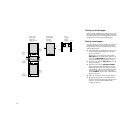
❏ Install the paper guide so that it is standing up (at
a 50-degree angle) as shown on page 11. In this
position, the paper guide keeps the printed paper
separate from the unprinted paper.
Then slide the right and left paper guides apart so
they do not interfere with the fanfold paper
feeding.
❏ Turn on the printer.
The printer will beep a number of times to
indicate that paper is not loaded properly. Also,
the control panel’s POWER indicator flashes
whenever paper is not loaded.
❏ Press the SET/EJECT/PARK button to feed the
paper to the starting position.
Caution!
Since printing with an open rear cover may cause
paper feeding problems, be sure to close the rear
cover before printing.
0.8”(2cm)