


– 5 –
ENGLISH
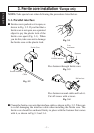
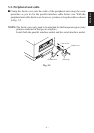
4. Connecting the interface cable
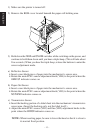
4-1. Serial interface
Follow the procedures below to connect the interface cable:
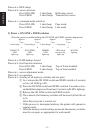
Fig. 4-1
1 Switch off the power to the printer
and computer.
2 Insert the interface cable in the con-
nector. (Be sure that the cable is
oriented correctly before inserting
it.)
3 Fasten the right and left screws to
fix them in place on the connector.
4 Connect the other end of the inter-
face cable to your computer.
NOTE: The data transfer conditions between the computer and the printer must
be made compatible with the DIP switch settings on the printer. (Refer
to “APPENDIX”.)
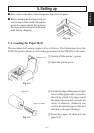
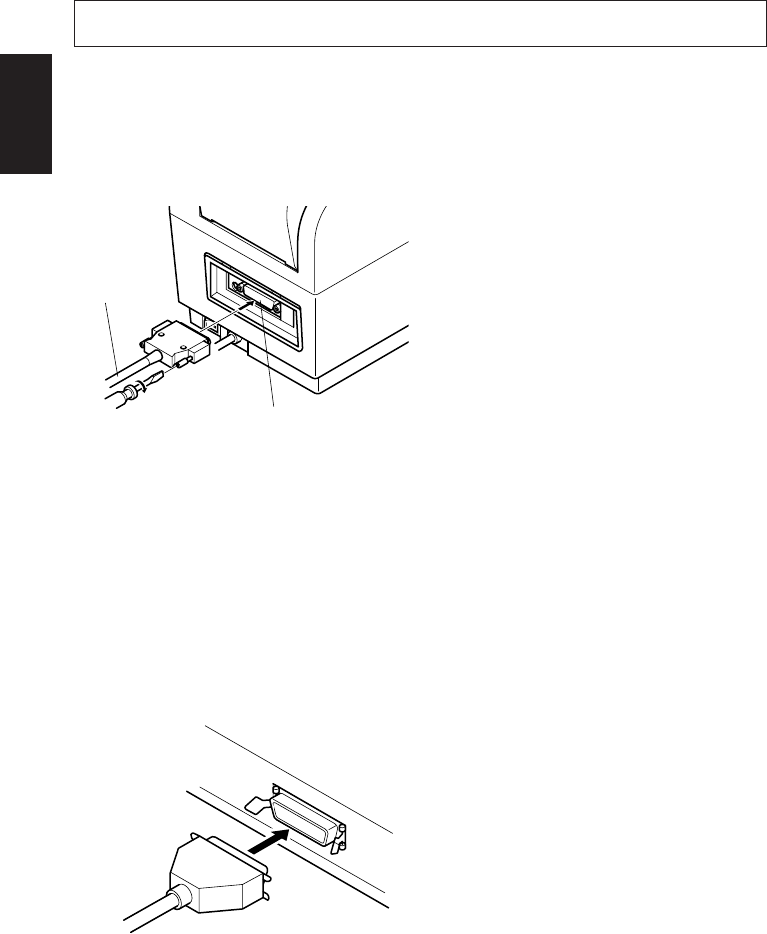
4-2. Parallel interface
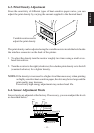
1 Switch off the power to the printer
and computer.
2 Insert the interface cable in the con-
nector. (Be sure that the cable is
oriented correctly before inserting
it.)
3 Fasten the connector clasps.
4 Connect the other end of the inter-
face cable to your computer.
Fig. 4-2
Interface cable
Interface connector