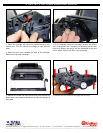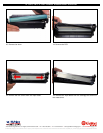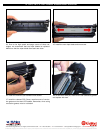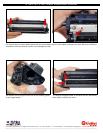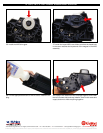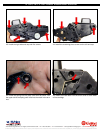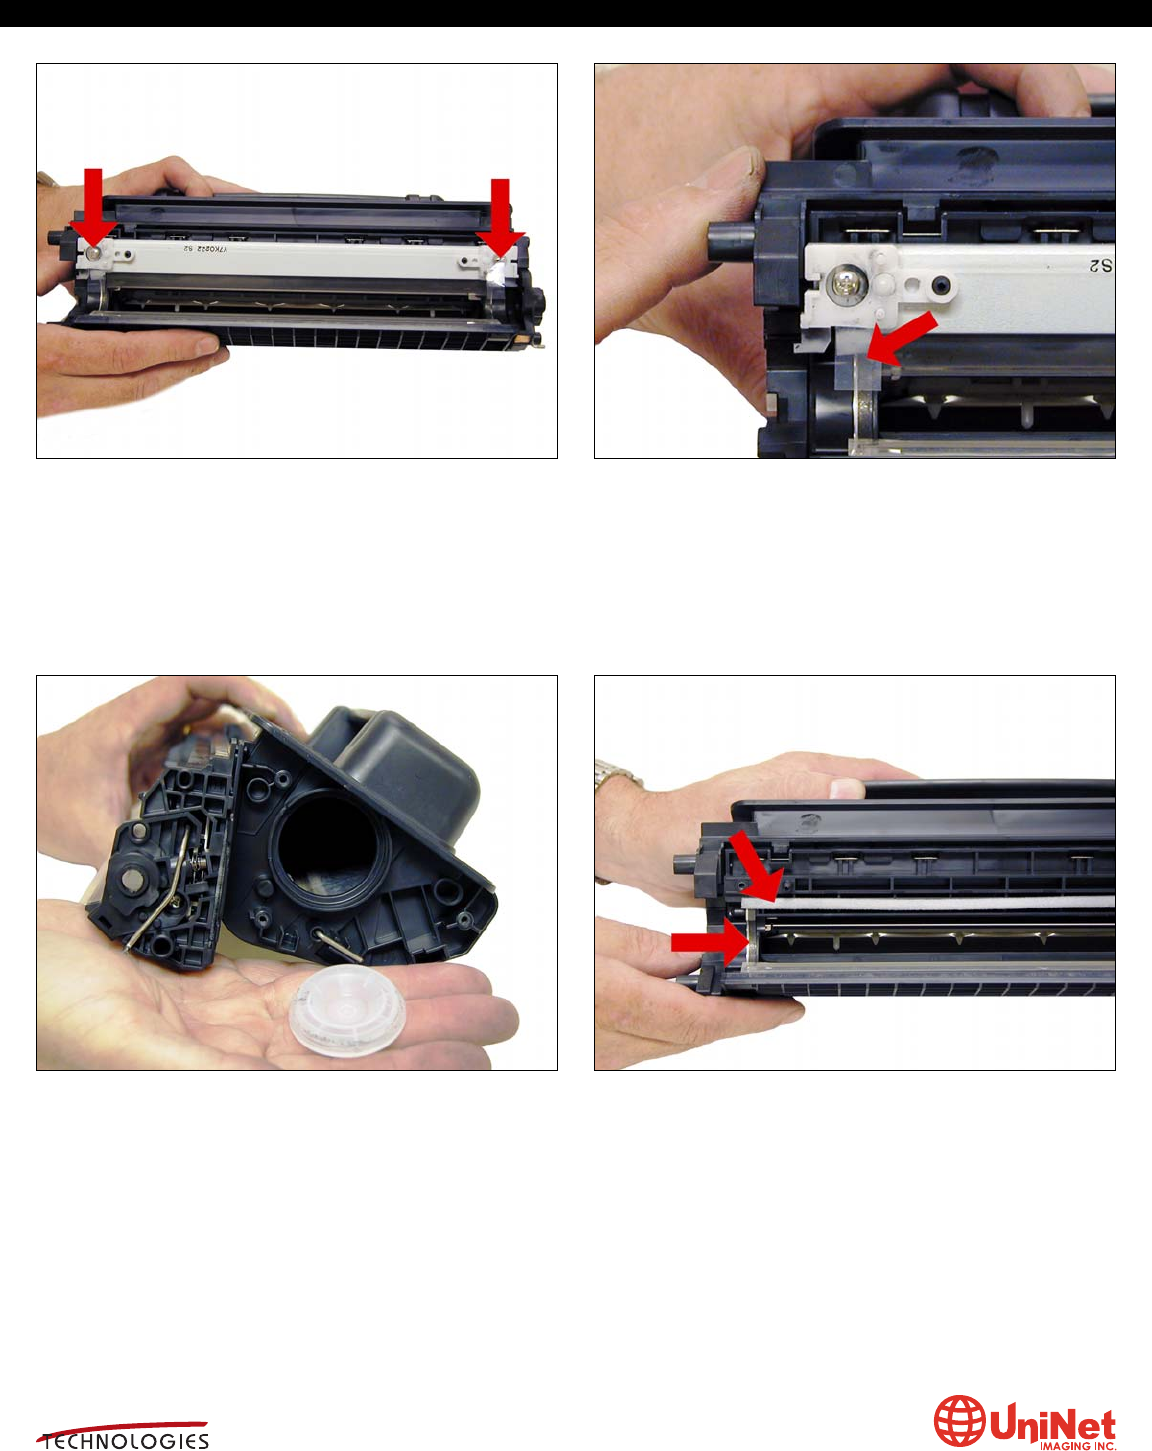
25. Remove the two doctor blade screws and the doctor blade. Note the clear plastic strip that covers the DB screws. Slide the
screwdriver under the strip. Be careful not to damage the strip!
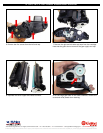
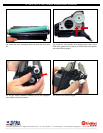
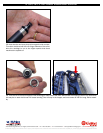
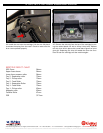
26. Remove the fill plug and clean out all the remaining toner
in the supply hopper
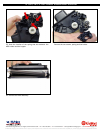
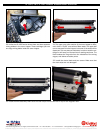
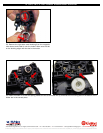
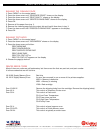
27. Note the magnetic seals on the MRS and the DB sealing
foam. Make sure both are clean.
UNINET IMAGING INC. • BROTHER 1240/1650 • ASSEMBLING THE TONER CARTRIDGEUNINET IMAGING INC. • BROTHER 1240/1650 • DISASSEMBLING THE TONER CARTRIDGE
HP P4014, P4015 & P4045 CARTRIDGE REMANUFACTURING INSTRUCTIONS
3232 West El Segundo Blvd., Los Angeles, California 90250 USA • Ph +1 310 280 9620 • Fx +1 310 838 7294 • techsupport@uninetimaging.com • www.uninetimaging.com
© 2008 UniNet Imaging Inc. All Trademark names are property of their respective owners. Product brand names mentioned are intended to show compatibility only. UniNet Imaging does not warrant downloaded information.
SU
MMIT


