


17
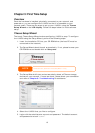
Step 2: RAID Creation
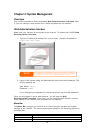
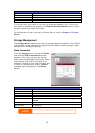
Next, administrators can configure their preferred RAID setting and build their
RAID array. You can access RAID settings from the menu bar of the Web
Administration Interface by navigating to Storage > RAID.
For more information on configuring RAID, see Chapter 4: System
Management >
RAID Configuration.
Don’t know which RAID level to use? Find out more about the different RAID
levels from
Appendix C: RAID Basics.
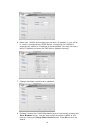
Step 3: Create Local Users or Setup Authentication
Once the RAID is ready, you can begin to create local users for the 1U4500, or
choose to setup authentication protocols such as Active Directory (AD).
For more on managing users, go to Chapter 4: System Management >
User
and Group Management.
For more information on configuring Active Directory, see Chapter 4: System
Management > User and Group Management >
ADS/NT Configuration.
For information about the benefits of Active Directory, see
Appendix D: Active
Directory Basics.
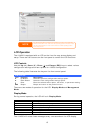
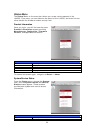
Step 4: Create Folders and Set Up ACLs
Once users are introduced into your network, you can begin to create various
folders on the 1U4500 and control user access to each using Folder Access
Control Lists.
More information on managing folders, see Chapter 4: System Management >
Folder Management.
To find out about configuring Folder Access Control Lists, see Chapter 4: System
Management > Folder Management >
Folder Access Control List (ACL).
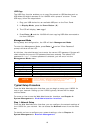
Step 5: Start Services
Finally, you can start to setup the different services of the 1U4500 for the users
on your network. You can find out more about each of these services by clicking
below:
SMB/CIFS
Apple File Protocol (AFP)
Network File System (NFS)
File Transfer Protocol (FTP)
Printer Server