


3 SpeedTouch™ for Microsoft Windows
3EC 36714 BAAA TCZZA Ed. 01
15
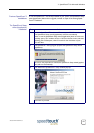
The Plug-and-Play
compliant installation
As an alternative to the SpeedTouch Setup wizard (application) installation you can also
install the SpeedTouch™ using the Plug-and-Play compliant installation.
Installation results After you have correctly followed the installation procedures, regardless whether the
SpeedTouch Setup wizard (application) installation or the Plug-and-Play compliant instal-
lation procedures was used, the following folders and icons are added to your system:
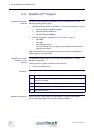
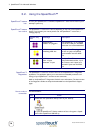
• SpeedTouch USB program folder:
The SpeedTouch USB folder is added containing two SpeedTouch™ applications:
• SpeedTouch USB Dial-Up
• SpeedTouch USB Diagnostics.
• Desktop SpeedTouch Dial-up icon:
A SpeedTouch Dial-up icon is added to your desktop.
• System tray SpeedTouch status icon:
An SpeedTouch™ status icon is added to the system tray, allowing instant status
information of the SpeedTouch™.
• Microsoft Dial-Up Networking folder:
A Dial-Up Networking icon is added for SpeedTouch™ connectivity.
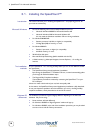
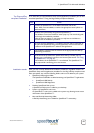
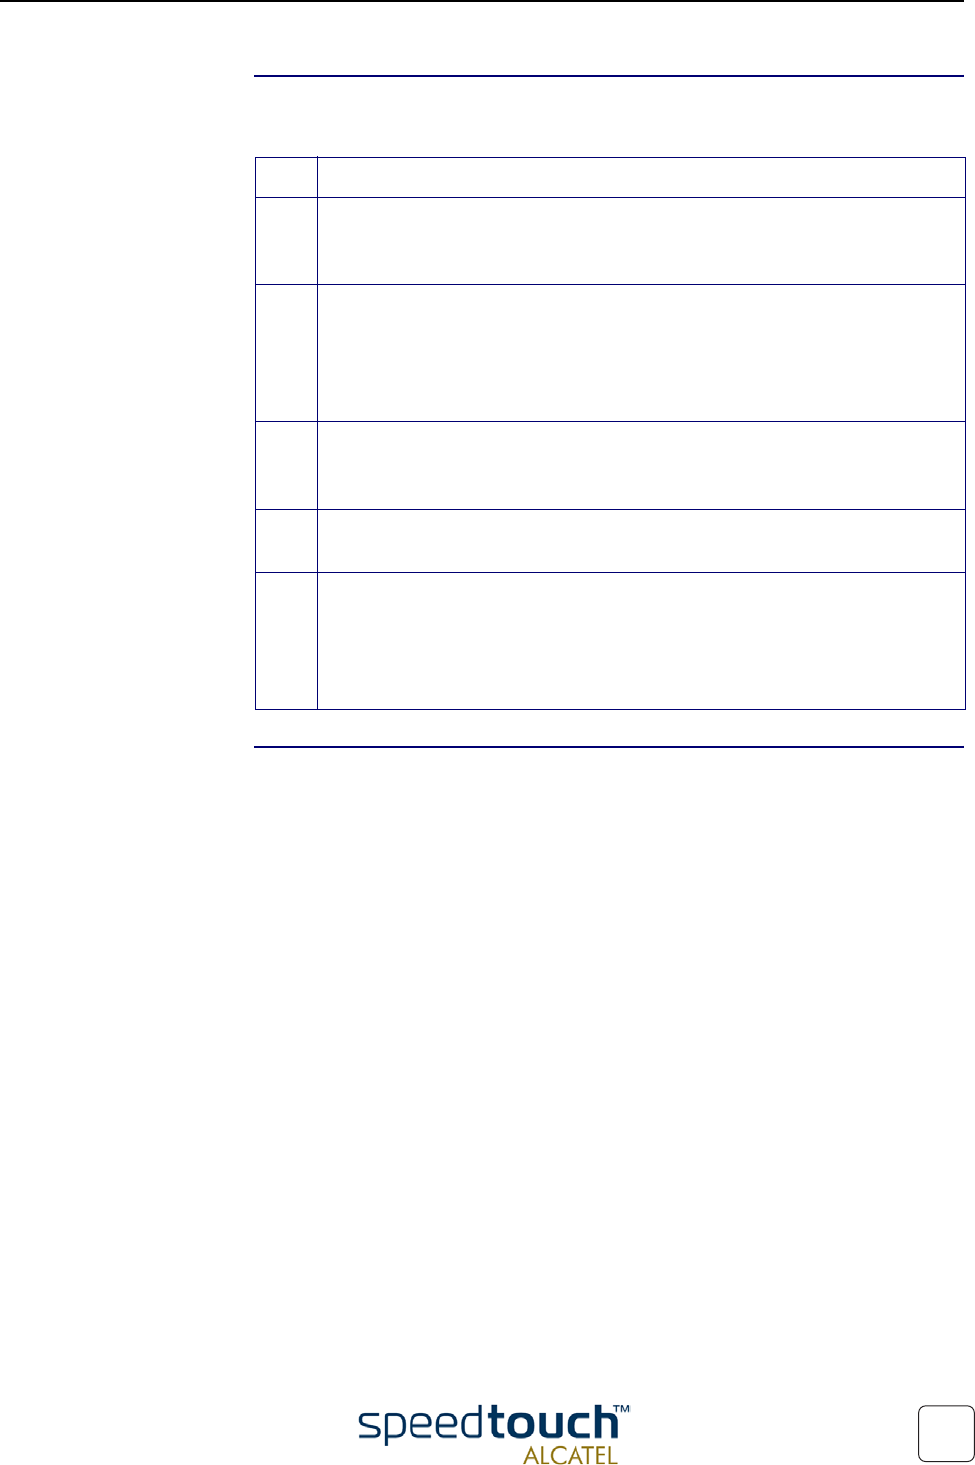
Step Action
1 Connect the SpeedTouch™ to the ADSL wall socket and the PC.
Note: ADSL must be available, as well as the appropriate central splitter or
distributed filters.
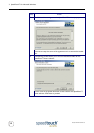
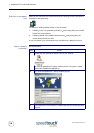
2 Windows will automatically recognize the SpeedTouch™.
The Windows 'Found new Hardware' wizard pops up. This wizard will guide
you through the installation procedure.
Follow all the instructions. In most cases you only have to click Next to
proceed with the installation procedure.
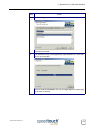
3 At some point the SpeedTouch™ Installation CD-Rom will be requested. At
this point the SpeedTouch Setup wizard (application) will continue with the
installation of the SpeedTouch™ software and applications.
4 The installation continues with the creation of the appropriate PPP Dial-Up
Networking connections.
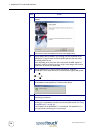
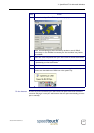
5 At the end of the procedure the 'Speed Touch Dial-Up' window pops up,
allowing you to immediately connect to the Internet (See section “3.2. Using
the SpeedTouch™” on page 16).
The installation of the SpeedTouch™ is now finished. The SpeedTouch™ is
now prepared for connecting you to the Internet.