7. Internet Fax
88 Scanning Guide — How to Perform Internet Fax
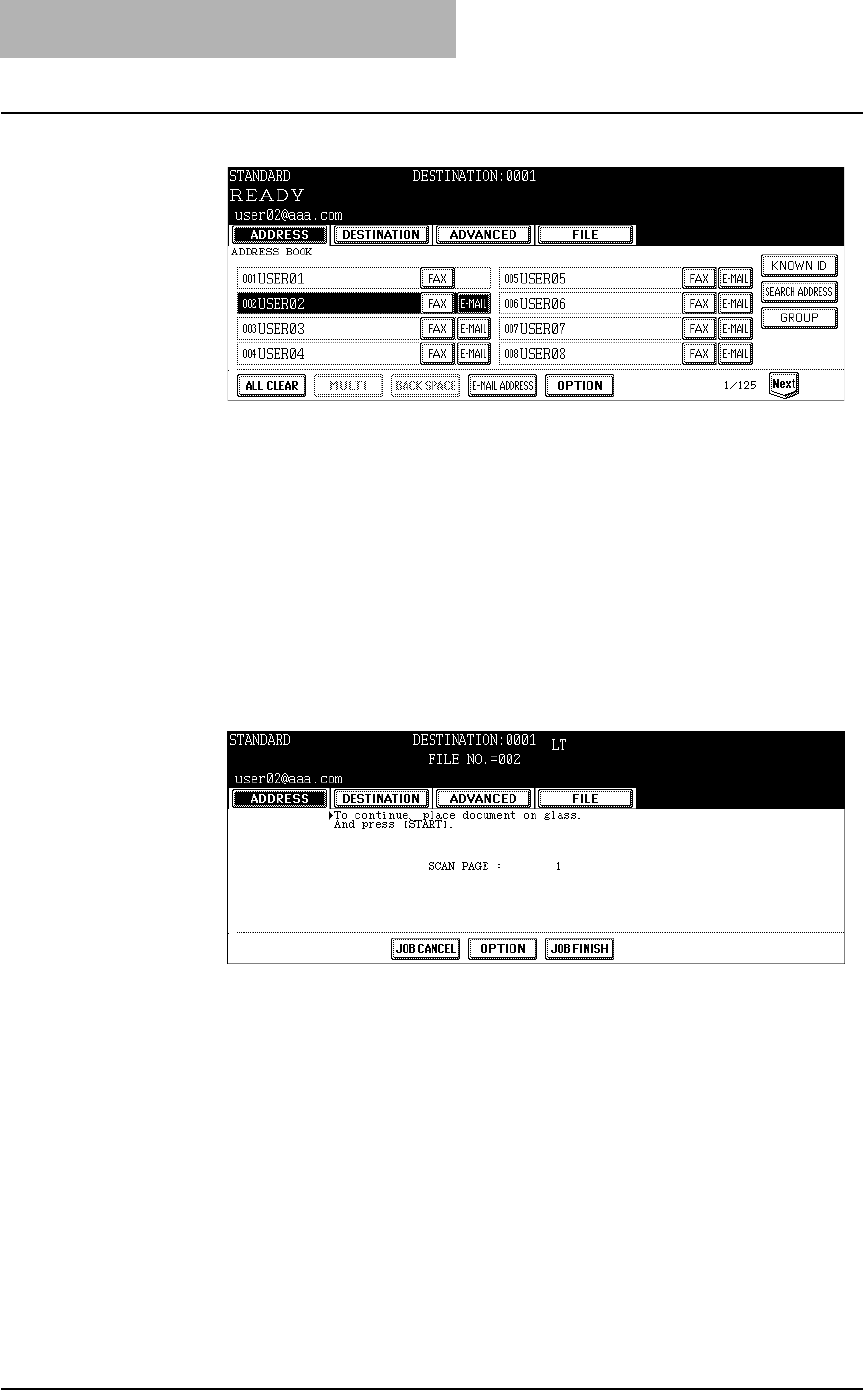
5. Specify the E-mail addresses that you want to send.
• You can specify the E-mail address by various ways. See the following pro-
cedures for each instruction.
P.88 "Specifying Destinations"
SUPPLEMENT: You can also set the advanced functions such as the 2-sided original transmission and
priority transmission.
P.98 "Advanced Function"
6. Press the [START] button.
7. If the “To continue, place document on glass. And press
[START]” message is displayed, place another original on
glass and press [START] button to scan another original, or
press the [JOB FINISH] button to finish scanning.
• When the original is set on the reversing automatic document feeder, this
screen is not displayed.
• If you want to cancel the storage of the scanned data, press the [JOB CAN-
CEL] button.
• You can change the setting of the transmission conditions, using the
[OPTION] button before pressing the [START] button.
Specifying Destinations
You can specify E-mail addresses for Internet Fax by following methods:
P.89 "Entering an E-mail address manually"
P.90 "Selecting from address book"
P.90 "Searching with ID number for a contact"
P.91 "Searching with search strings from address book"
P.92 "Searching with search strings from LDAP server"
P.94 "Selecting from groups"
P.95 "Searching with ID number of a group"


