


42 Network Operator’s Guide — Managing Templates
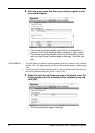
NOTE: • You can specify the fax number for the destination only when the optional Fax unit is
installed.
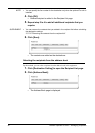
4. Click [OK].
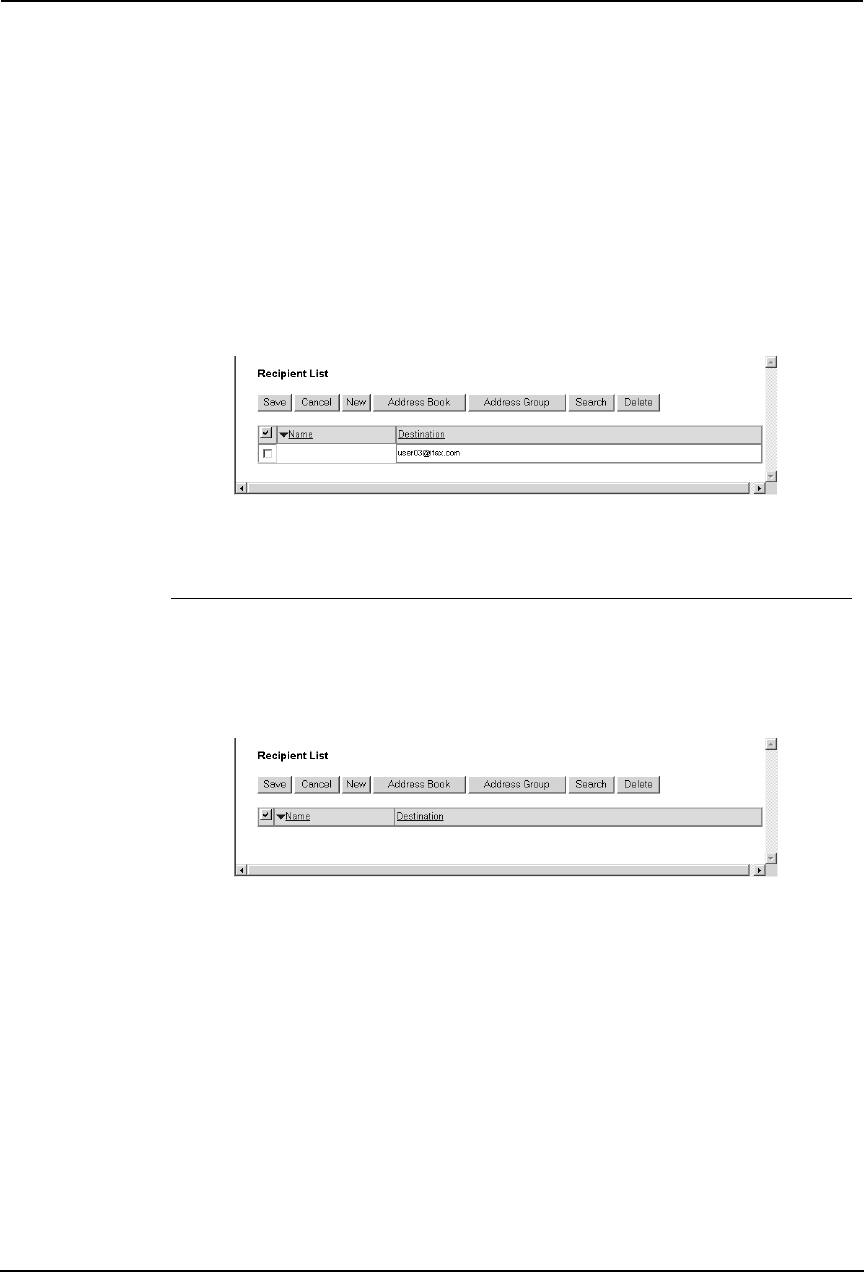
• Entered recipient is added in the Recipient List page.
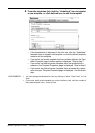
5. Repeat step 2 to 4 to add all additional recipients that you
require.
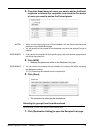
SUPPLEMENT: • You can remove the contacts that you added in the recipient list before submitting
the destination settings.
P.47 "Removing the contacts from the recipient list"
6. Click [Save].
• The contacts are added as the destinations.
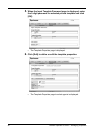
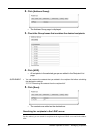
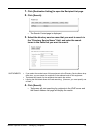
Selecting the recipients from the address book
By this method, you can select recipients from the address book in this equipment.
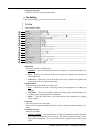
1. Click [Destination Setting] to open the Recipient List page.
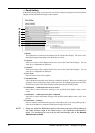
2. Click [Address Book].
• The Address Book page is displayed.