


5. INSTALLATION PROCEDURE
5.4 Self Test Print
5-7
SPAA-207-R1
5.4 Self Test Print
To perform the printer self test, use the Mfg Adjustment menu feature. This feature prints
instructions on the receipt for selecting any type of print pattern needed.
CAUTION!
Be extremely careful when changing any of the printer settings to avoid changing other settings
that might affect the performance of the printer.
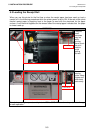
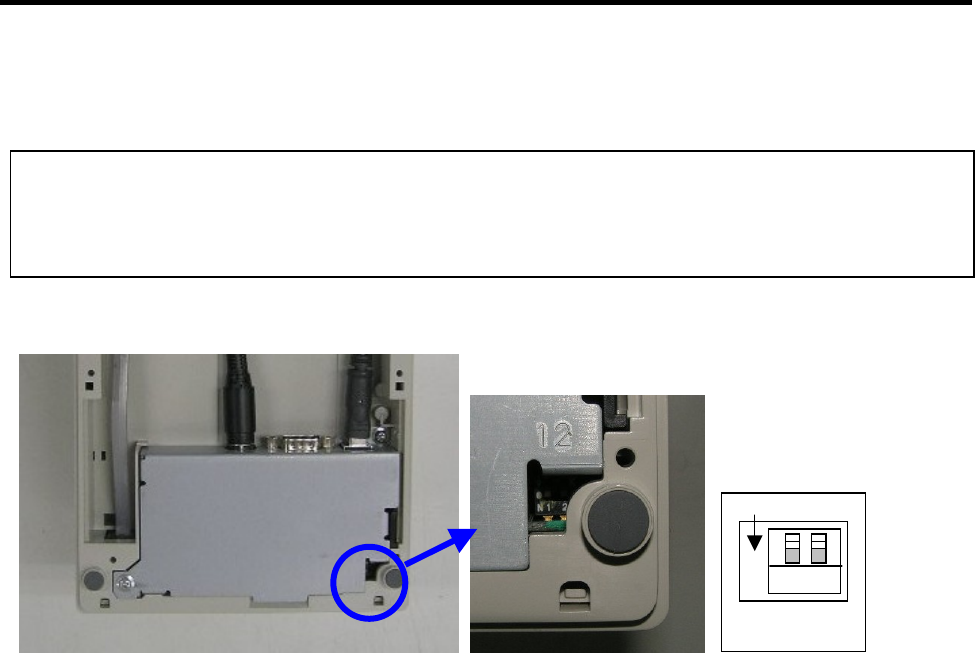
1. Set DIP switch 1 to ON, DIP switch 2 to ON.
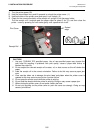
2. Power on the printer while holding the Paper Feed Button. The printer will print the Current
Setting Form, then cuts the paper to print the Mfg Adjustment Menu.
3. If you do not hold the Paper Feed Button while power up the printer, it will go to Online Mode.
This menu allows you to print different test patterns
Selections are made using the Paper Feed Button.
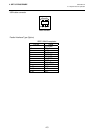
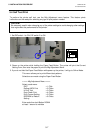
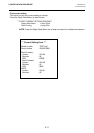
===== Mfg Adjustment Menu =====
Select a sub-menu:
EXIT > 1 Click
Rolling ASCII Print > 2 Clicks
H Print Test > 3 Clicks
Duty Check Print > 4 Clicks
Print Current Setting > 5 Clicks
EEPROM to Default
Setting
> 6 Clicks
Enter code then hold Button DOWN
at least 1 second to validate
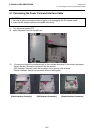
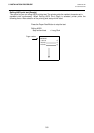
DIP Switch
Switch 2 is shown in
the OFF position
1
2
O
N