


4 5
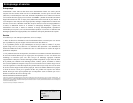
Optional Installation
These connections are optional. Your UPS will function properly without these connections.
USB and RS-232 Serial
Communications
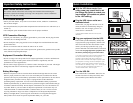
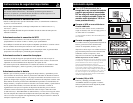
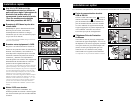
Use the included USB cable 1a and/or DB9
serial cable 1b to connect the communication
port on your computer to the communication port
of your UPS. Install on your computer the Tripp
Lite PowerAlert Software appropriate to your
computer’s operating system. Consult your
PowerAlert manual for more information.
Telephone/Network Protection Jacks
Your UPS has jacks that protect against surges
over a telephone line or a network dataline. Using
telephone network data cables, connect your wall
jack to the UPS jack marked “IN.” Connect your
equipment to the UPS jack marked “OUT.” Make
sure the equipment you connect to the UPS's
jacks is also protected against surges on the AC
line.
Not compatible with PoE (Power Over Ethernet) applications.
1
2
1a
2
1b
Basic Operation
Buttons
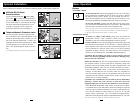
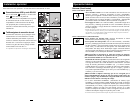
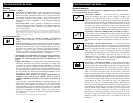
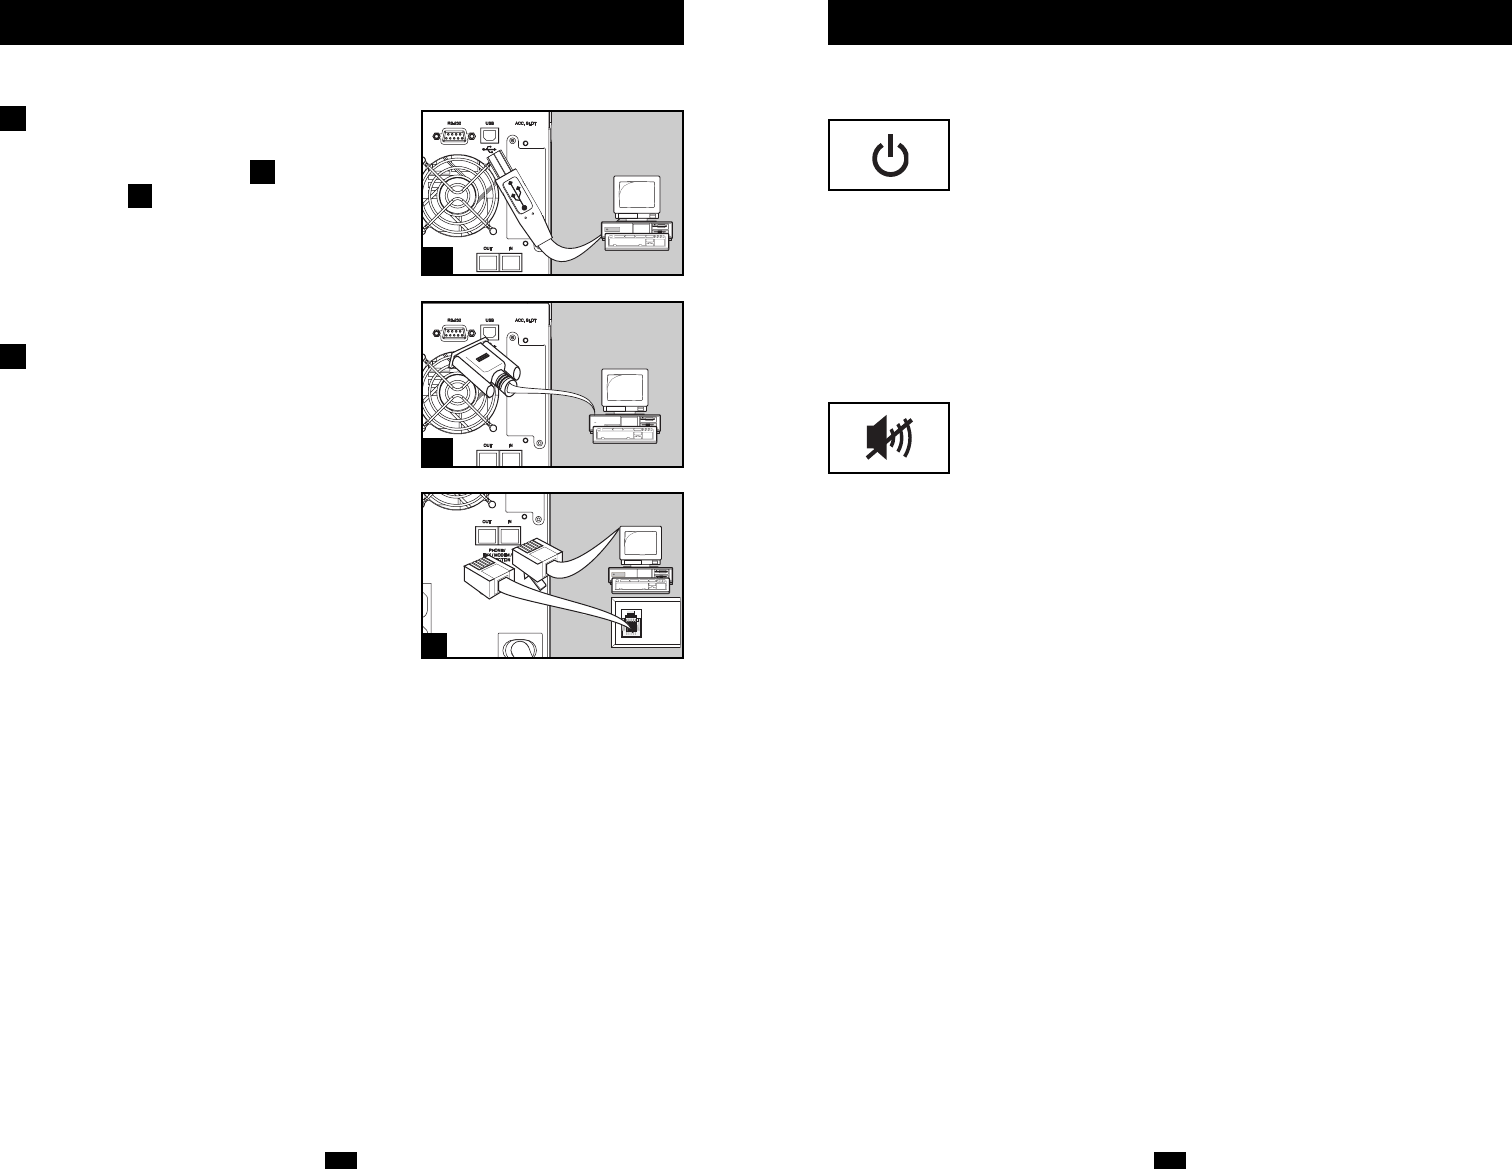
“STANDBY” Button
• To turn the UPS ON: with the UPS plugged into a live AC wall outlet,*
press and hold the STANDBY button for about one second.** Release
the button. If utility power is absent, you can "cold-start" the UPS (i.e.:
turn it ON and supply power for a limited time from its batteries***) by
pressing and holding the STANDBY button for about two seconds.**
• To turn the UPS OFF: with the UPS ON and receiving utility power,
press and hold the STANDBY button for one second.** Then unplug the
UPS from the wall outlet. The UPS will be completely OFF.
* After you plug the UPS into a live AC outlet, the UPS will automatically charge its batteries,
but will not supply power to its outlets until it is turned ON. ** The alarm will beep once
briefly after the indicated interval has passed. *** If fully charged.
“MUTE/TEST” Button
• To Silence (or “Mute”) UPS Alarms: briefly press and release the
MUTE/TEST button.* Note: continuous alarms (warning you to
immediately shut down connected equipment) cannot be silenced.
• To Run a Self-Test: with your UPS plugged in and turned ON, press and
hold the MUTE/TEST button for two seconds.* Continue holding the
button until the alarm beeps several times and the UPS performs a self
test. See “Results of a Self-Test” below. Note: you can leave connected
equipment on during a self-test. Your UPS, however, will not perform a
self-test if it is not turned ON (see “STANDBY” Button description).
CAUTION! Do not unplug your UPS to test its batteries. this will
remove safe electrical grounding and may introduce a damaging surge
into your network connections.
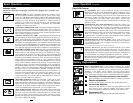
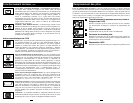
Results of a Self-Test: The test will last approximately 10 seconds as the
UPS switches to battery to test its load capacity and battery charge. The
“POWER” LED will be flashing and the “OUTPUT LOAD LEVEL” and
“BATTERY CHARGE” LEDs will be lit and the UPS alarm will sound.
• If the “OUTPUT LOAD LEVEL” LED remains lit red and the alarm
continues to sound after the test, the UPS's outlets are overloaded. To
clear the overload, unplug some of your equipment and run the self test
repeatedly until the “OUTPUT LOAD LEVEL” LED is no longer lit red
and the alarm is no longer sounding.
CAUTION! Any overload that is not corrected by the user immediately
following a self-test may cause the UPS to shut down and cease
supplying output power in the event of a blackout or severe brownout.
• If the “BATTERY WARNING” LED remains lit and the alarm continues
to sound after the test, the UPS batteries need to be recharged or replaced.
Allow the UPS to recharge continuously for 12 hours, and repeat the self-
test. If the LED remains lit, contact Tripp Lite for service. If your UPS
requires battery replacement, visit www.tripplite.com/support/battery/
index.cfm to locate the specific Tripp Lite replacement battery for your UPS.
* The alarm will beep once briefly after the indicated interval has passed.