


Appendix Font DIMM Installation
Font DIMM Printer and Font DIMM Kit User’s Guide -- Document #50-70433-001 Rev. A A-1
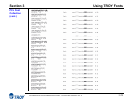
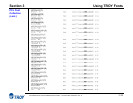
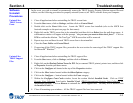
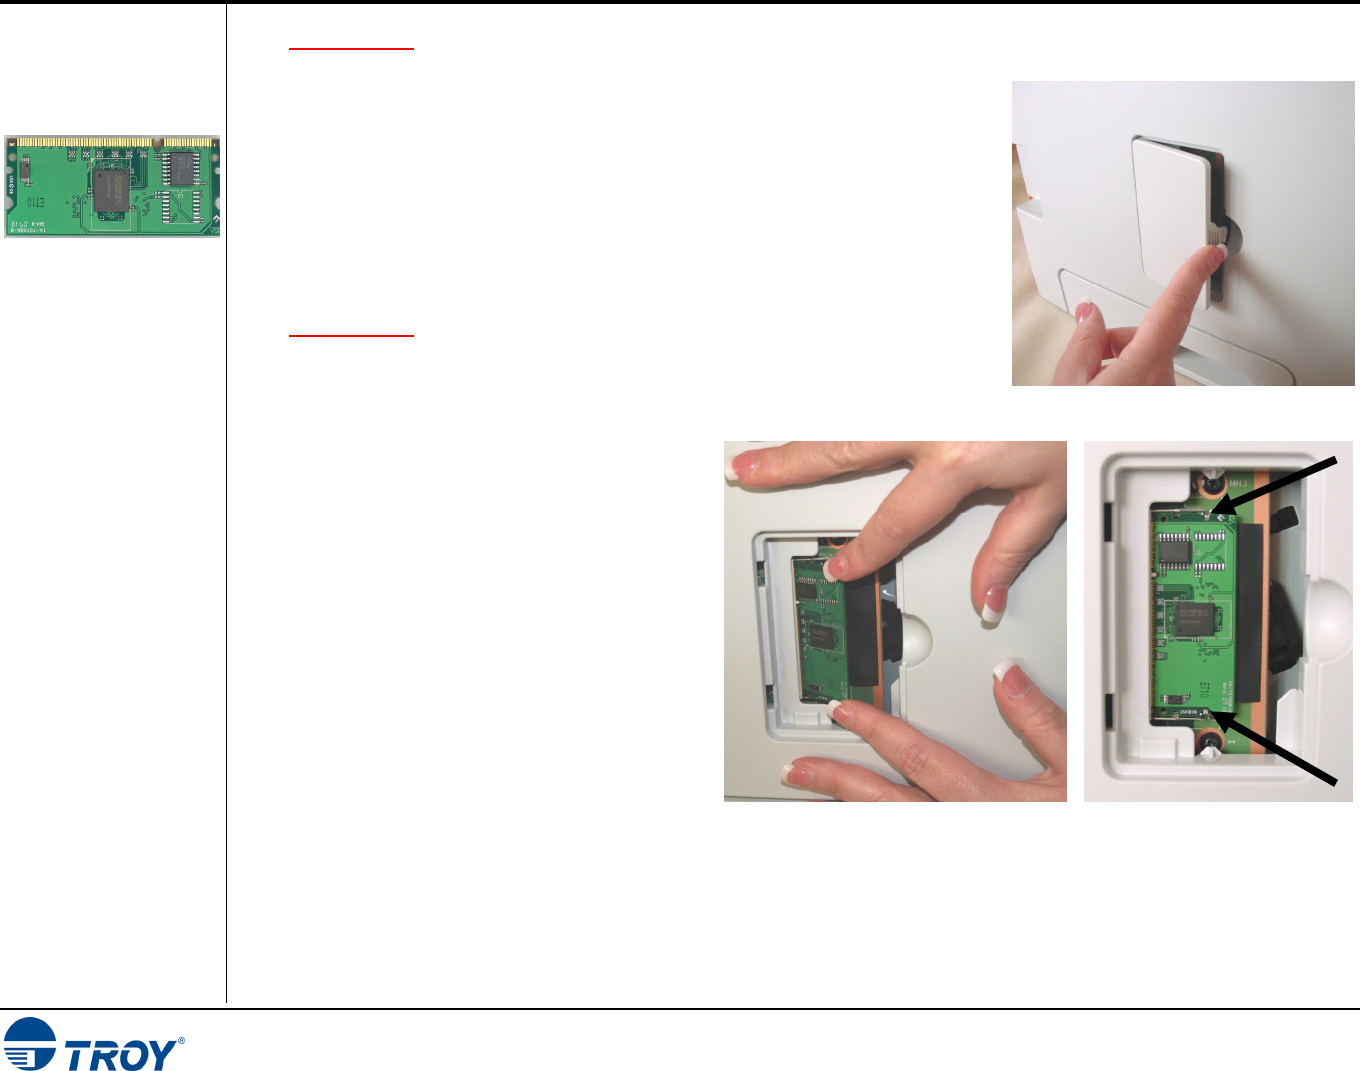
Figure 2 Figure 3
Figure 1
Installing the
TROY Font
DIMM
IMPORTANT
: Ensure the printer power is switched OFF, and then disconnect the printer power cord from the printer.
1. Ensure the printer power is switched OFF. Never install or remove the
DIMM when the printer power is ON.
2. Open the DIMM access door at the left side of the printer using your
finger to press and unlatch the door (Figure 1).
3. Detach the DIMM access door from the printer by fully opening the door
and then unhooking the two hinge tabs from the printer panel.
4. Remove the TROY Font DIMM from the protective anti-static bag.
IMPORTANT: To prevent static discharge from damaging the TROY Font
DIMM, handle the DIMM by the edges and avoid touching
the metal contacts on the edge of the DIMM.
5. Insert the DIMM into the DIMM slot by
aligning the notches in the DIMM with the
tabs in the DIMM socket. The DIMM can
only be inserted in one orientation.
6. Ensure the DIMM is fully inserted into the
DIMM socket, and then carefully press on
each corner of the DIMM (Figure 2) until
the metal retaining clips snap over the
edges of the DIMM (Figure 3).
7. Replace the access door by aligning the
hinge tabs with the notches in the printer
panel, and then push the access door
closed until it snaps into place.
8. Reconnect the printer power cord, and then
switch the printer power ON.
9. Refer to the TROY Font DIMM Printer and Font DIMM Kit Quick-Start Guide for instructions on installing
the TROY support files on your computer. If assistance is required, call TROY Technical Support at (800)
332-6427. Customers outside the United States, please call (304) 232-0899.