


Appendix A TROY Font Card Installation
S Font Card Kit User’s Guide -- Document #50-70407-003 Rev. A A-1
Installing the
TROY Font
Card
IMPORTANT: Ensure the printer power is switched OFF, and then disconnect
the printer power cord from the printer.
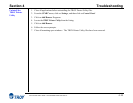
1. Remove the plastic panel on the right side of the printer by sliding it
toward the back of the printer (Figure 1).
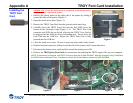
2. Open the metal access door (Figure 2).
3. Remove the TROY Font Card from the protective anti-static bag.
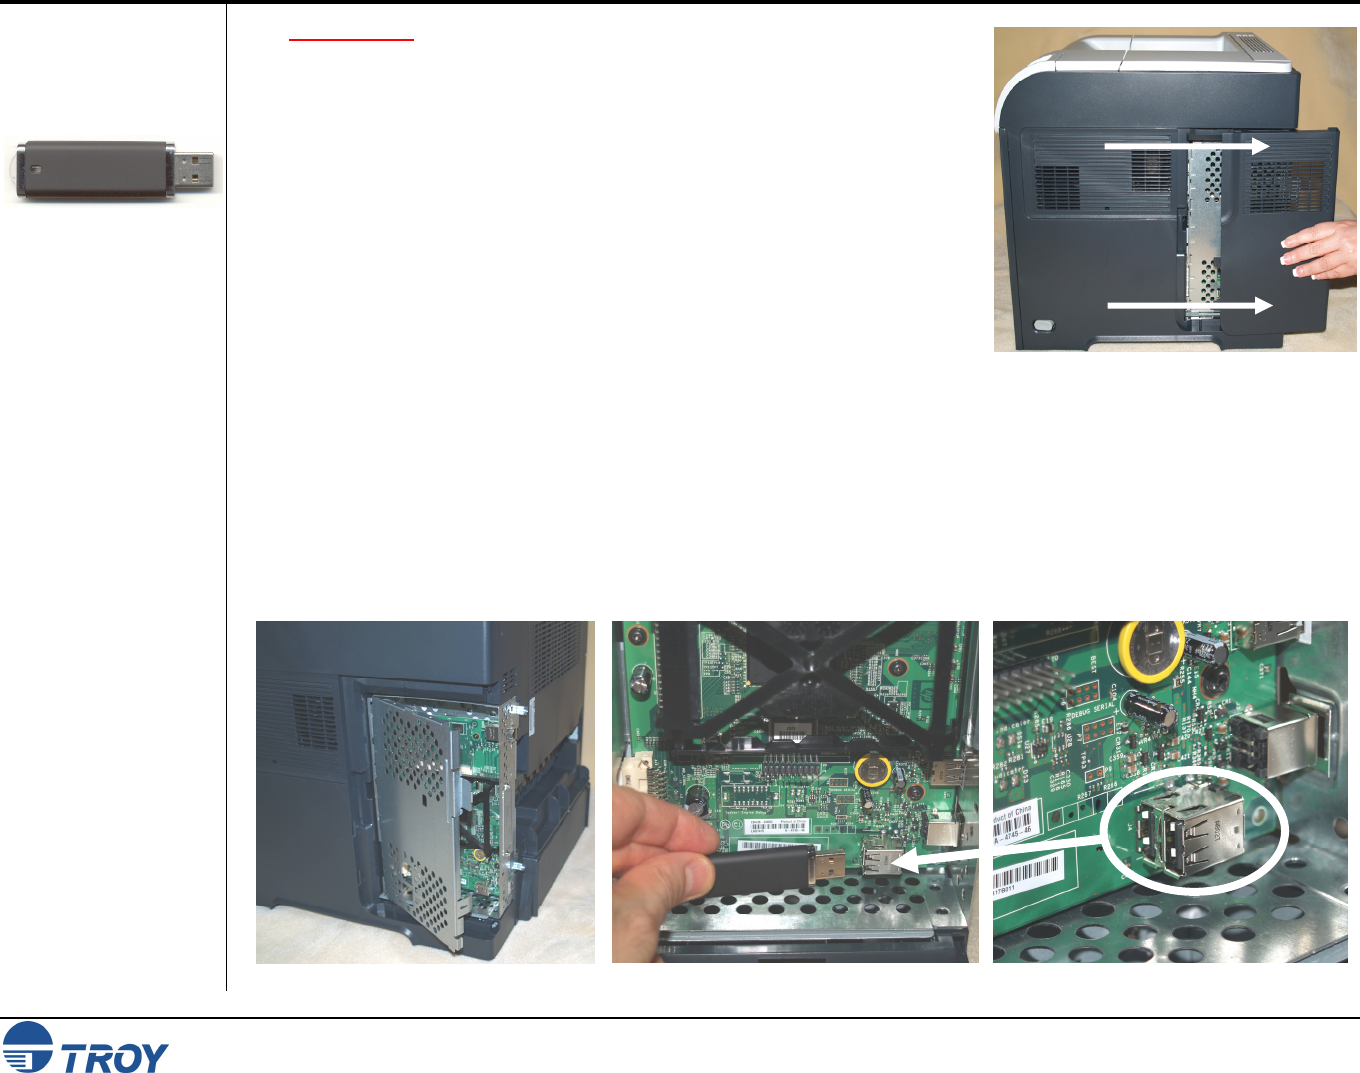
4. Carefully insert the TROY Font Card into the first USB slot at the
bottom of the electronics cage (Figure 3, 4). The TROY Font Card
connector and USB slot are keyed, allowing the TROY Font Card to
be plugged into the USB slot in one orientation only. Do not force the
Font Card into the USB slot. Ensure the TROY Font Card is fully
inserted into the USB slot. Figure 1
5. Close the metal access door. Be sure it snaps into place and is fully closed.
6. Replace the plastic panel by sliding it onto the side of the printer until it snaps into place.
7. Reconnect the printer power cord, and then switch the printer power ON.
8. Refer to the TROY Quick-Start Guide for instructions on installing the TROY support files on your computer.
NOTE: If assistance is required, call TROY Technical Support at (800) 332-6427, Monday through Friday, 8:00 AM to
8:00 PM, Eastern Standard Time. Customers outside the United States, please call (304) 232-0899.
Figure 2 Figure 3 Figure 4