


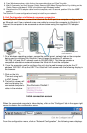
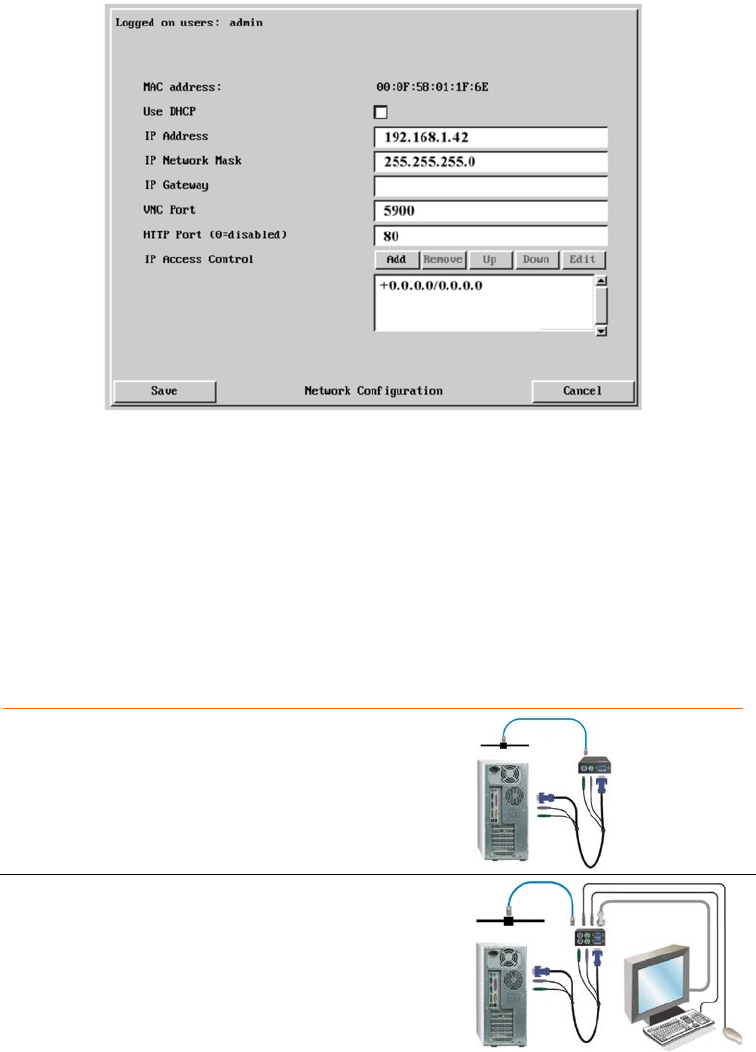
Change the IP address, network mask, and other network information that has been
assigned to the UltraLink 2. The VNC port (5900) and HTTP Port (80) should only be
changed if they conflict with existing network settings. If you choose to use DHCP, check
the box adjacent to “Use DHCP”. When complete “Save” the new IP information.
NOTE: When the unit is configured properly and connected to the network, if you have
chosen the option “Use DHCP” the IP address will change to whatever IP address your
DHCP server assigns it. Once the IP address has been changed, UltraLink 2 will lose the
connection to the computer used for configuration. Please see the user’s manual for
additional DHCP information.
When complete, change the IP information on the computer used to connect to the
UltraLink 2 back to the original values.
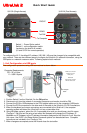
3- Unit Installation / Cabling
Single Access Model
1- Connect the supplied CPU adapter cable from the keyboard,
monitor, and mouse ports on the UltraLink 2 to the
corresponding ports on the computer to access.
2- Connect a standard network cable from the RJ45 connector
on the UltraLink 2 to your network.
Dual Access Model
1- Connect the supplied CPU adapter cable from the keyboard,
monitor, and mouse ports on the UltraLink 2 (bottom ports) to
the corresponding ports on the computer to access.
2- Connect a local keyboard, monitor, and mouse to the
corresponding ports (top ports) on the UltraLink 2.
3- Connect a standard network cable from the RJ45
connector on the UltraLink 2 to your network.