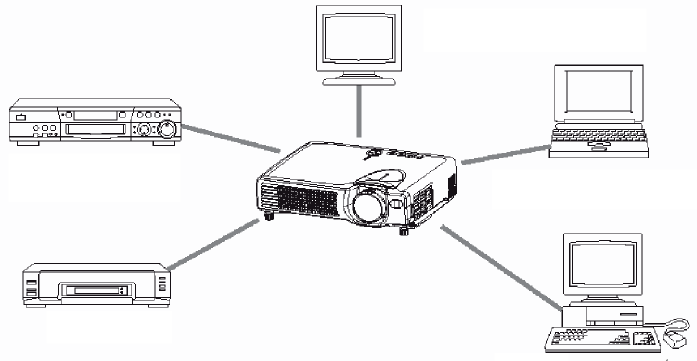
Connecting your devices
Devices You Can Connect to the Projector (Refer to this section for planning your device configuration
to use for your presentation.)
CAUTION
• Incorrect connecting could result in fire or electrical shock. Please read this manual and the separate
ATTENTION
Precautions to observe when connecting other devices to the projector
• Whenever attempting to connect other devices to the projector, please thoroughly read the manual of each
device to be connected.
• TURN OFF ALL DEVICES prior to connecting them to the projector. Attempting to connect a live device
to the projector may generate extremely loud noises or other abnormalities that may result in malfunction
• Make sure that you connect devices to the correct port. Incorrect connection may result in mal-function
and/or damage to the device and/or projector.
• A component cable and some other cables have to be used with core set. Use the accessory cable or a
designated type cable for the connection. For cables that have a core only at one end, connect the core to
the projector.
• Secure the screws on the connectors and tighten.
NOTE:
When connecting the projector to a notebook computer, set it so as to activate the RGB external image output
(setting it to CRT display or to simultaneous LCD and CRT display). For more information, refer to the
instruction manual of the notebook computer.
Plug & Play
This projector is compatible with VESA DDC 1/2B. Plug & Play is possible by connecting to a computer that
is compatible with VESA DDC (Display Data Channel).
Use this function by connecting the accessory RGB cable with RGB IN 1 terminal (DDC 1/2B compatible).
Plug & Play may not operate by any other connection.
NOTE:
• Plug & Play is a system configured with peripheral equipment which includes a computer, display and an
operating system.
• This projector is recognized as a Plug & Play monitor. Load the driver contained in the CD Wizard
included with the unit.
DVD players
Display monitors
Laptop computers
Desktop computers
VCRs
ViewSonic PJ650/PJ520 10
“PJ650 / PJ520 Quick START GUIDE”.
for the pin assignment of connectors and RS-232C communication data.
and/or damage to the device and/or projector. Refer to the “TECHNICAL” of the PJ650 / PJ520 User Guide


