6 CD-ROM Box Enclosure Installation Guide
3.1 Operation with a Docking Kit
Perform the following steps (in the order given) to set up a Docking Unit with your
CD-ROM Box Enclosure for operation. (Also refer to your Docking Kit’s installation
manual for further details. Some Docking Kits do not provide a Power Select switch.)
1. For Windows 98 users: verify that the Windows 98 driver is installed (if required.)
2. Verify that the power switch on the Docking Unit is OFF.
IMPORTANT
The Power Select or Power ON/OFF switch (depending on
model) must be in the OFF position before proceeding.
For Docking units with a Power Select switch, set the switch
to the MIDDLE power OFF position before connecting the
CD-ROM Box.
3. Plug the Docking Kit’s 50-pin Centronics connector into the 50-pin connector
on the back of the CD-ROM Box.
4. Using the +5V/+12V AC/DC Power Adapter:
a. With the Power Switch in the OFF position, plug in the 6-pin connector-end
of the external power adapter into its corresponding +5V/+12V power-in
connector on the Docking Unit.
b. Plug one end of the power cord into the power adapter and the other end into
an AC power source outlet.
5. Set the Power Switch to ON position:
For models with Power Select switch:
a. When using the external power adapter, set the Power Select switch to the LEFT
position. Note that the green LED on the Docking Unit should be lit,
indicating power ON. (This allows the device to warm up before connecting
to the port.)
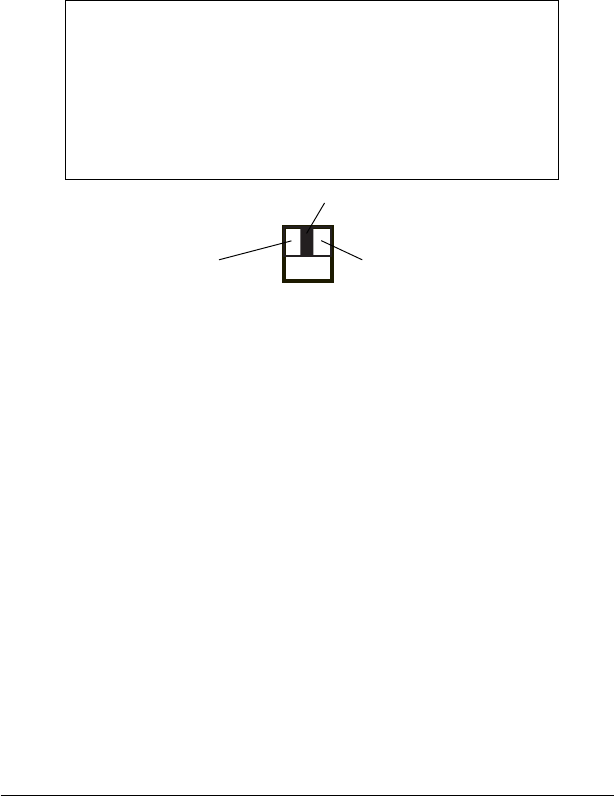
Power OFF
Use Docking Kit
Power
External
Power Adapter
Power Select Switch Settings on Docking Unit (For Example VP-8058)


