6
WEEKDAYS
(5 Day)
SATURDAY
(1 Day)
Start
Time Temp
Start
Time Temp
1ST
2ND
3RD
4TH
1ST
2ND
3RD
4TH
SAMPLE
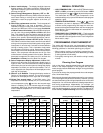
Heating/Cooling Schedule Plan (Factory Program)
Period
6:00 AM
8:00 AM
5:00 PM
10:00 PM
6:00 AM
8:00 AM
5:00 PM
10:00 PM
6:00 AM
8:00 AM
5:00 PM
10:00 PM
6:00 AM
8:00 AM
5:00 PM
10:00 PM
70°F
62°F
70°F
62°F
78°F
85°F
78°F
82°F
SUNDAY
(1 Day)
Start
Time Temp
6:00 AM
8:00 AM
5:00 PM
10:00 PM
6:00 AM
8:00 AM
5:00 PM
10:00 PM
70°F
62°F
70°F
62°F
78°F
85°F
78°F
82°F
70°F
62°F
70°F
62°F
78°F
85°F
78°F
82°F
HEAT
COOL
WEEKDAYS
(5 Day)
SATURDAY
(1 Day)
Start
Time Temp
Start
Time Temp
1ST
2ND
3RD
4TH
1ST
2ND
3RD
4TH
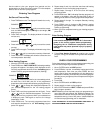
Heating/Cooling Schedule Plan
Period
SUNDAY
(1 Day)
Start
Time Temp
HEAT
COOL
4) Select backlit display - The display backlight improves
display contrast in low lighting conditions. Selecting back-
light ON will keep the light on continuously. Selecting OFF
will keep the light off.
5) Select Energy Management Recovery OFF or ON -
Energy Management Recovery (EMR) causes the thermo-
stat to start heating or cooling early to make the building
temperature reach the program setpoint at the time you
specify.
6) Select filter replacement run time - The thermostat will
display FLTR after a set time of operation. This is a
reminder to change or clean your air filter. This time can be
set from 0 to 1950 hours in 50 hour increments. A selection
of 000 will cancel this feature. When FLTR is displayed,
you can clear it by pressing HOLD and RUN at the same
time. This resets the timer and starts counting the hours
until the next filter change. Contact your heat pump manu-
facturer for a specific replacement/maintenance interval.
7) Select Compressor Lockout LOC OFF or ON - Selecting
LOC ON will cause the thermostat to wait 5 minutes before
turning on the compressor if the heating and cooling system
loses power. It will also wait 5 minutes minimum between
cooling or heating cycles. This is intended to help protect
the compressor from short cycling. Some newer compres-
sors already have a time delay built in and do not require this
feature. Your compressor manufacturer can tell you if the
lockout feature is already present in their system. When the
thermostat compressor time delay occurs it will flash the
Snowflake and Flame icons for about five minutes.
8) Select Temperature Display Adjustment 4 LO to 4 HI -
Allows you to adjust the room temperature display up to 4°
higher or lower. Your thermostat was accurately calibrated
at the factory but you have the option to change the display
temperature to match your previous thermostat. The cur-
rent or adjusted room temperature will be displayed on the
right side of the display.
9) Select F° or C° Readout - Changes the display readout to
Celsius or Fahrenheit as required. The current room tem-
perature will be displayed on the right side of the display.
10) Select Fast second stage - In the RUN mode, if the
temperature is manually raised by 3°F ( 2°C) or more above
room temperature using
and the fast second stage
feature is enabled, FA on, the second stage will energige
immediately. With FA off, the second stage will not energize
until the setpoint temperature is 10°F or more above room
temperature.
MANUAL OPERATION
• HOLD TEMPERATURE — With the SYSTEM switch set to
HEAT or COOL, momentarily press HOLD button. HOLD
will be displayed. Use or to adjust the temperature.
The thermostat will hold the room temperature at the
selected setting until you press RUN button to start program
operation again.
• TEMPERATURE OVERRIDE — Press
or until the
temperature you want is displayed. The thermostat will
override current programming and keep the room tem-
perature at the selected temperature until the next program
period begins. Then the thermostat will automatically re-
vert to the program.
• TEMPORARY HOLD TEMPERATURE — The thermostat
can hold any temperature within its range for the length of
time selected in the configuration menu. See Configuration
Menu section, step 1.
PROGRAMMING YOUR THERMOSTAT
This section will help you plan your thermostat’s program to
meet your needs. For maximum comfort and efficiency, keep the
following guidelines in mind when planning your program.
• When heating (cooling) your building, program the tem-
peratures to be cooler (warmer) when the building is vacant
or during periods of low activity.
• During early morning hours, the need for cooling is usually
minimal.
Planning Your Program
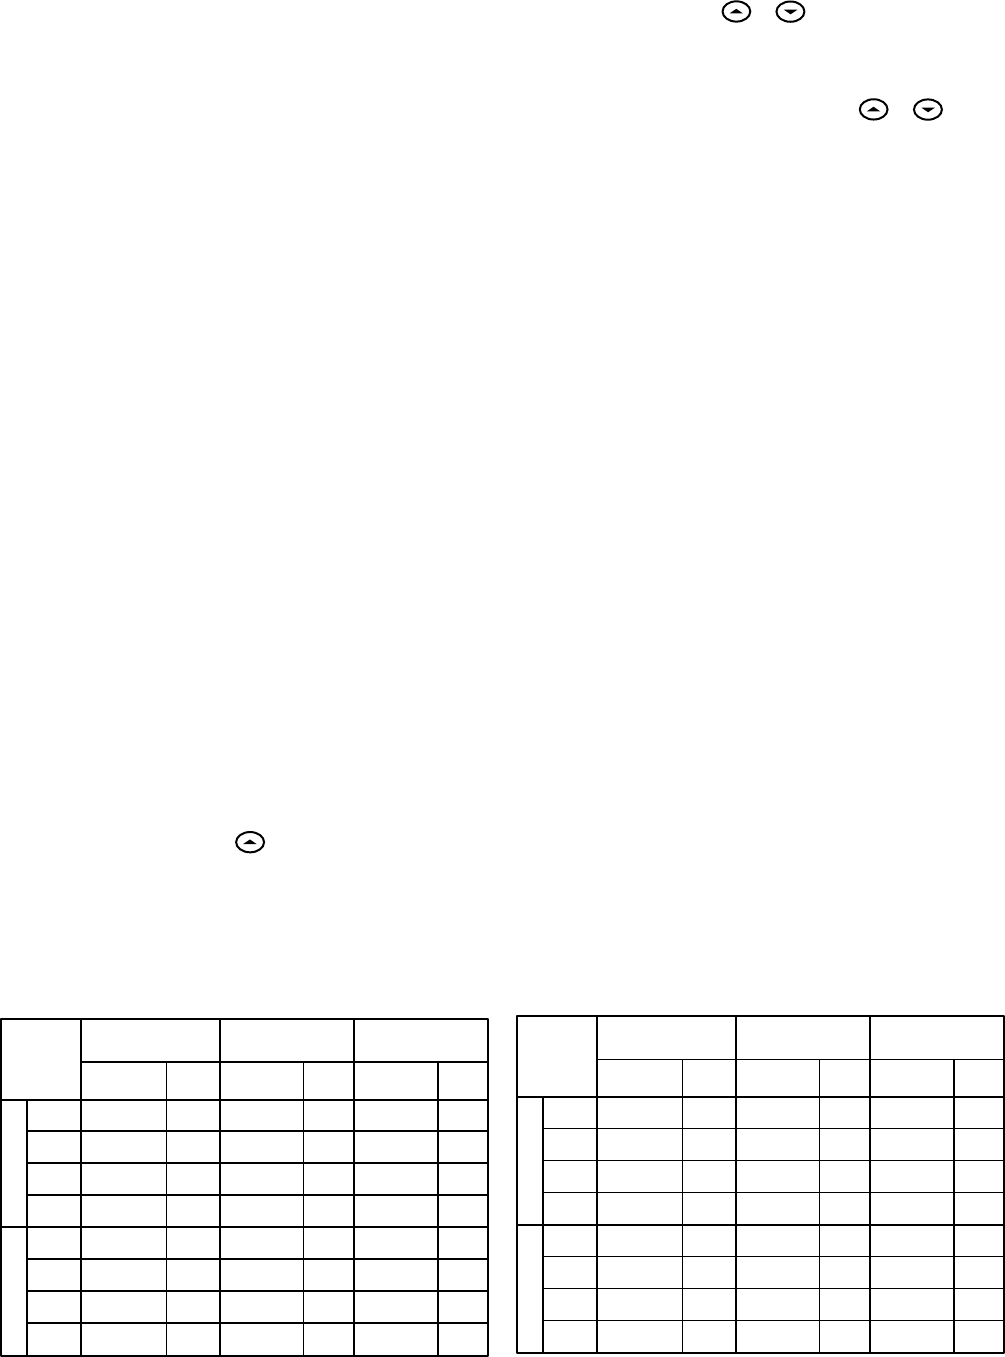
Look at the factory preprogrammed times and temperatures
shown in the sample schedule. If this program will suit your
needs, simply press the RUN button to begin running the factory
preset program.
If you want to change the preprogrammed times and tempera-
tures, follow these steps.
Determine the time periods and temperatures for your program.
You must program four periods for each day. However, you may
use the same heating and cooling temperatures for consecutive
time periods. You can choose start times, heating temperatures,
and cooling temperatures independently (for example, you
may select 5:00 AM and 70° as the weekday 1st period heating
start time and temperature, and also choose 7:00 AM and 76°
as the weekday 1st period cooling start time and temperature).


