


08905153B - 28 -
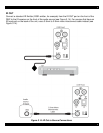
4. Settings & Operation
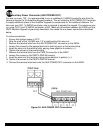
DIP Switch Settings
There are two groups of DIP switches on the rear panel of the D5RH that must be set prior to
operation:
• SOURCE INPUT GAIN
• KEYPAD PAIRING
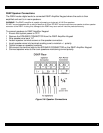
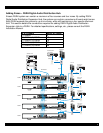
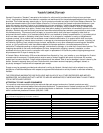
ANALOG SOURCE INPUT GAIN
Analog Audio SOURCE 3 and 4 have a corresponding DIP switch to adjust the input level relative to
the other sources. Once all connections are made, the Analog Audio Source should be adjusted for
clipping (distortion) before the installation is completed.
To adjust ANALOG SOURCE INPUT GAIN DIP switches:
1 Ensure that the Analog Audio Source is connected properly to SOURCE 3 or 4.
2 Power up each source and turn on an audible signal (Press PLAY, tune to a station, etc.).
3 Select the Source (3 or 4) from the zone’s D5KP Amplifier Keypad.
4 Adjust the zone’s volume to a normal, comfortable listening level.
5 Select SOURCE 1 and then SOURCE 2 and compare the levels to SOURCE 3 and/or SOURCE
4.
6 If the analog source(s) are playing at a softer volume than the other sources, position the DIP
switch for that source to the BOOST (UP) position.
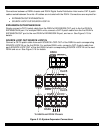
7 Observe the CLIP LED on the front of the D5RH. If it lights up constantly or consistently, the
source’s output level is too high and needs to be adjusted. In this case, position the appropriate
DIP switch to the DEFAULT (DOWN) position.
8 Repeat this process for the other analog source.
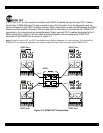
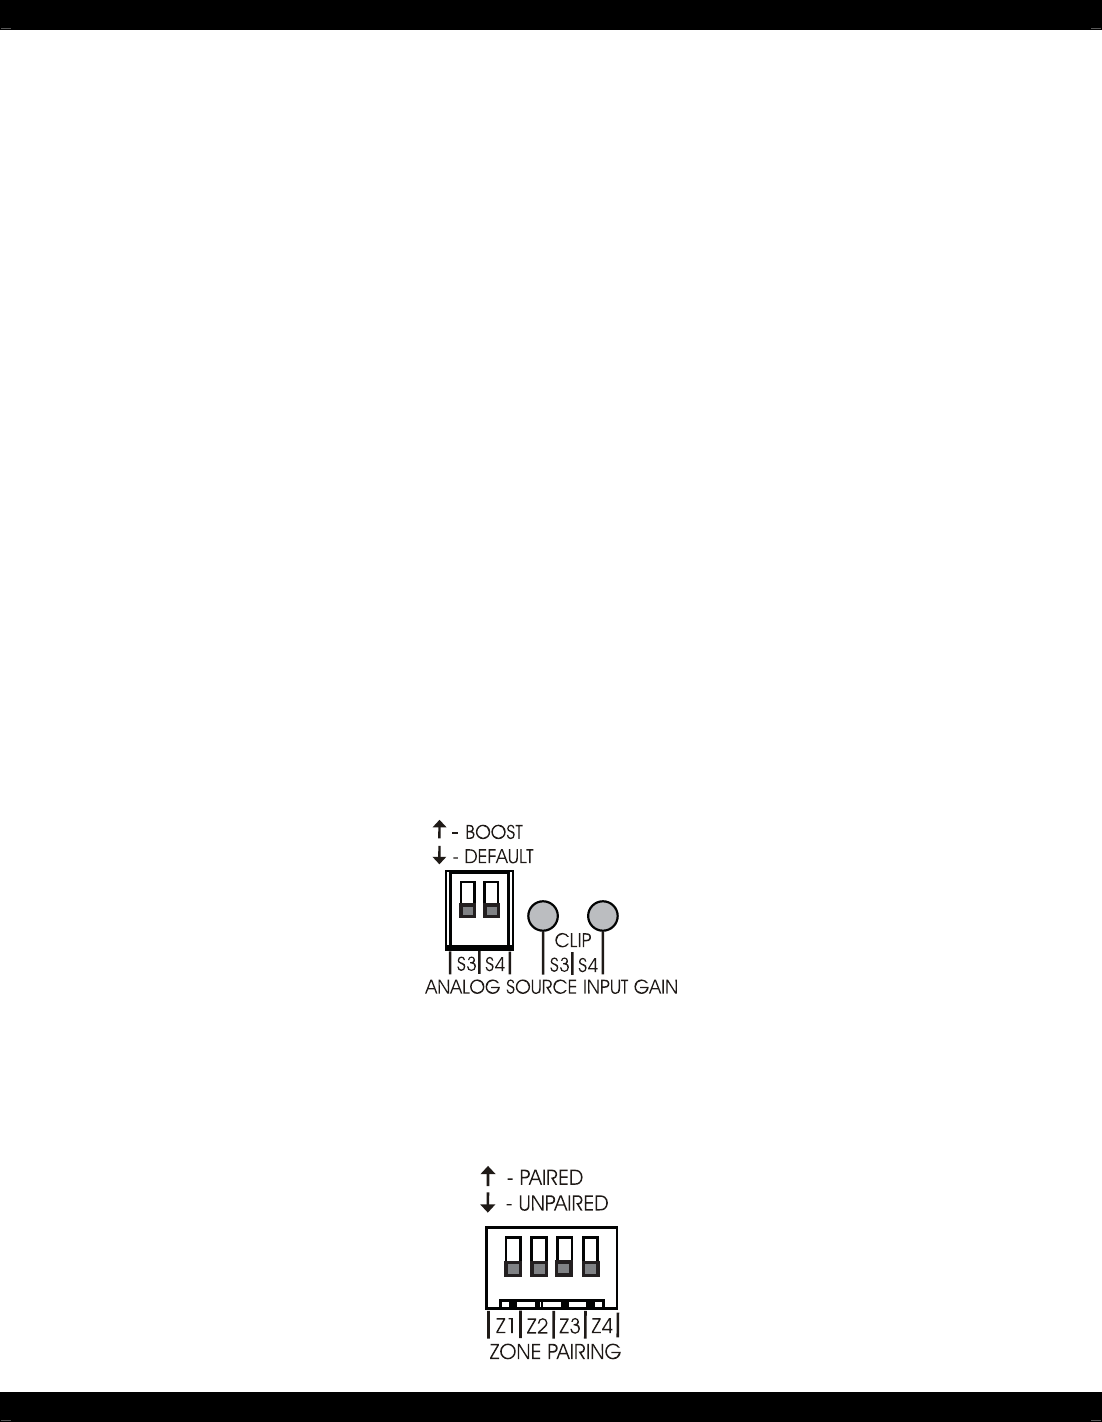
ZONE PAIRING
The ZONE PAIRING DIP switches allow each of the zones to be paired or grouped with any other
zone. Any zone that is in the UP position will be paired with any other zone that is also placed in the
UP position. This feature is useful to create large “party” zones where combined areas of the house
share audio and system control.