Page 42 Xerox Document Centre User Guide
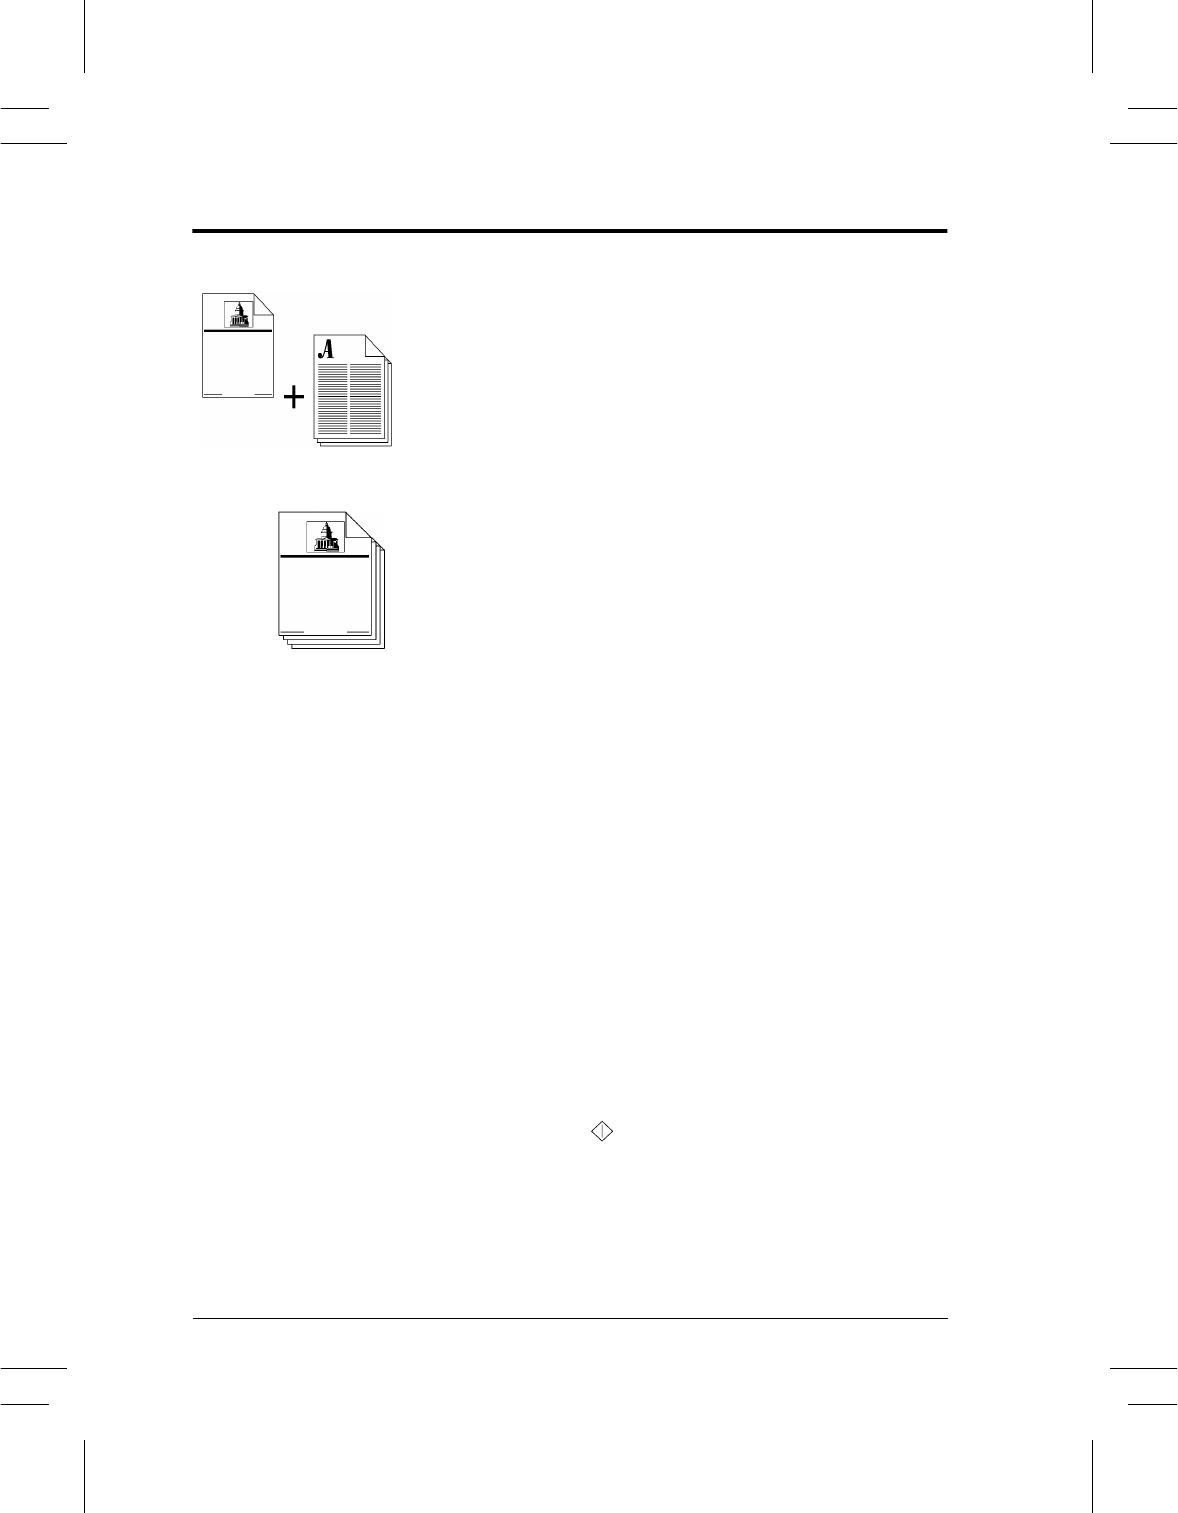
Adding covers
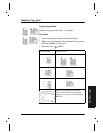
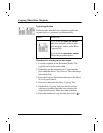
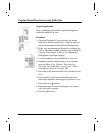
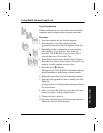
Typical Application
Add covers to any set of documents.
Procedure
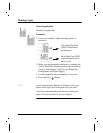
1. Load the cover stock into the Bypass Tray or any
appropriate paper tray.
2. Load your originals into the Document Feeder.
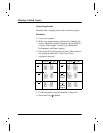
3. Make your programming selections by touching the
screen. The most common selections are on the Basic
Copying Tab (Output, 2-sided Copy, Reduction/
Enlargement, and Paper Supply).
4. Use the keypad to enter the number of copy sets.
5. Depending on the configuration of your machine
press the More Copy Features Tab or the Image
Adjustment Tab.
6. Press the Image Quality button then select the
appropriate Original Type.
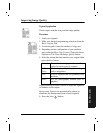
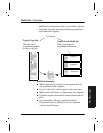
7. Press the Output Format Tab and select Covers.
Select where you want the cover positioned - Front,
Back, or Front and Back then press the Save button.
(Refer to the Reference Guide for more information
on Covers).
8. Press Output Cover Images to select the sides imaged
for the cover and press the Save button.
9. Press the Cover Stock button to select the tray where
the cover stock is loaded.
10.Press the Start ( ) button.


