


SYSGEN AND SYSGEN-RELATED PROCEDURES
XEROX DOCUPRINT 180 LPS SYSTEM GENERATION GUIDE 4-9
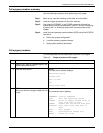
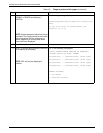
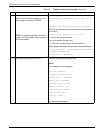
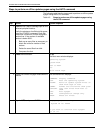
12. Key in SYSGEN and press <ENTER>. * Sysgen program running *
System ID is: xxxxx
Do you want to enter a new system id?
’y’ or ’n’
13. Enter N and <ENTER> to allow the sysgen
to continue. Go to step 15.
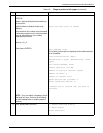
14. Enter Y and <ENTER> to allow the
previously entered ID to be changed.
Key in the new ID and press <ENTER>.
NOTE: When you enter N, sysgen will
continue. If you enter Y, you will be able to
change the system ID again.
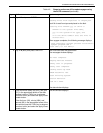
Enter system ID of up to 30 characters
....*....*....*....*....*....*
>
* System ID IS: xxxxx
Do you want to enter a new system id?
’y’ or ’n’
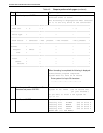
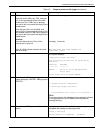
15. If configured, enter the Ethernet address
provided by Xerox and press <ENTER>.
This option is not supported on the DocuPrint 180 LPS.
Selection of option 15 has no effect on the LPS
Enter Ethernet Network Address
>
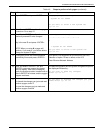
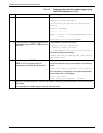
16. Enter Y or N and <ENTER>. A Y and
<ENTER> response causes the change
menu to display. Each time a change is
made, the change question is asked until an
N and <ENTER> is entered, and the sysgen
program continues.
The base configuration and the system configuration options
are displayed followed by:
Do you wish to make any changes?
Enter ’y’ or ’n’
>
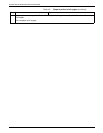
17.
To discard the changes you just made and
continue sysgen, enter Y.
To save the changes you just made and
continue sysgen, enter N.
Do you want to discard the changes you just
made? Enter ’y’ or ’n’
>
Table 4-2. Steps to perform a full sysgen (continued)
Step Action System response