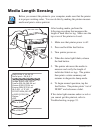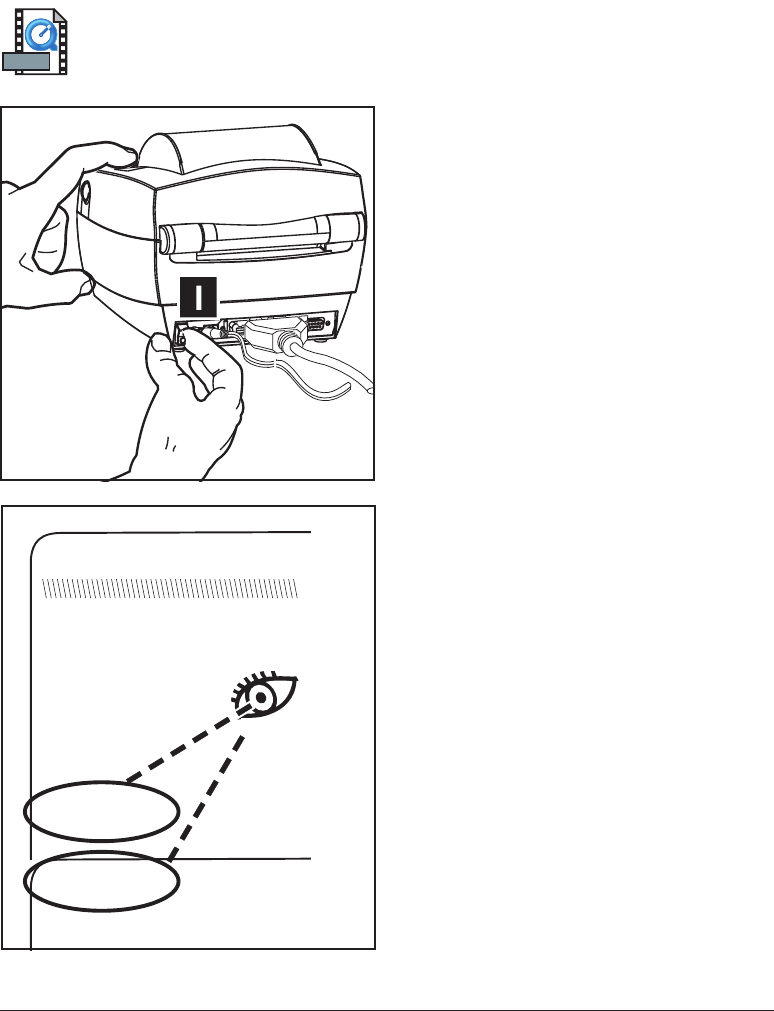
Media Length Sensing
Before you connect the printer to your computer, make sure that the printer
is in proper working order. You can do this by making the printer measure
media and print a status printout.
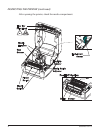
After loading media, perform the
following procedure that measures the
length of each label or tag. Make sure the
top cover of the printer is closed.
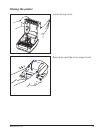
1. Make sure that printer power is off.
2. Press and hold the feed button.
3. Turn printer power on.
4. When the status light blinks, release
the feed button.
5. The printer advances the media to
measure and verify the length of
individual labels or tags. The printer
then prints a status summary and
remains in diagnostic dump mode.
6. To begin normal operation, tap the
feed button. The printer prints "out of
DUMP" and advances a label.
If the status light remains amber or red or
you cannot get this printout, refer to
Troubleshooting on page 33.
12 980483-001A
UKQ2933H U V4.28.19
1032
0.9
331
mem:000K,0331K avl
JF WY
2 07 24
1200 1500
oRO
06 10 16
Serial port : 96,N,8,1
Image buffer size: K
Fmem:000,0K,06 K avl
Gmem:000K,0 K avl
E
I8,0,001 rY
S D R0 ,000 ZT UN
q Q ,036
Option:
now in DUMP
out of DUMP
MOVIE


