


Chapter 2 Hardware Description and Connection
ES1100 Series User’s Guide
16
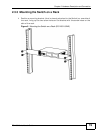
Note: The ES1100-16/24E is a desktop device, but it is also rackmountable and
wall-mountable. Ask an authorized technician to attach the Switch to the
rack/wall.
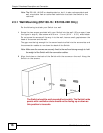
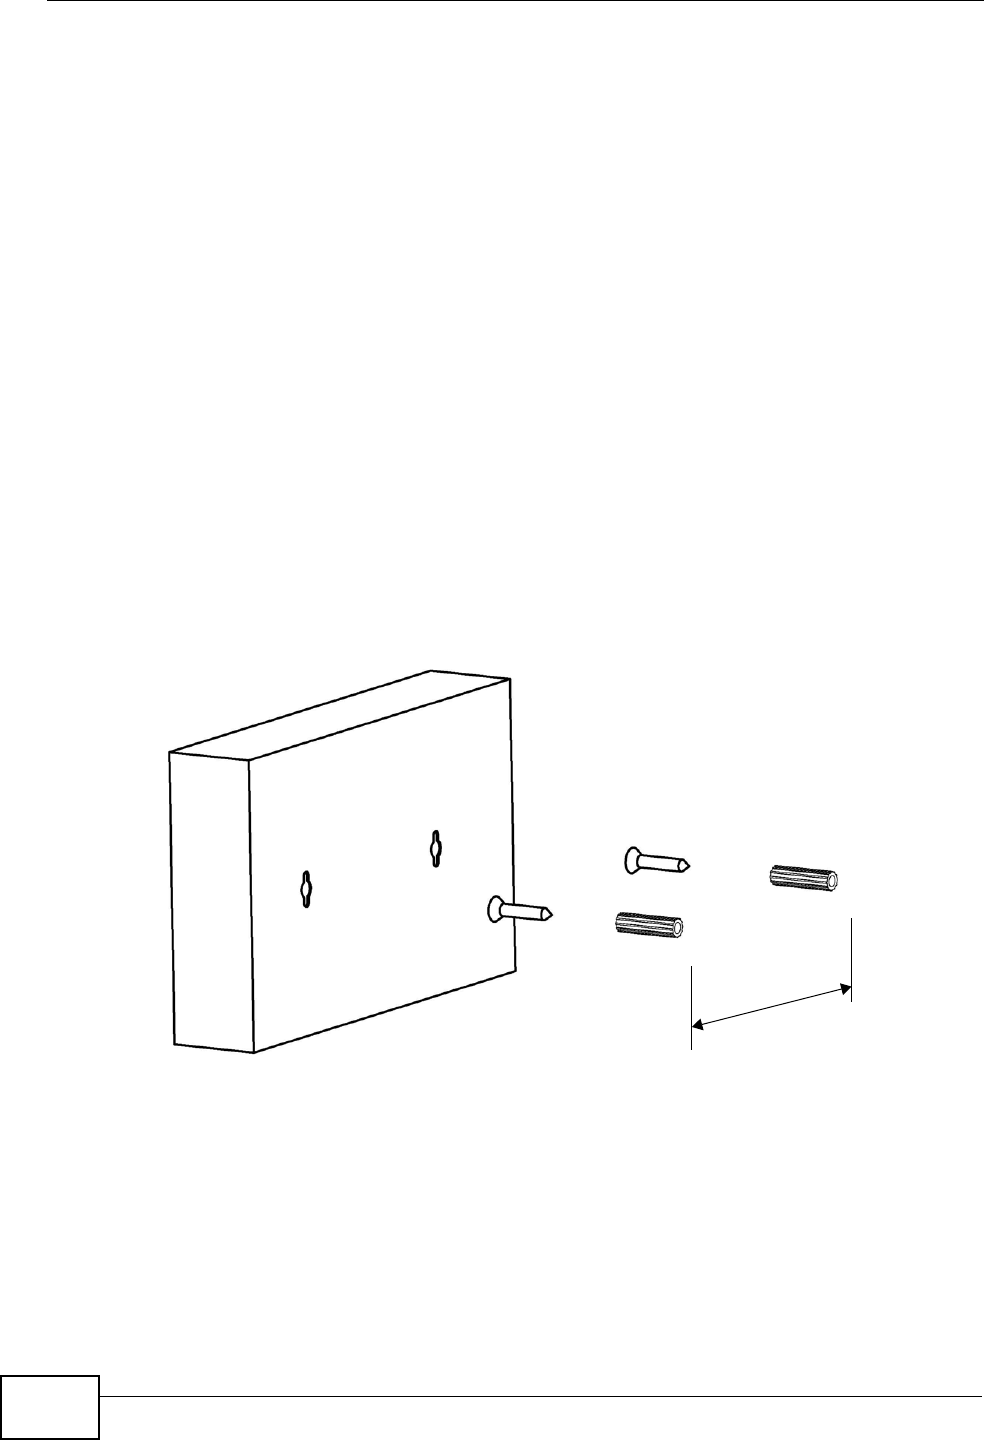
2.3.1 Wall Mounting (ES1100-16 / ES1100-24E Only)
Do the following to attach your Switch to a wall.
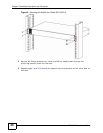
1 Screw the two screws provided with your Switch into the wall 150 mm apart (see
the figure in step 2). Use screws with 6 mm ~ 8 mm (0.24" ~ 0.31") wide heads.
Do not screw the screws all the way in to the wall; leave a small gap between the
head of the screw and the wall.
The gap must be big enough for the screw heads to slide into the screw slots and
the connection cables to run down the back of the Switch.
Note: Make sure the screws are securely fixed to the wall and strong enough to hold
the weight of the Switch with the connection cables.
2 Align the holes on the back of the Switch with the screws on the wall. Hang the
Switch on the screws.
The Switch should be wall-mounted horizontally. The Switch's side
panels with ventilation slots should not be facing up or down as
this position is less safe.
1
5
0
m
m