3434
3434
34
ASRock P45R2000-WiFi / P45R2000 / P45TurboTwins2000 Motherboard
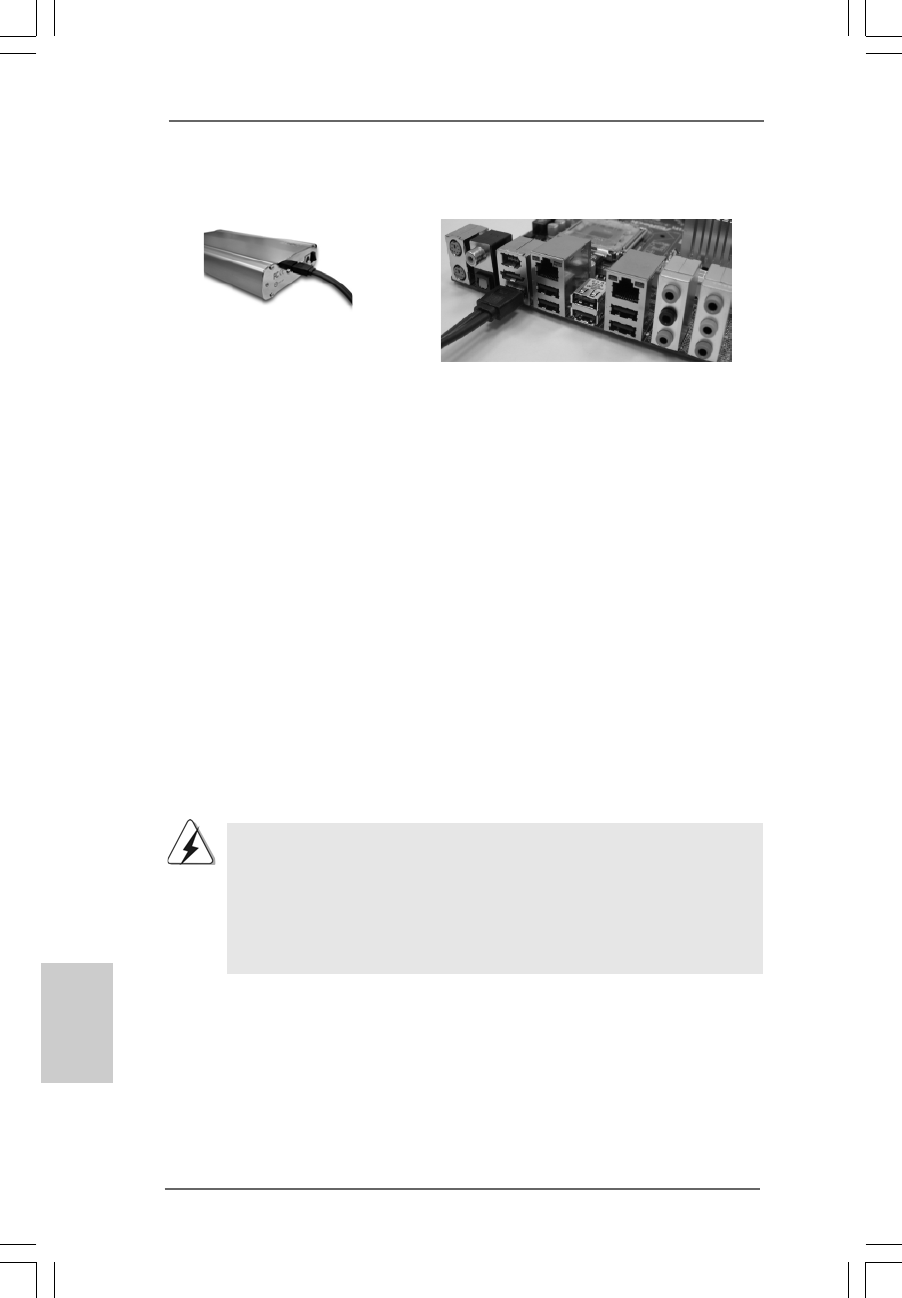
Connect one end of the eSATAII
device cable to eSATAII device
Connect the other end of the eSATAII device
cable to eSATAII port of the I/O shield
EnglishEnglish
EnglishEnglish
English
3. Use the eSATAII device cable to connect eSATAII device and the eSATAII port of
the I/O shield.
2.112.11
2.112.11
2.11
Serial ASerial A
Serial ASerial A
Serial A
TT
TT
T
A (SAA (SA
A (SAA (SA
A (SA
TT
TT
T
A) / Serial AA) / Serial A
A) / Serial AA) / Serial A
A) / Serial A
TT
TT
T
AII (SAAII (SA
AII (SAAII (SA
AII (SA
TT
TT
T
AII) Hard DisksAII) Hard Disks
AII) Hard DisksAII) Hard Disks
AII) Hard Disks
InstallationInstallation
InstallationInstallation
Installation
P45R2000-WiFi / P45R2000 adopts Intel
®
ICH10R south bridge chipset that supports
Serial ATA (SATA) / Serial ATAII (SATAII) hard disks and RAID (RAID 0, RAID 1, RAID
10, RAID 5, and Intel Matrix Storage) functions. P45TurboTwins2000 adopts Intel
®
ICH10 south bridge chipset that supports Serial ATA (SATA) / Serial ATAII (SATAII)
hard disks. You may install SATA / SATAII hard disks on this motherboard for internal
storage devices. This section will guide you to install the SATA / SATAII hard disks.
STEP 1: Install the SATA / SATAII hard disks into the drive bays of your chassis.
STEP 2: Connect the SATA power cable to the SATA / SATAII hard disk.
STEP 3: Connect one end of the SATA data cable to the motherboard’s SATAII
connector.
STEP 4: Connect the other end of the SATA data cable to the SATA / SATAII hard
disk.
1. If you plan to use RAID 0, RAID 1, RAID 10 or Intel Matrix Storage
function, you need to install at least 2 SATA / SATAII hard disks. If you
plan to use RAID 5 function, you need to install at least 3 SATA / SATAII
hard disks.
2. It is not recommended to switch the “Configure SATAII as” setting after
OS installation.
2.122.12
2.122.12
2.12
Driver Installation Guide Driver Installation Guide
Driver Installation Guide Driver Installation Guide
Driver Installation Guide
To install the drivers to your system, please insert the support CD to your optical drive
first. Then, the drivers compatible to your system can be auto-detected and listed on
the support CD driver page. Please follow the order from up to bottom side to install
those required drivers. Therefore, the drivers you install can work properly.
