96
* The skin colors of non-human subjects may also be altered.
You may not obtain the expected results depending on the skin color.
1 Press the FUNC. button to select (My Colors)* with
the
S
or
T
button, then select the desired My Colors
mode with with the
W
or
X
button.
* The current setting is displayed.
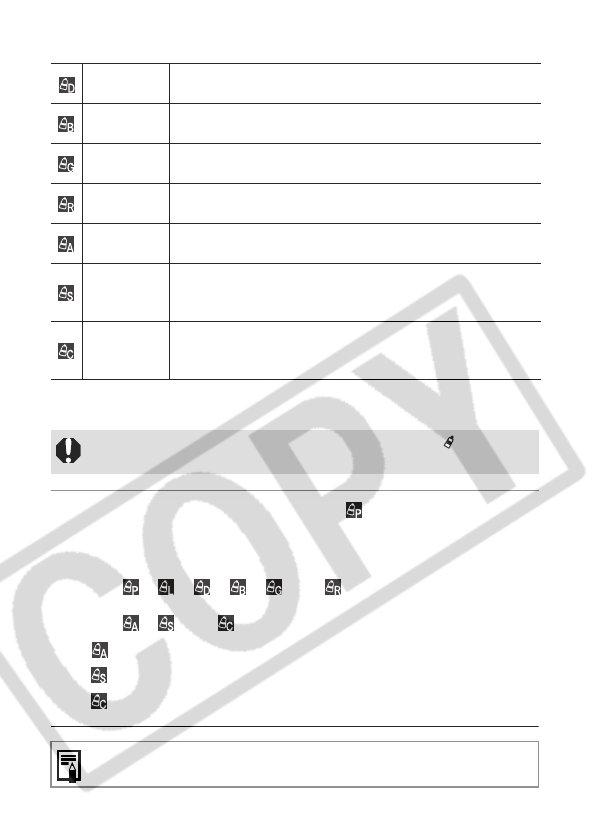
z With , , , , and , press the FUNC. button to
return to the shooting screen and start shooting.
z With , and , refer to each shooting procedure.
: See Shooting in the Color Accent Mode (p. 98).
: See Shooting in the Color Swap Mode (p. 98).
: See Shooting in the Custom Color Mode (p. 100).
Darker Skin
Tone*
Use this option to make skin tones darker.
Vivid Blue
Use this option to emphasize blue tints. It makes blue subjects, such as
the sky or ocean, more vivid.
Vivid Green
Use this option to emphasize green tints. It makes green subjects, such
as mountains, new growth, flowers and lawns, more vivid.
Vivid Red
Use this option to emphasize red tints. It makes red subjects, such as
flowers or cars, more vivid.
Color Accent
Use this option to have only the color specified in the LCD monitor
remain and to transform all others to black and white.
Color Swap
Use this option to transform a color specified in the LCD monitor into
another. The specified color can only be swapped into one other color,
multiple colors cannot be chosen.
Custom Color
Use this option to freely adjust the color balance between red, green,
blue and skin tones*. It can be used to make subtle adjustments, such
as making blue colors more vivid or face colors brighter.
To shoot a movie using My Colors, first set the mode dial to (My Colors)
and select the My Colors mode to use, then press the movie button.
See page 184 for settings that can be changed in this mode.
