76 Chapter 4 Copying ENWW
Note The page icon in the Original section of the graphical display shows a representative image of
the original document.
7 Make any necessary adjustments to the contrast and reduction or enlargement by using the
Contrast Control bar and the Reduce/Enlarge button in the image modification section of
the graphical display.
8 Touch Copy to view your options. You can select Basic options or Advanced options.
9 Touch the Basic items that describe the characteristics of the copies you are making. The
following options are available:
• Size and Type: Select Auto (paper size is matched to original size), or the copy size that
you desire. Be sure that you have loaded the correct paper size in the tray.
• Number of Sides: Select 1-sided or 2-sided.
• Back Side Orientation: Select Normal or Flip (applies when 2-sided copying is
chosen),
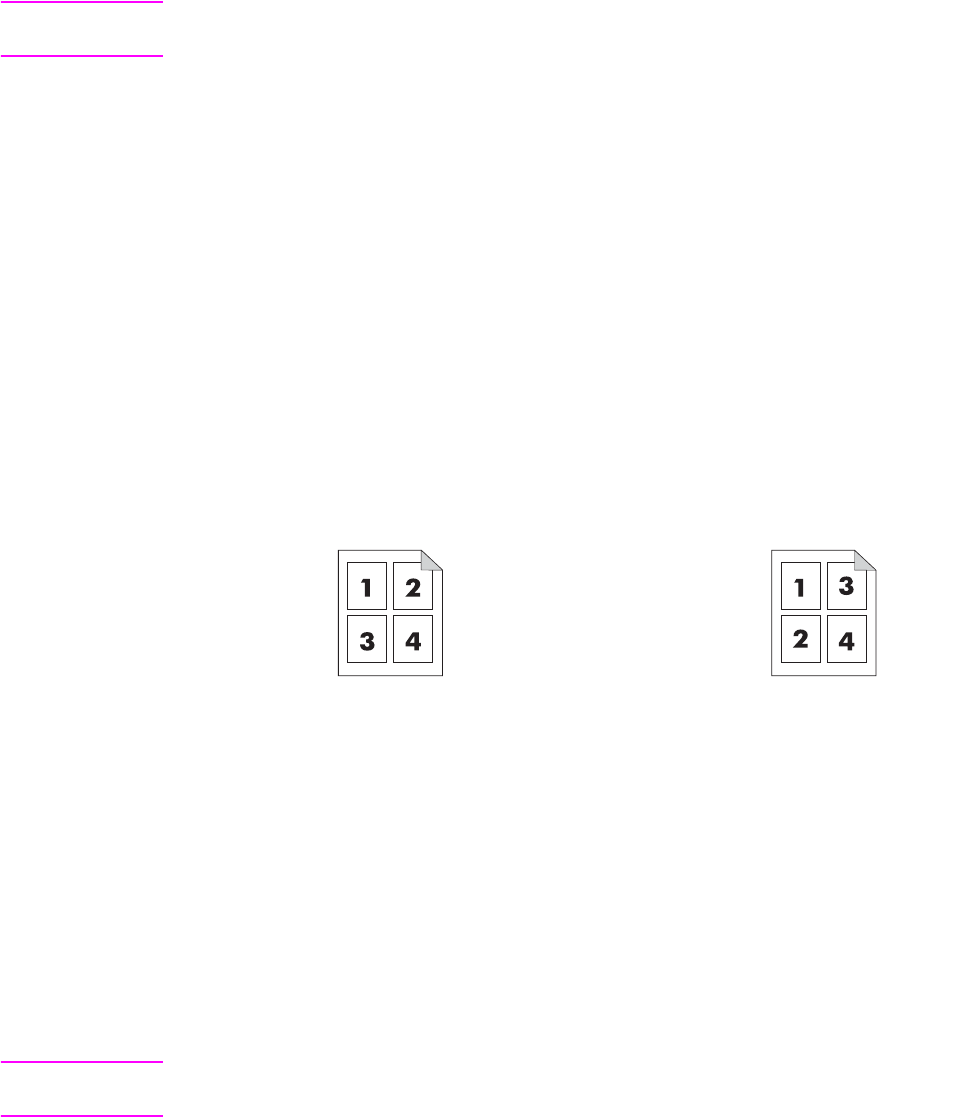
• Pages per sheet: Select 1, 2, 4, or Booklet.
If you select 4 pages per sheet, “Z” or “N” ordering is tailored to the page orientation, and the
option to put a border around each smaller page is displayed.
.
• Borders: Select Border or No Border.
• Staple: Stapling options depend on your output device and the paper size selected.
10 Touch the Advanced options, if necessary. Some of the options include the following items:
• Collation: Select Collated or Uncollated.
• Output Bin: Select the appropriate bin.
• Job Storage: Select On to indicate that the copy job should be stored on the MFP rather
than printed. Select Off to copy the job normally. See Creating a stored copy job for more
information.
• Enhance: touch Sharpness or Background Removal.
Note The page icon in the Copy section of the graphical display shows a representative image of the
copy.
11 Use the numeric keypad to type the number of copies, and then press
START.
“Z” ordering
“N” ordering


