In Windows 7 or earlier
a
Click or click Start, and then click Run.
b In the Start Search or Run dialog, type D:\setup.exe.
c Press Enter or click OK.
Note: D is the letter of your CD or DVD drive.
4 Click Install, and then follow the instructions on the computer screen.
5 Select Wireless connection when asked to choose a connection type.
6 From the Wireless Configuration dialog, select Guided Setup (Recommended).
Note: Choose Advanced Setup only if you want to customize your installation.
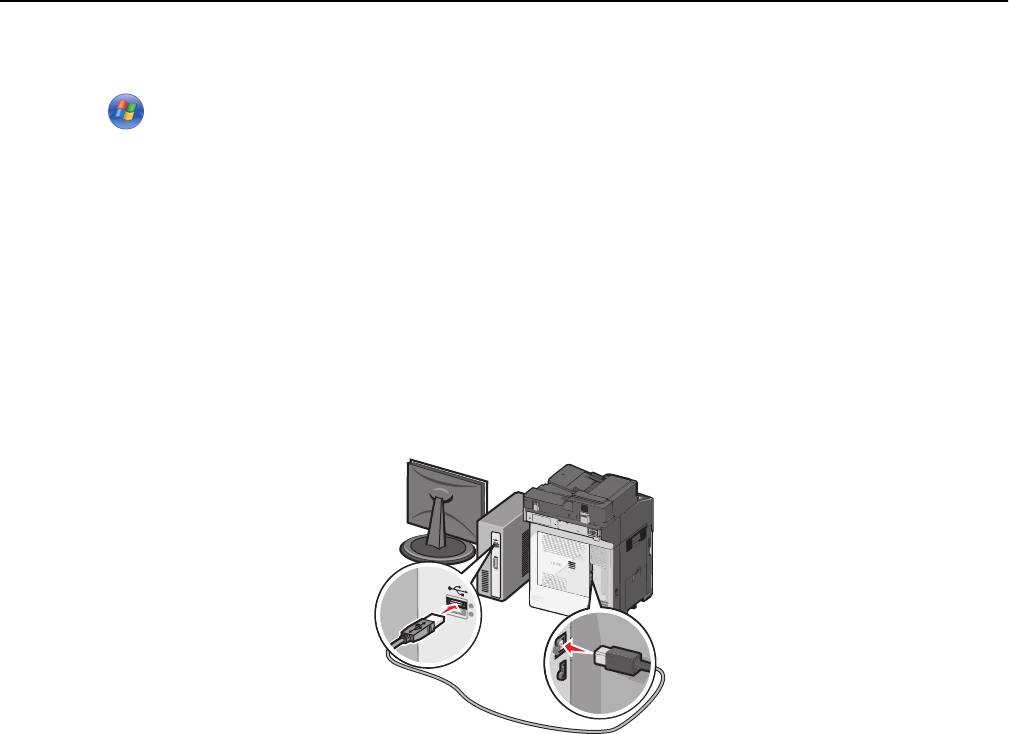
7 Temporarily connect a USB cable between the computer on the wireless network and the printer.
Note: After the printer is configured, the software will instruct you to disconnect the temporary USB cable so
you can print wirelessly.
8 Follow the instructions on the computer screen.
Note: For more information on allowing other computers on the network to use the wireless printer, see the
Networking Guide.
Installing the printer on a wireless network (Macintosh)
Note: Make sure to disconnect the Ethernet cable when installing the printer on a wireless network.
Prepare to configure the printer
1
Connect the power cord to the printer, then to a properly grounded electrical outlet, and then turn on the printer.
Additional printer setup 52
