Clearing jams
Clearing jams
By carefully selecting paper and loading it properly, you can avoid most jams. If jams do occur, follow the steps
outlined in this section.
To clear a jam message and resume printing, clear the entire paper path, and then touch Continue. If Jam Recovery
is set to On, then the printer prints a new copy of the page that jammed. If Jam Recovery is set to Auto, then the
printer reprints the jammed page if enough printer memory is available.
Understanding jam messages and locations
Note: To resolve any message, all paper or specialty media must be cleared from the entire paper path.
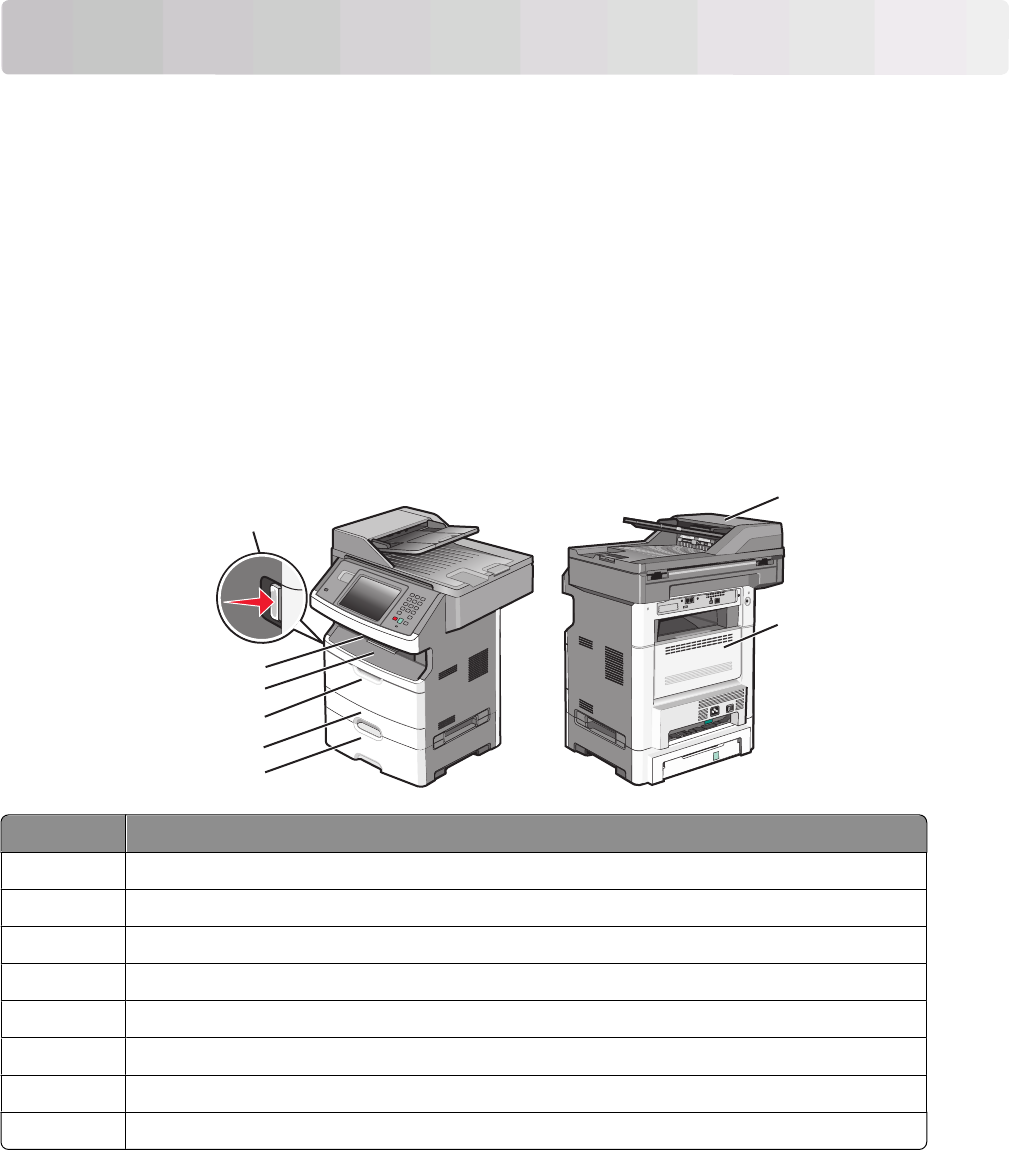
Open doors and remove trays to access jam areas. The following illustration shows possible jam areas:
3
1
4
5
6
2
7
8
Access point Description
1
Push the button to open the front door. Inside are the toner cartridge and photoconductor kit.
2
Standard exit bin
3 Front door
4
Manual or multipurpose feeder door
5 Standard 250-sheet tray (Tray 1)
6
Optional 250- or 550-sheet tray (Tray 2)
7
Rear door
8
Automatic Document Feeder (ADF)
Clearing jams
238
