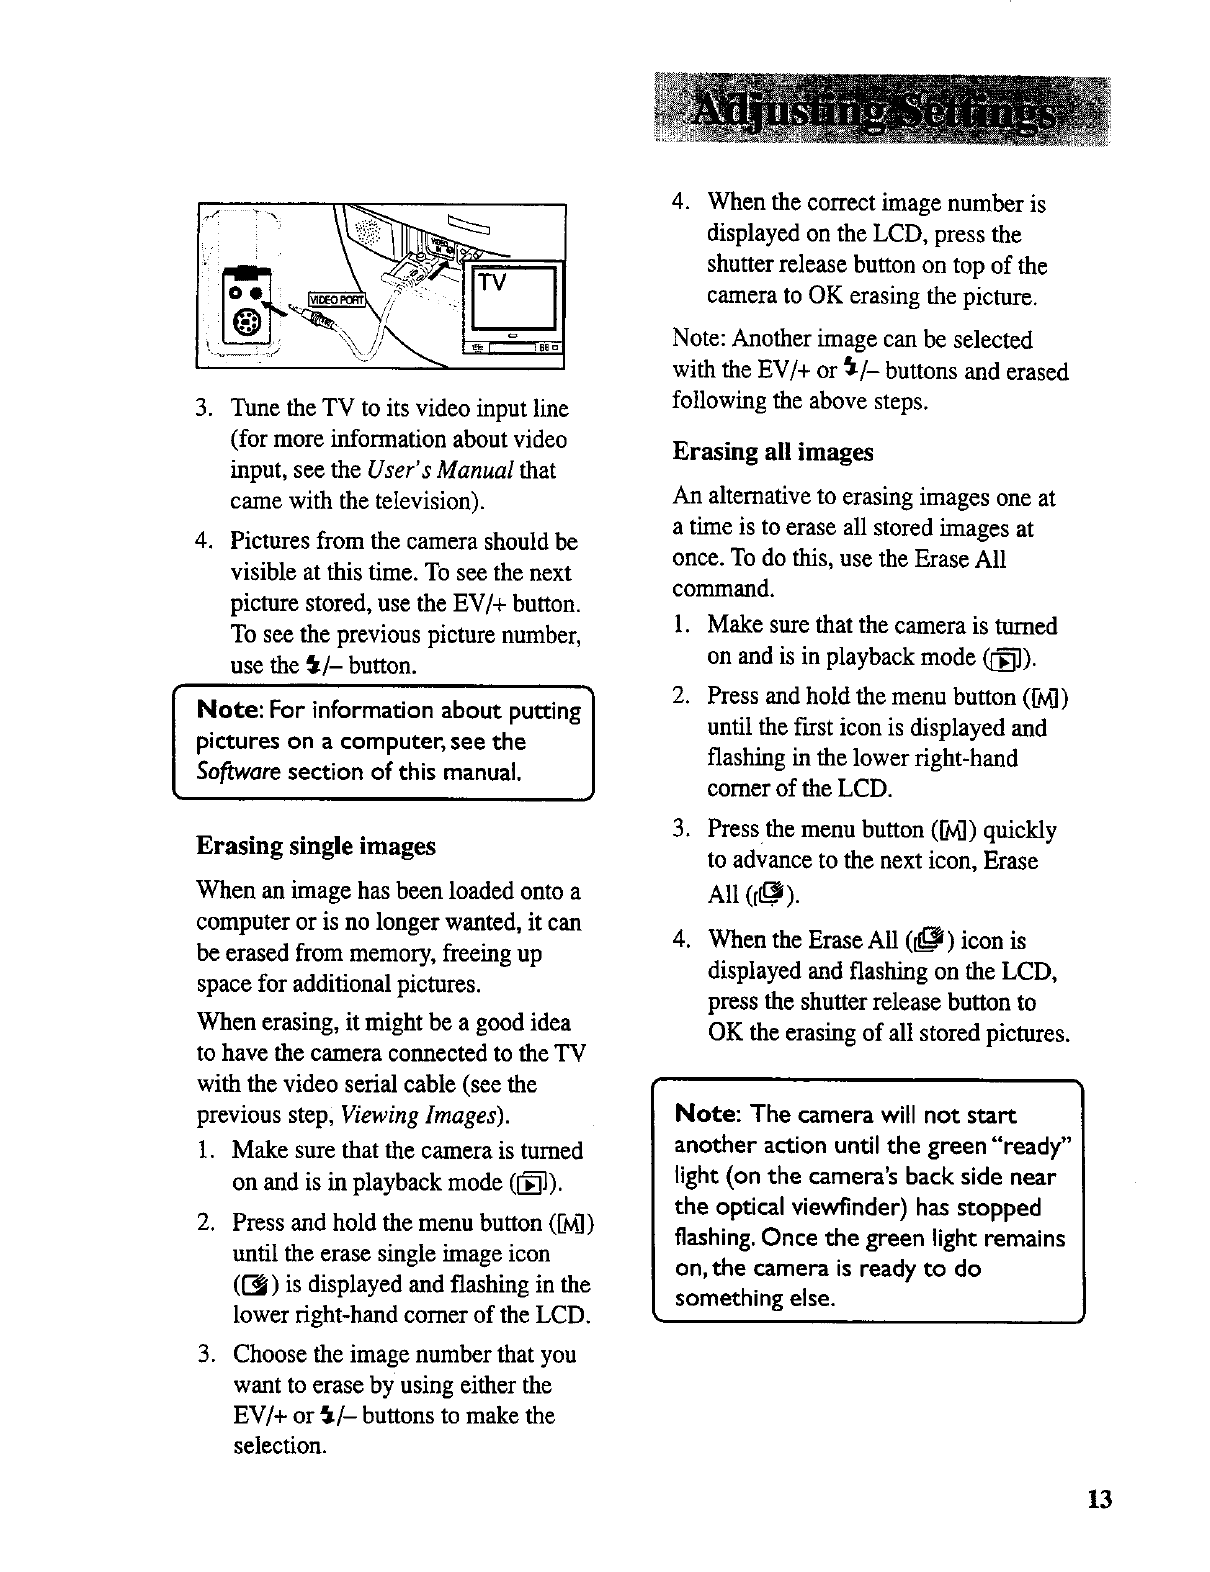
[
.
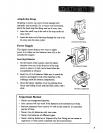
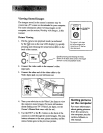
Tune the TV to its video input line
(for more information about video
input, see the User's Manual that
came with the teIevision).
4. Pictures from the camera should be
visible at this time. To see the next
picture stored, use the EV/+ button.
To see the previous picture number,
use the _t/- button.
Note: For information about putting]
l
pictures on a computer, see the
Software section of this manual.
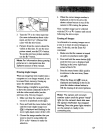
Erasing single images
When an image has been loaded onto a
computer or is no longer wanted, it can
be erased from memory, freeing up
space for additional pictures.
When erasing, it might be a good idea
to have the camera connected to the TV
with the video serial cable (see the
previous step, Viewing Images).
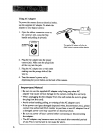
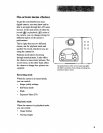
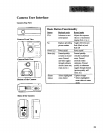
1. Make sure that the camera is turned
on and is in playback mode (1_).
2. Press and hold the menu button ([M])
until the erase single image icon
(U_J)is displayed and flashing in the
lower right-hand comer of the LCD.
3. Choose the image number that you
want to erase by using either the
EV/+ or W- buttons to make the
selection.
4. when the correct image number is
displayed on the LCD, press the
shutter release button on top of the
camera to OK erasing the picture.
Note: Another image can be selected
with the EV/+ or _/- buttons and erased
following the above steps.
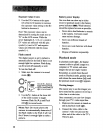
Erasing all images
An alternative to erasing images one at
a time is to erase all stored images at
once. To do this, use the Erase All
command.
.
2.
.
.
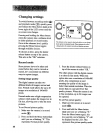
Make sure that the camera is turned
on and is in playback mode (I_).
Press and hold the menu button ([_)
until the first icon is displayed and
flashing in the lower right-hand
comer of the LCD.
Press the menu button ([_) quickly
to advance to the next icon, Erase
All (fL._).
when the Erase All (Lt_) icon is
displayed and flashing on the LCD,
press the shutter release button to
OK the erasing of all stored pictures.
Note: The camera will not start
another action until the green "ready"
light (on the camera's back side near
the optical viewfinder) has stopped
flashing. Once the green light remains
on, the camera is ready to do
something else.
13