11
MZ-E10
SECTION 5
ELECTRICAL ADJUSTMENTS
5-1. GENERAL
In this set, CD and MO discs can be automatically adjusted by set-
ting the Overall Adjustment mode within the TEST MODE,
Before performing these automatic adjustments, it is necessary to
clear the memory, adjust the power charge and temperature in the
Manual mode.
5-2. NOTES FOR ADJUSTMENT
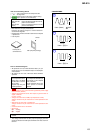
5-2-1. Jigs
• CD disc TDYS-1 (part code: 4-963-646-01)
• MO disc PTDM-1 (part code: J-2501-054-A) (recorded)
• Digital voltmeter
• Thermometer
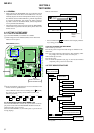
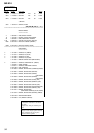
5-2-2. Adjustment sequence
The adjustments should be always performed in the following
sequence:
1 NV Initialize
(Clear the Non-Volatile memory)
2 Power supply voltage adjustment
3 Charge adjustments
4 Temperature adjustment
5 Overall CD adjustments
6 Overall MO adjustments
7 RESUME clear
Overall adjustment mode
Manual mode
Overall adjustment mode
Manual mode
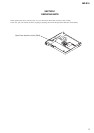
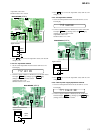
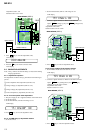
5-2-3. Power
In overall adjustment, the power is supplied from the internal bat-
tery (Li-Ion) and the charging stand simultaneously.
Turn S901 (BUILT-IN BATTERY) to ON.
Note: Be sure to place the set horizontally on the overall
adjustment.
5-3. NV Initialize
(Clear the Non-volatile memory)
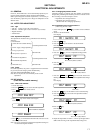
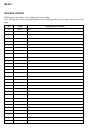
5-3-1. How to NV Initialize
1. Set the Test mode.
2. Press the
VOL –
kye and set the Overall adjustment.
3. Press
key on the remote control.
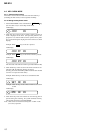
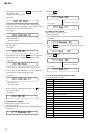
LCD display
000 Res OK?
4. Press key on the remote control again.
LCD display
000 Res ***
000 Reset
After initialize is completed.
5. Press
x
key. to terminate the Manual mode and return to the
Overall adjustment mode.
Note: The power, charging and temperature adjustment settings are
not cleared during NV initialize.
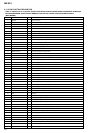
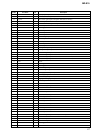
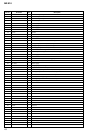
5-3-2. Changing Adjustment values
Adjustment settings are cleared when NV initialize is performed.
So right after performing NV initialize you must rewrite the correct
data according to the microcomputer version.
• Adjustment value change method 1
• Adjustment value change method 2
(Perform after the 7 charging adjustment)
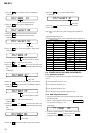
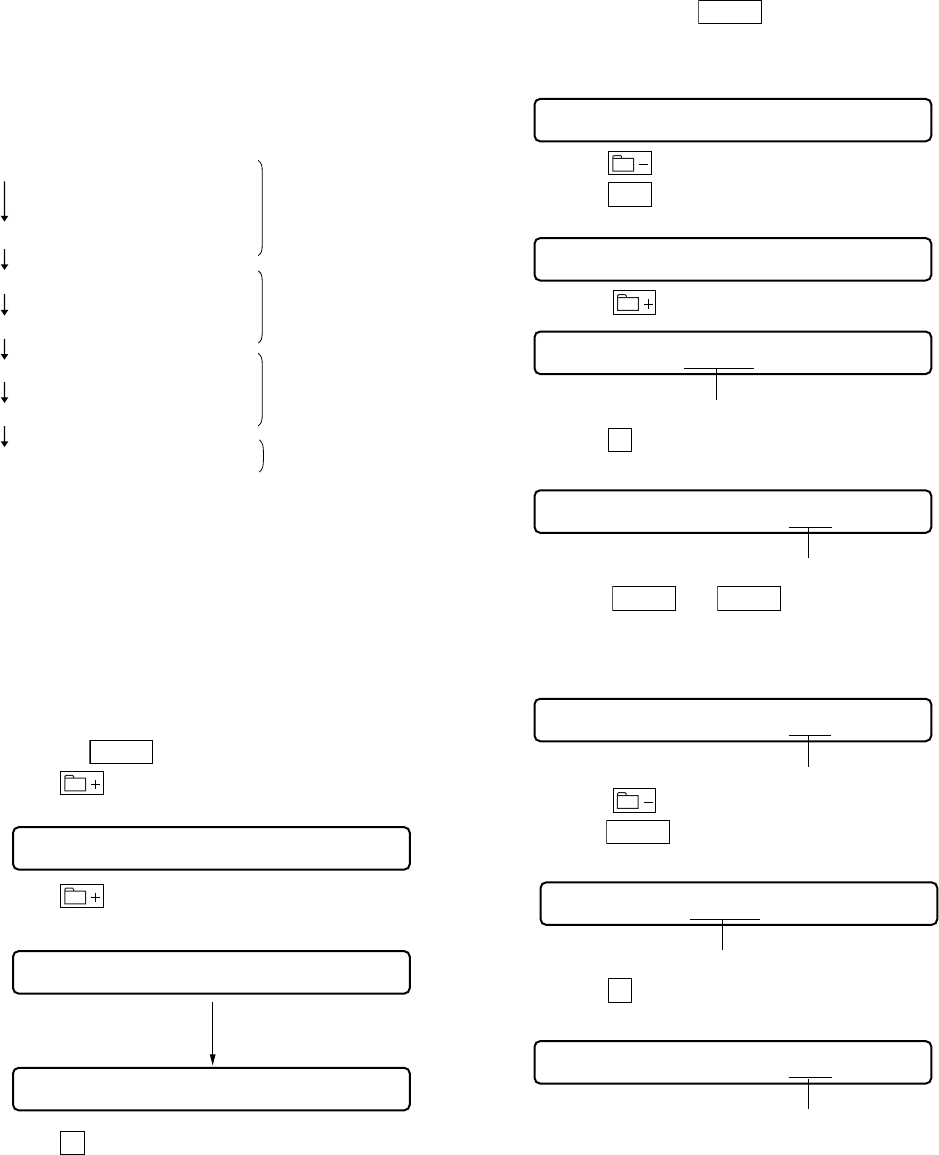
5-3-3 Adjustment value change method 1
(when using Version 1.000)
1. In test mode press the
VOL +
key and then switch to Manual
mode.
2. Set 861 as the item number.
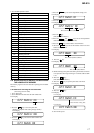
LCD display
861 VarB1k 00
3. Press the key.
4. Press the
>
key and set 862 as the item number.
LCD display
862 VarWrt 00
5. Press the key, and set in Adjustment change mode.
862 88C6 FF
This section (address) flashes.
6. Press the
x
key.
LCD display
862 88C6 FF
This section (data) flashes.
7. Press the
VOL +
and
VOL –
keys and set the value in the
flashing data section while referring to the adjustment data change
list.
LCD display
862 88C6 3F
Data value.
8. Press the key. and the address section starts flashing.
9. Press the
VOL +
key and set the next adjustment address.
LCD display
-
862 88C7 FF
This section (address) flashes.
10.Press the
x
key.
LCD display
862 88C7 FF
This section (data) flashes.
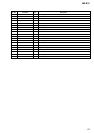
11.Repeat the adjustments in items 6 - 9 and set up through address
88D3 while referring to the Adjustment Data Change List.