29
Removing Taping Heads
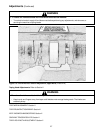
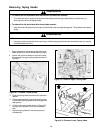
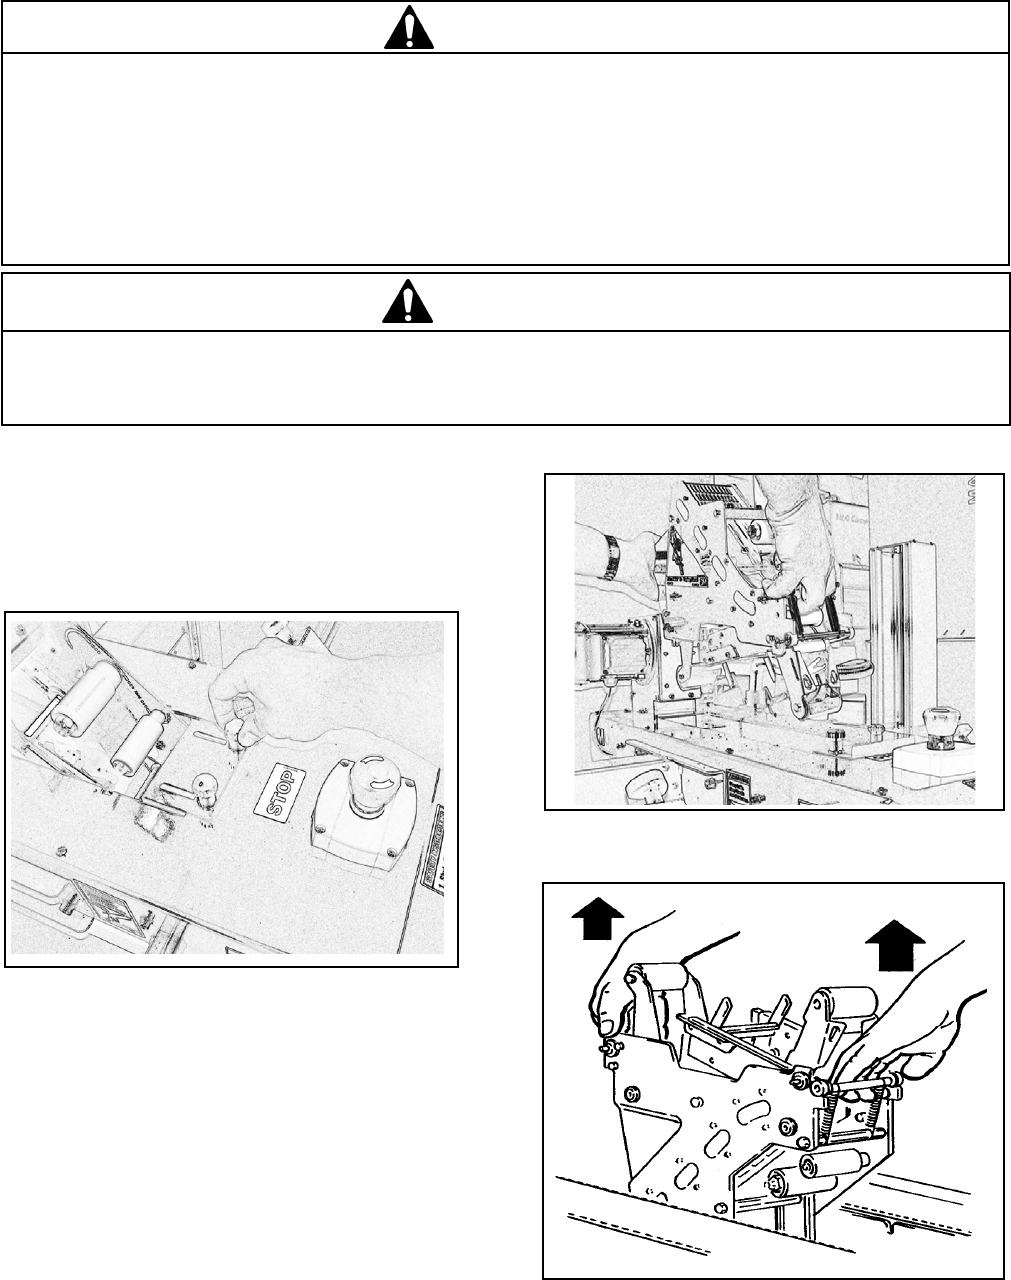
3. Slide the taping head forward and lift upward to
remove.
4. Raise upper assembly to provide working room
around lower taping head and remove tape from
taping head.
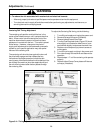
5. Lift the lower taping head, shown in Figure 6-3
straight up to remove it from the case sealer
bed.
7. Replace taping heads in the reverse order of
disassembly.
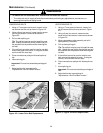
1. Remove tape from upper taping head and raise
upper assembly to a convenient working height.
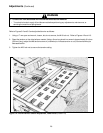
2. Loosen the thumb screws and move the clamp
that secures the upper taping head as shown in
Figure 6-1.
Figure 6-2—Remove Upper Taping Head
• To reduce the risk associated with sharp blade hazards:
− Keep hands and fingers away from tape cutoff blades under orange blade guards. The blades are extremely
sharp.
• To reduce the risk associated with mechanical and electrical hazards:
− Turn electrical and air supply off and disconnect before performing any adjustments, maintenance, or
servicing the machine or taping heads.
WARNING
Figure 6-3—Remove Lower Taping Head
• To reduce the risk associated with muscle strain:
− Use proper body mechanics when removing or installing taping heads that are moderately heavy or may be
considered awkward to lift.
WARNING
Figure 6-1—Loosen Thumb Screws


