


82 Chapter 3
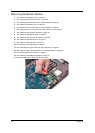
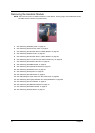
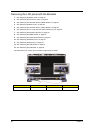
Removing the CPU
NOTE: Aspire 7738/7738G and Aspire 7735/7735G/7735Z/7735ZG Series uses the Intel® processor, while
Aspire 7535/7535G/7235 Series uses the AMD® processor. But the process in removing the CPU are
the same for all the models.
1. See “Removing the Battery Pack” on page 44.
2. See “Removing the SD Dummy Card” on page 45.
3. See “Removing the Hard Disk Drive 2 (HDD2) Module” on page 46.
4. See “Removing the Back Cover” on page 48.
5. See “Removing the Hard Disk Drive 1 (HDD1) Module” on page 48.
6. See “Removing the TV Tuner Card (for certain models only)” on page 50.
7. See “Removing the Wireless LAN Card” on page 52.
8. See “Removing the DIMM Module” on page 53.
9. See “Removing the Optical Drive Module” on page 54.
10. See “Removing the Middle Cover” on page 57.
11. See “Removing the Keyboard” on page 60.
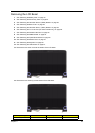
12. See “Removing the LCD Module” on page 61.
13. See “Separating the Upper Case from the Lower Case” on page 64.
14. See “Removing the Fingerprint/Button and Touchpad Boards” on page 68.
15. See “Removing the Launch Board” on page 70.
16. See “Removing the USB Board Module” on page 72.
17. See “Removing the Modem Module” on page 74.
18. See “Removing the Main Board” on page 75.
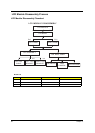
19. See “LCD Module Disassembly Process” on page 84.
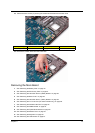
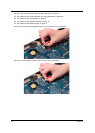
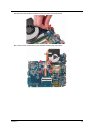
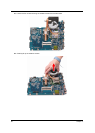
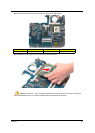
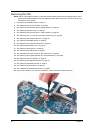
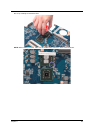
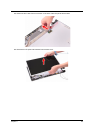
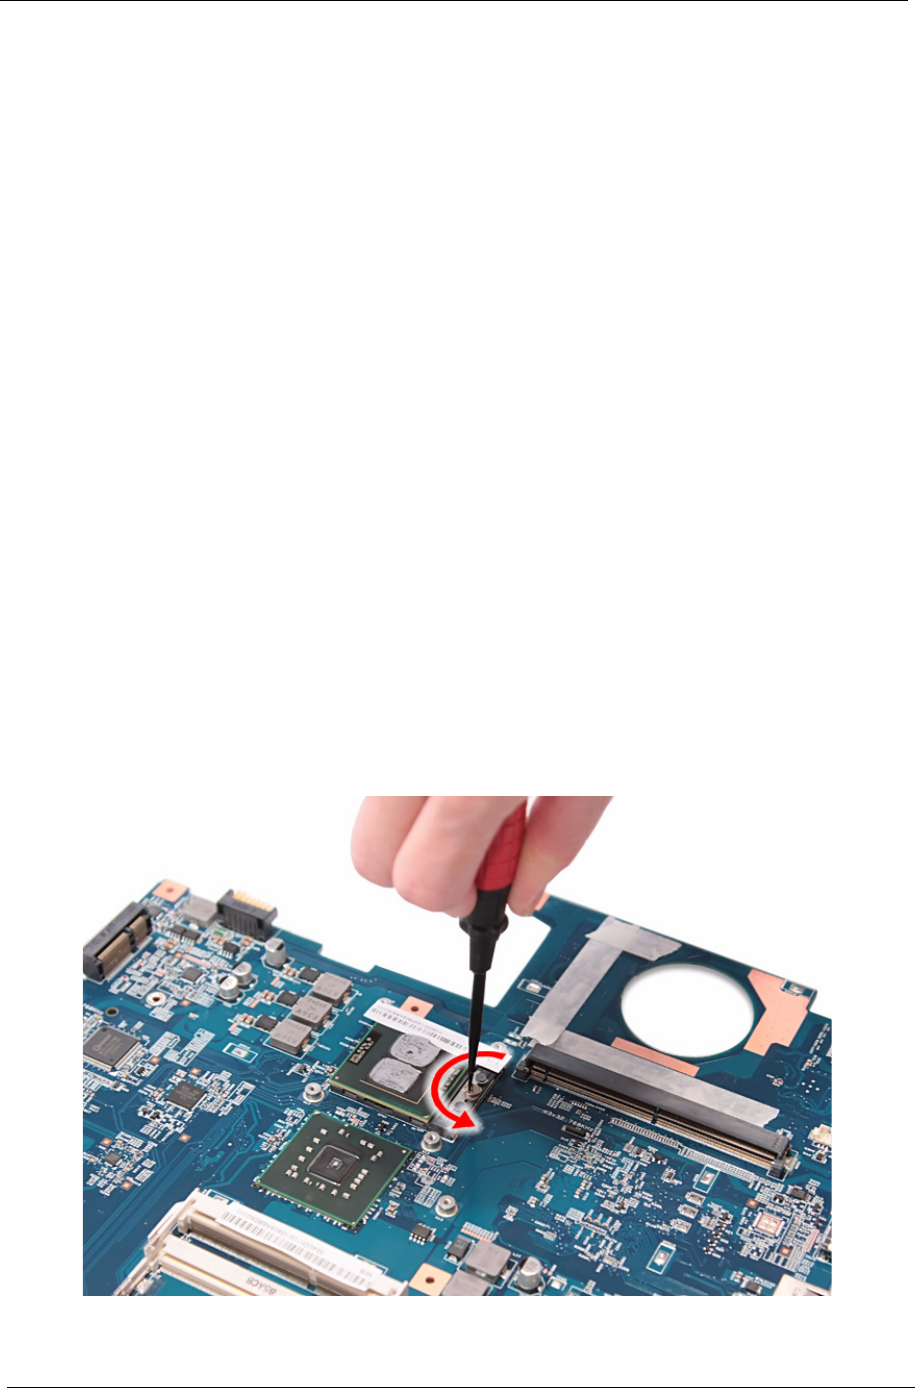
20. Using a flat screwdriver, turn the CPU socket latch counter-clockwise to release the CPU.