Chapter 3 41
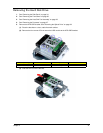
Removing the Hard Disk Drive
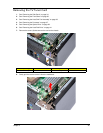
1. See “Removing the Side Panel” on page 34.
2. See “Removing the Front Bezel” on page 35.
3. See “Removing the Heat Sink Fan Assembly” on page 36.
4. See “Removing the Processor” on page 37.
5. Remove the HDD-ODD bracket. See “Removing the Optical Drive” on page 38.
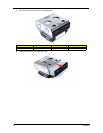
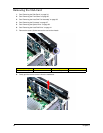
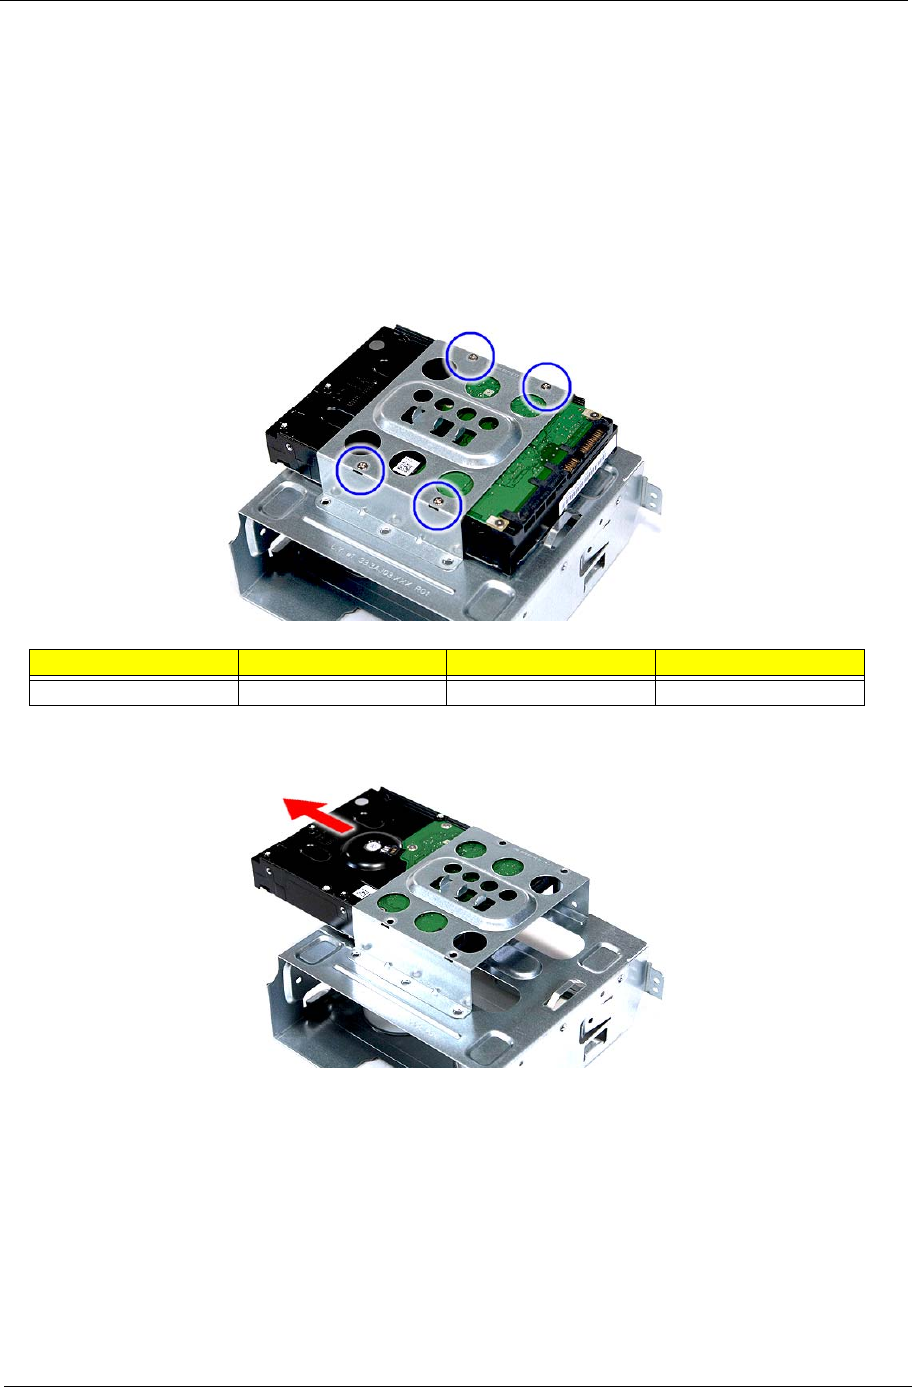
(1). Place the bracket on a clean, static-free work surface.
(2). Remove the four screws (C) that secure the HDD module to the HDD-ODD bracket.
(3). Slide the HDD out of the bracket.
Screw (Quantity) Color Torque Part No.
#6-32*3/16 NI (4) Silver 5.7 to 6.3 kgf-cm 86.5A5B6.012


