


www.addonics.com Technical Support (M-F 8:30am - 6:00pm PST) Phone: 408-453-6212 Email: www.addonics.com/support/query/
f. Press the RAID setting button with a ball point pen.
g. While pressing the RAID setting button turn on the system power
where the HPM is connected. The buzzer will sound while holding the
RAID setting button. Release it after at least 5 seconds for hardware
initialization. A single beep will be heard to indicate initialization is
completed.
h. Verify if the RAID array is detected by the system.
i. If the 5-port HPM-XA is connected to the motherboard onboard
SATA, on the CMOS setup utility, the raid array will display as
“Addonics H/W RAID5” if setup as a RAID5 array.
j. If the 5-port HPM-XA is connected to an eSATA host controller card,
on the RAID BIOS, the raid array will display as “Addonics H/W
RAID0” if setup as a RAID0 array.
k. If booted into Windows, in Disk Drives under Device Manager, the
raid array will display as “Addonics H/W LARGE” if setup as a
LARGE array.
l. Once raid array is verified, you can set the buzzer either ON or OFF.
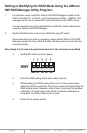
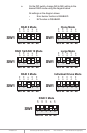
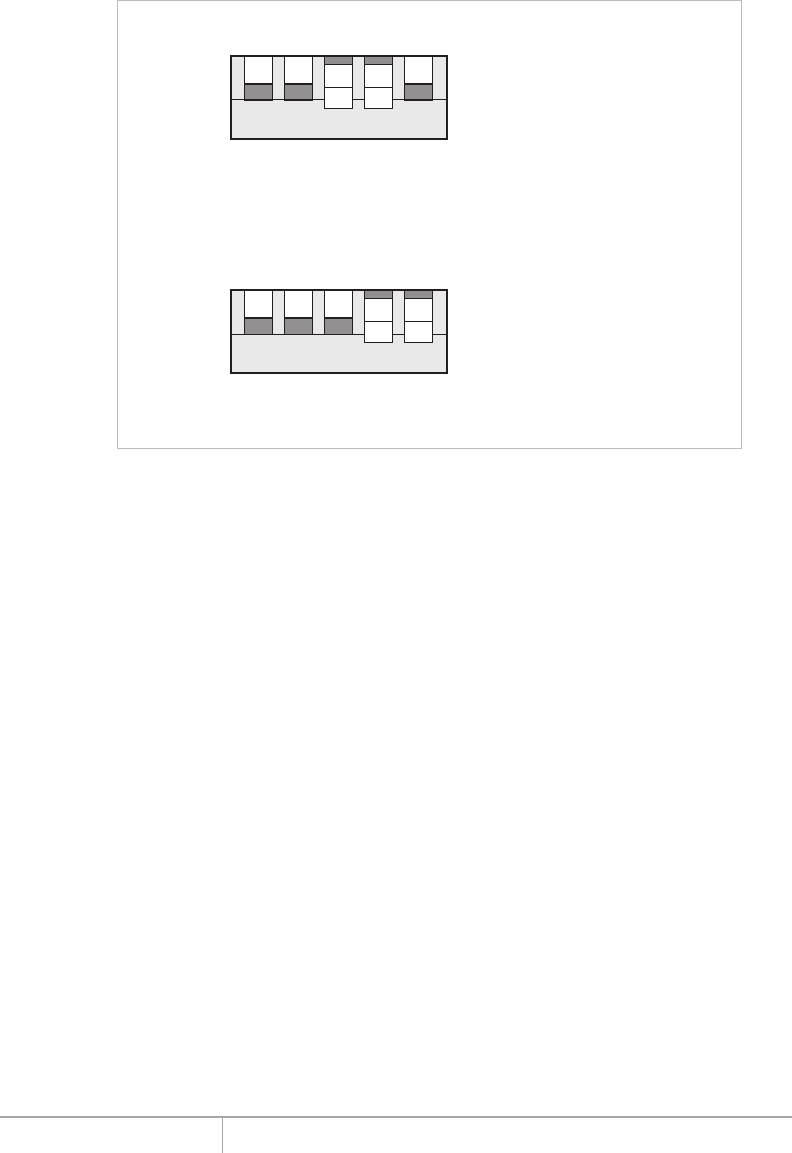
1 2 3 4 5
SW1
BZS EZ M2 M1 M0
RAID 1& RAID 10 Mode
1 2 3 4 5
SW1
BZS EZ M2 M1 M0
Clone Mode
When 2 drives are
connected to the HPM-XA,
and DIP switch is set to this
setting, the 2 drives will be
configured as a 2-drive
RAID1 array.
Clone’s action is similar to
RAID1. However, all of the
hard drives will be mirrored.
Clone mode is useful
especially when users like
to copy data from a source
hard drive to the drives
connected to the HPM-XA.
RAID Setting Notes:
When 4 drives are connected to the HPM-XA, the 4 drives will be
configured as a 4-drive RAID10 array.