7
2.8 Internal 2.5” Device Installation
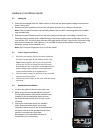
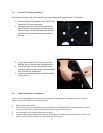
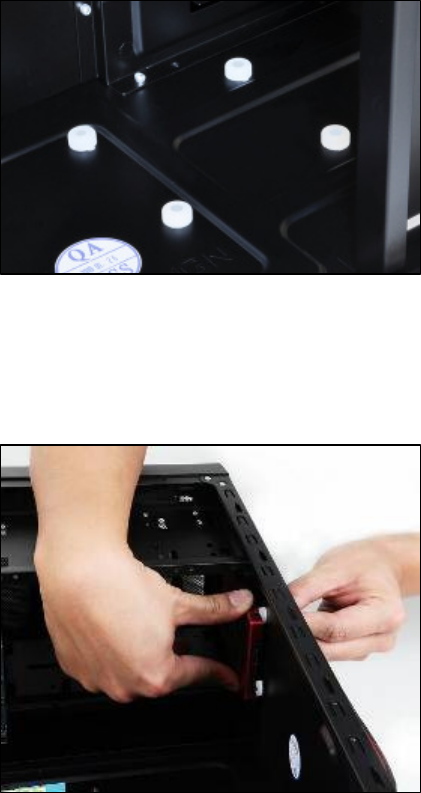
At the bottom of your case, there are mounting holes designed to support one 2.5” SSD device.
1. Locate the plastic bag labeled “For 2.5 HDD” and
remove the 4 silicone grommets.
2. Install the grommets into the four holes at the
base of the case at the bottom of the drive bay
area as shown. You should install them with the
thick part of the grommets facing the inside of
the case.
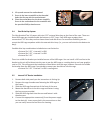
3. Lay the Nine Hundred Two V3 on its side, and
hold the drive in place on top of the grommets.
4. Secure the device to the case with the screws
provided, tightening the screws with your fingers
first, and then the screwdriver.
5. Connect the appropriate power and data cables
to your device
2.9 Cable Management Compartment
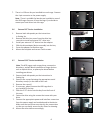
There is a cable management compartment between the motherboard and right side panel. You can
tuck or route excess cables in this compartment.
1. Remove both side panels.
2. Choose the cables you would like to pass through the holes behind the motherboard tray and pull
them out of the power supply chamber towards the right side of the case.
3. Use the cable ties provided to hold them in place.
4. Feed the cables back through the insertion point nearest the destination of the cable. Connect the
cable and then pull the slack back to the right side of the case.


