8
IIN1222 / IN1422 / IN1510 / IN1710 OPERATIONS MANUAL - REV. 2 12/04/99 ©1994 - INLINE, INC.
OPERATION
The IN1222 / IN1510 / IN1422 / IN1710 may be controlled by the front panel buttons or through the
RS-232 port. All switching functions and most video / audio adjustment functions can be accessed using
the front panel. A few adjustments are available only through RS-232 control (see pages 16 - 19).
Using the Front Panel Controls
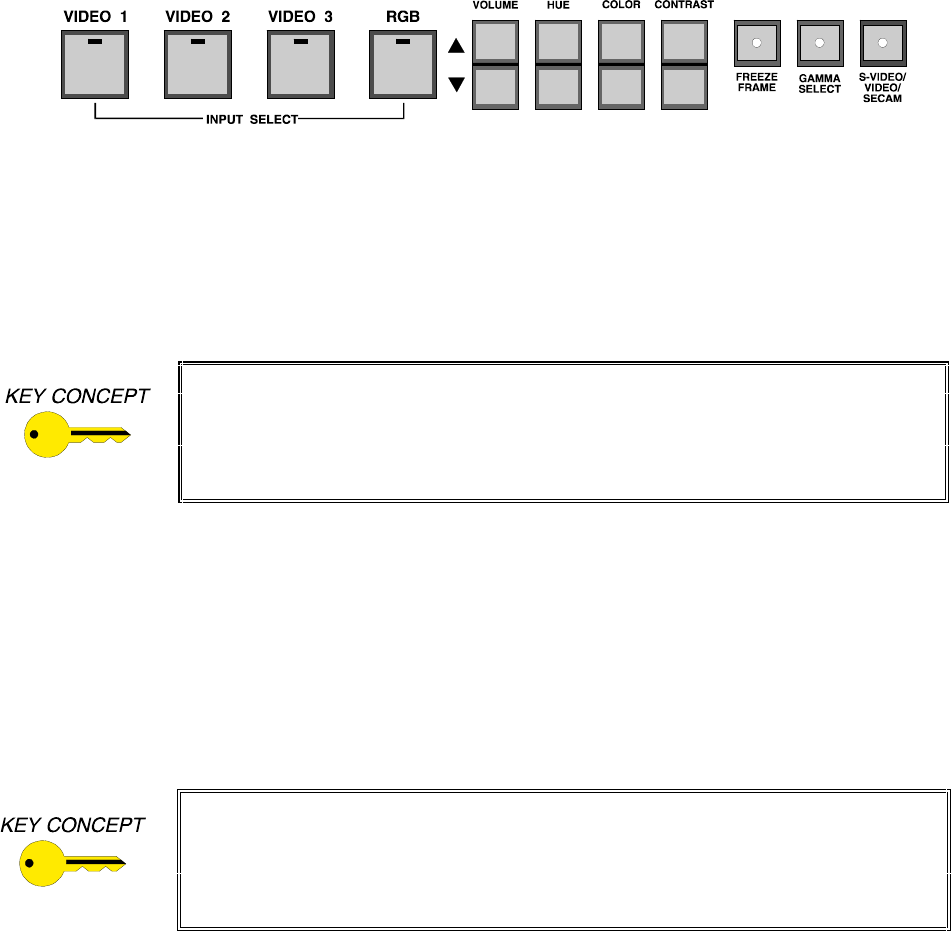
The control panel is divided into three types of control buttons:
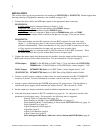
Input Select Buttons are the four large buttons on the left end of the panel.
Audio / Video Adjustment Buttons are located in the center and include a pair of small buttons
to adjust each parameter up or down.
Function Buttons are three small buttons located on the right end of the panel which toggle
between various modes.
INPUT SELECT Buttons
The buttons labelled VIDEO 1, VIDEO 2, VIDEO 3, and RGB may be used to select the desired input
video source. The stereo audio associated with that input will automatically be selected at the same time.
Whenever the unit is first turned on, INPUT 1 is automatically selected. The RGB input is passively
routed through to the output at power down. To select an input, press and release one of the INPUT
SELECT buttons. A green LED will light in one of the four buttons to indicate the current selection.
Storing Settings
The INPUT SELECT buttons are also used to store the unique audio and video settings for input
channels 1 - 3 and the VOLUME setting on Input 4. By following the procedure which follows, each
input source can be fine tuned and all settings stored for automatic recall whenever that input is selected:
1. Select the desired input using an INPUT SELECT button.
2. Make all desired audio and video adjustments for that input source.
3. Save all settings by pressing and holding the same INPUT SELECT button for five seconds.
The INPUT SELECT LED will flash to indicate that all settings have been stored for that input.
4. Repeat steps 1 - 3 for each input source.
The INPUT indicator LEDs work in conjuction with the VOLUME, HUE, COLOR,
and CONTRAST up and down adjustment buttons. When an input source is being
adjusted the corresponding INPUT SELECT LED will flash. If the LED stops
flashing while adjustments are being made, the controls have reached the upper
or lower limit of their adjustment range.
The Store Settings procedure stores all important parameters for each input
including Volume, Hue, Color, Contrast, Gamma, Video/S-Video, Doubling Mode,
and SECAM enable/disable. If changes are made to an input and the settings are
not stored, those changes will be lost if the unit is switched to a different input.
The unit always recalls the last stored settings whenver an input is selected.


