6 Smart-UPS RT 2400/3000 VA Tower/Rack-Mount UPS User Manual
Installation
If Required, Connect the Emergency Power Off (EPO) Feature
The EPO interface is a safety extra low voltage (SELV) circuit. Connect it only to other SELV circuits.
To avoid damage to the UPS, do not connect the EPO interface to any circuit other than a closure type
circuit, properly isolated from the utility.
The EPO feature provides immediate de-energizing of the UPS and connected equipment from a remote
location, without switching to battery operation.
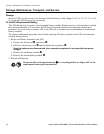
1. Use one of the following cable types to connect the UPS to the EPO switch.
– CL2: Class 2 cable for general use.
– CL2P: Plenum cable for use in ducts, plenums, and other spaces used for environmental air.
– CL2R: Riser cable for use in a vertical run in a floor-to-floor shaft.
– CLEX: Limited use cable for use in dwellings and for use in raceways.
– For installation in Canada: Use only CSA certified, type ELC (extra-low voltage control cable).
– For installation in other countries: Use standard low-voltage cable in accordance with national and
local regulations.
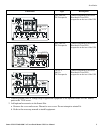
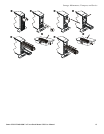
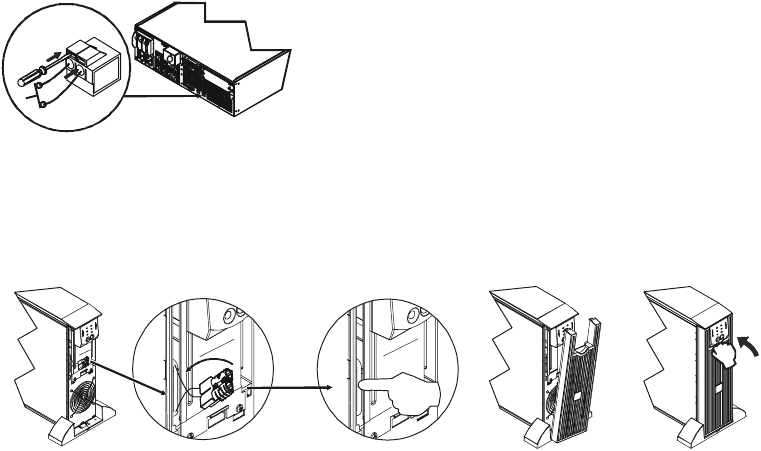
2. Locate the EPO connector on the rear of the UPS. Use a normally-open contact to connect cable to each
EPO terminal.
Connect the Battery and Install the Front Bezel
The battery is shipped in the disconnect position. Do not connect the battery until you are ready to use the
equipment.
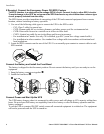
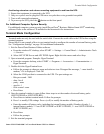
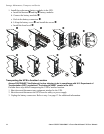
1. Snap the battery connectors together .
2. Install the front bezel .
Connect Power and Start Up the UPS
The UPS battery charges when it is connected to utility power and will charge to 85% capacity within three
hours. Do not expect full battery run capability from a new battery or after On Battery operation until the
battery recharges.
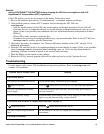
To use the UPS as a master ON/OFF switch, ensure all connected equipment is switched on. The equipment
will not be powered until the UPS is turned on.


