


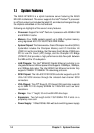
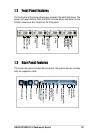
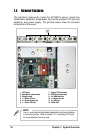


22
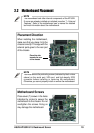
Chapter 2: Hardware Setup
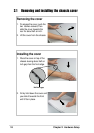
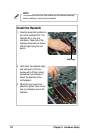
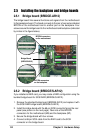
Install the Heatsink
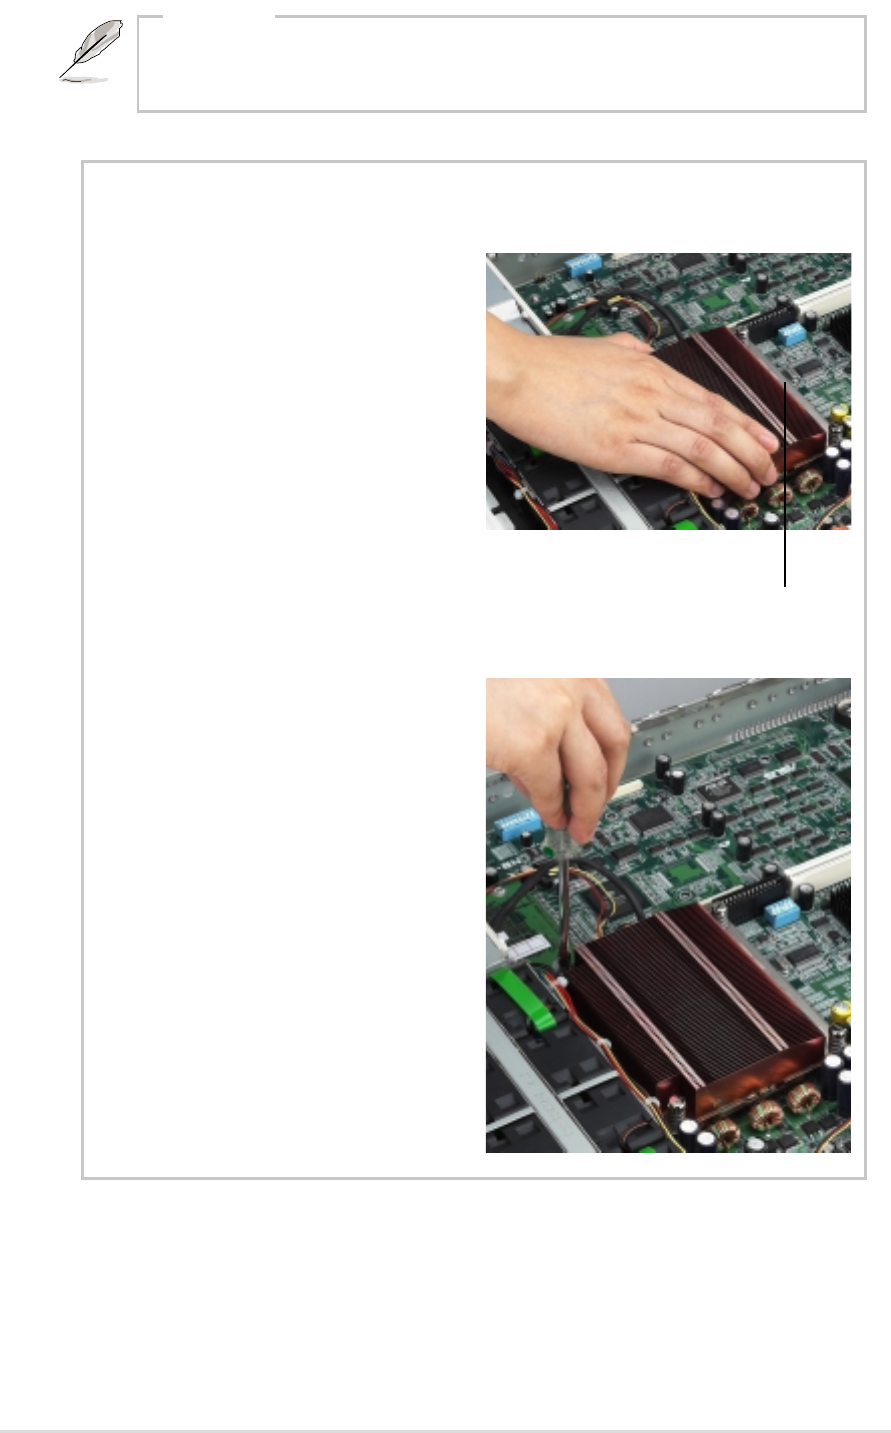
1. Carefully place the heatsink on
top of the installed CPU. The
heatsink fits in only one
orientation. Take note of the
heatsink placement as shown
(ASUS logo facing the rear
panel).
2. Hold down the heatsink lightly
and twist each of the four
screws with a Philips (cross)
screwdriver just enough to
attach the heatsink to the
motherboard.
3. When the four screws are
attached, tighten them one by
one to completely secure the
heatsink.
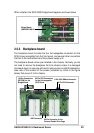
You must remove the riser card module and card bracket assembly
before installing or removing the heatsink.
NOTE
ASUS logo