


7-10
Chapter 7: Intel
®
technologies
Chapter 7
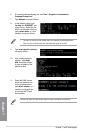
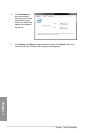
10. Click Next after selecting the default
selected disk.
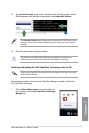
11. Extend volume setup is completed.
Click Finish to recover the Intel
®
Rapid Start Technology partition.
12. Reboot the system after deleting the
partition.
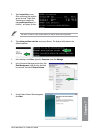
13. Go to
Start > Control Panel >
Programs > Programs and Features
to remove the Intel
®
Rapid Start
Manager for the complete deletion of
Intel
®
Rapid Start Technology.
7.1.3 Intel
®
Smart Connect Technology
The Intel
®
Smart Connect Technology is a feature that provides the latest content updates
and energy efciency to your computer’s platform.
Once installed and activated, the Intel
®
Smart Connect Technology periodically wakes up the
system from sleeping mode, performs user state gathering, and initiates re-entry to sleeping
mode to wake-up after a set time interval.
• Intel
®
Smart Connect Technology supports Windows® Live Mail, Microsoft Outlook,
and Seesmic applications.
• It is necessary to enable the items of the PCH Conguration in the BIOS before
applying the Intel
®
Smart Connect Technology. Go to Advanced Mode > Advanced >
PCH Conguration, and enable the Intel
®
Smart Connect Technology.
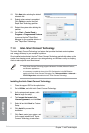
Installing the Intel
®
Smart Connect Technology
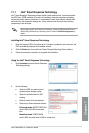
1. Place the support DVD to the optical drive.
2. Go to
Utilities, and click Intel
®
Smart Connect Technology.
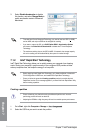
3. As the setup wizard appears, click
Next to begin the setup.
4. Tick
I accept the terms in the
License Agreement, and click Next.
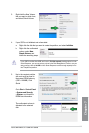
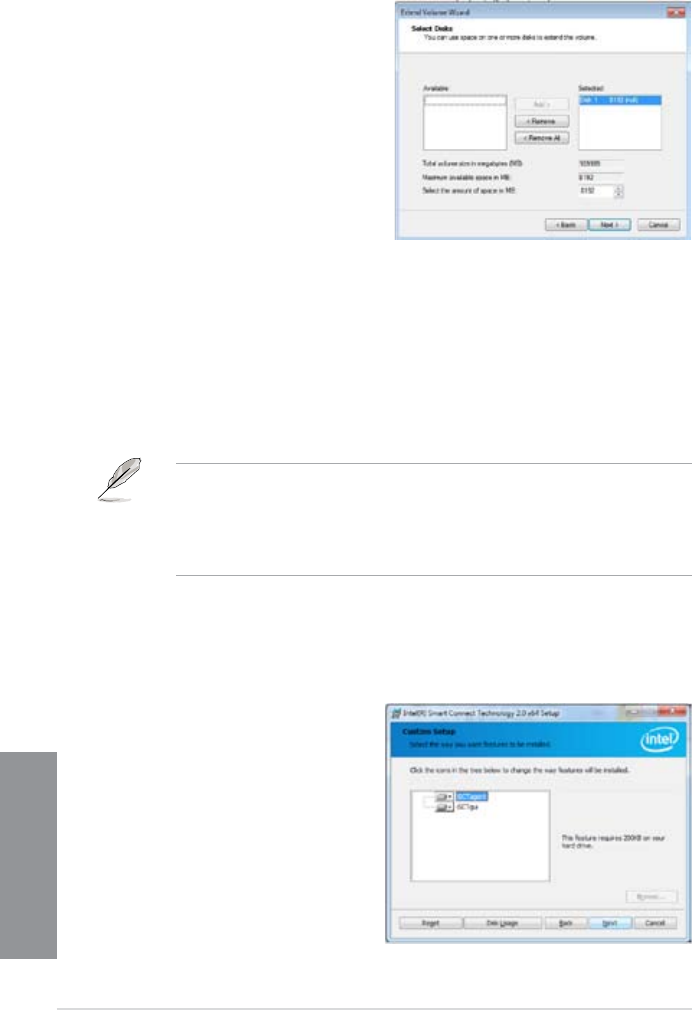
5. Select all and click
Next for Custom
Setup.
6. Click
Install to proceed the
installation.
7. Click
Yes to restart your system, and
for the newly installed Intel
®
Smart
Connect Technology to take effect.