


2-82-8
2-82-8
2-8
Chapter 2: Hardware informationChapter 2: Hardware information
Chapter 2: Hardware informationChapter 2: Hardware information
Chapter 2: Hardware information
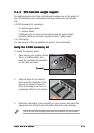
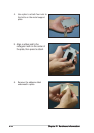
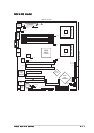
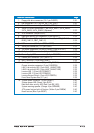
4. Press the lower spring hooks
inward, then insert to the lower
CPU heatsink holes until they
snap in place.
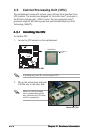
5. Repeat the process to install the
second spring to the CPU2
heatsink holes.
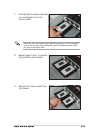
The support plates appear as
shown when installed.
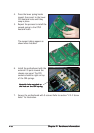
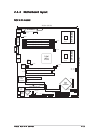
7. Secure the motherboard with 9 screws. Refer to section “2.2.2 Screw
holes” for illustration.
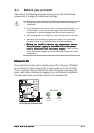
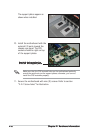
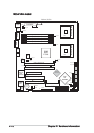
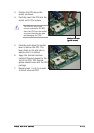
6. Install the motherboard with the
external I/O ports toward the
chassis rear panel. The CPU
sockets should be right on top
of the CEK springs.
Heatsink hole matched toHeatsink hole matched to
Heatsink hole matched toHeatsink hole matched to
Heatsink hole matched to
the hole on the CEK springthe hole on the CEK spring
the hole on the CEK springthe hole on the CEK spring
the hole on the CEK spring