5-56 Chapter 5: Software support
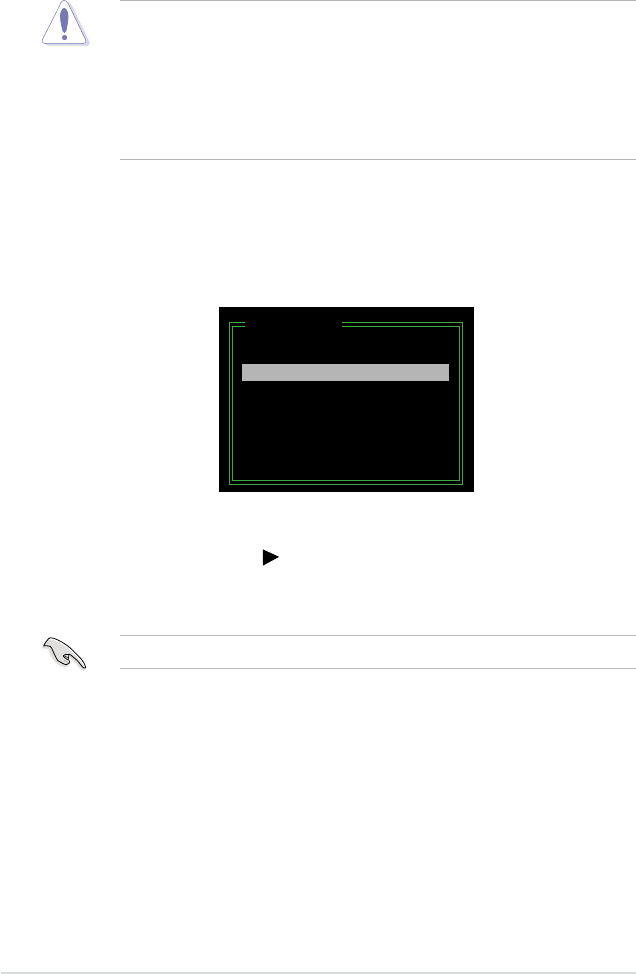
Resetting disks to non-RAID
To reset disks to non-RAID:
1. In the main JMB363 RAID BIOS menu, highlight Revert HDD to non-RAID
using the up/down arrow key then press <Enter>.
2. Use the space bar to select the HDD that you want to reset to non-RAID.
A selected HDD shows a
sign before it.
3. A dialogue box appears to conrm the action. Press <Y> to conrm;
otherwise, press <N>.
[Main Menu]
Create RAID Disk Drive
Delete RAID Disk Drive
Revert HDD to Non-RAID
Solve Mirror Conict
Rebuild Mirror Drive
Save and Exit Setup
Exit Without Saving
Pressing <Y> deletes all the data in the HDD.
• An HDD that has been previously congured as part of another RAID set in
another platform is called a broken RAID HDD. When you install a broken
RAID HDD, you cannot select this HDD when configuring a RAID set
through the JMB363 utility.
• If you still want to use this broken RAID HDD as part of the RAID set
congured through the JMB363, you may do so by resetting the disk to non-
RAID. You will, however, lose all data and previous RAID congurations.


