INSTALLING AND SETTING UP THE CARD
4
INSTALLING AND SETTING UP THE CARD
5
Installing your Card is done in three easy steps:
1. Install the software FIRST. If you plug your Card into your laptop before
you install the software, it will not work until you install the software.
2. Plug the Card into your laptop.
3. Let your Windows operating system finish installing the Card.
Software and Driver Installation
1. Insert the CD into your CD-ROM drive.
2. The Belkin Wireless Notebook Network Card Setup Utility screen will
automatically appear. If it does not appear within 15-20 seconds, then
select your CD-ROM drive and double-click on the folder named “Files”.
Next double-click on the icon named “F5D6020_UTILITY.exe”.
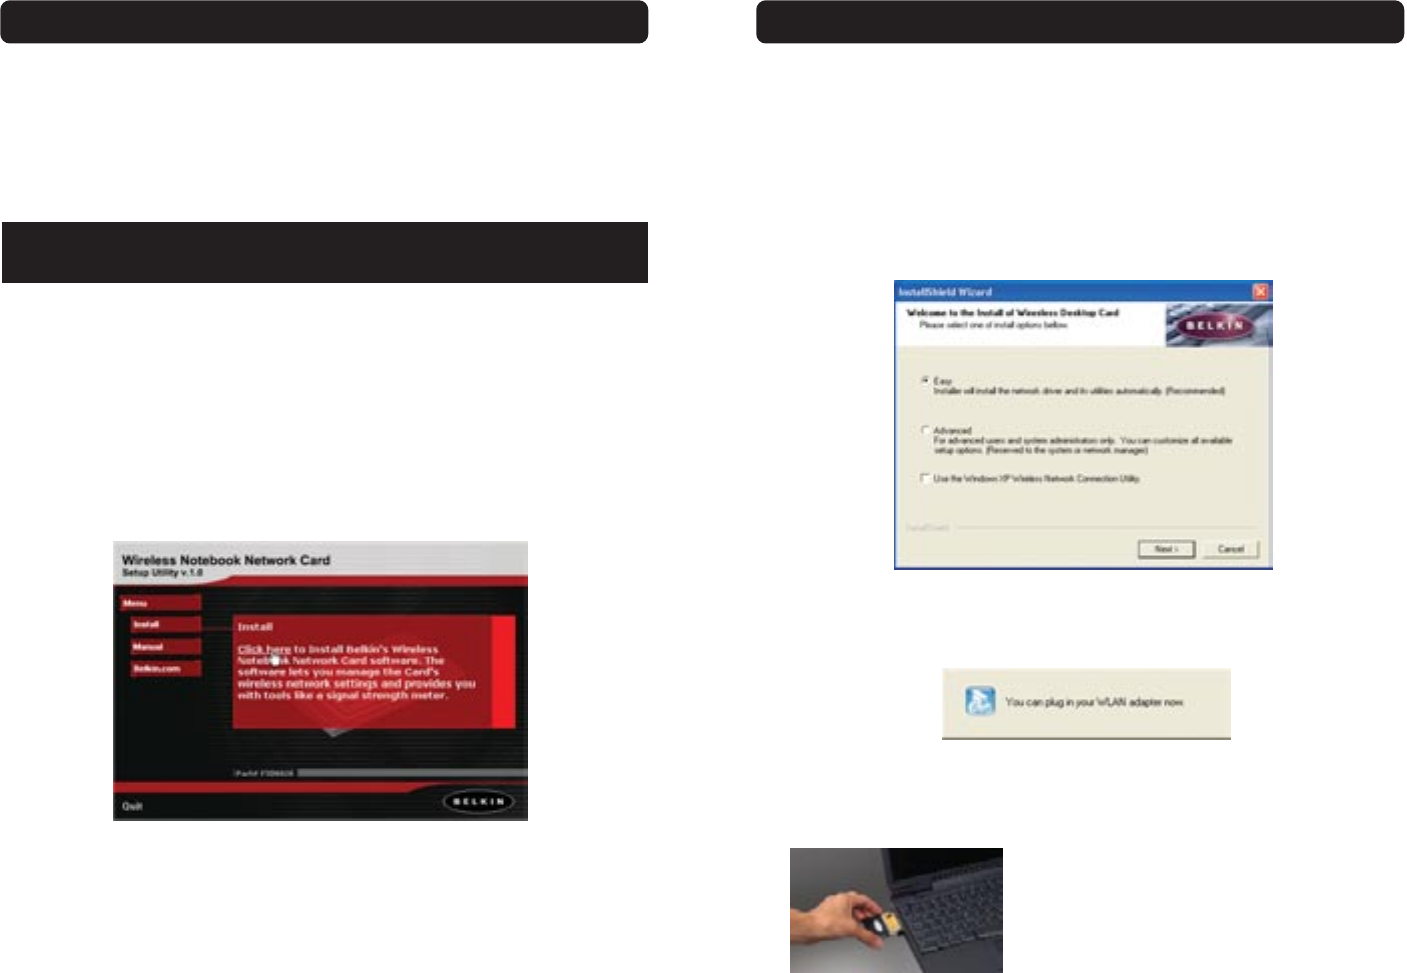
3. In the menu window, drag your mouse over the “Install” button then select
“Click here” to start the software installation program.
NOTE: INSTALL THE SOFTWARE FIRST BEFORE YOU INSTALL THE CARD
INTO YOUR NOTEBOOK.
4. The installer will start. Click on or select “Easy” to continue to the next
step. If you are using Windows XP, it is recommended that you use the
Belkin Wireless Notebook Network Card Utility to manage the Card’s
wireless settings. If you want to use Windows XP to manage the Card,
check “Use the Windows XP Wireless Network Connection Utility”.
Instructions on how to use the Windows XP Connection Utility are
available from Microsoft. Click “Next” to continue.
5. After the software installation is finished, the message “You can plug in
your WLAN adapter now” will appear.
6. Insert the Card, label side UP, into your computer’s PCMCIA slot firmly
until it stops. The two lights on the side will turn on when it is
inserted properly.


