Recovering your system22
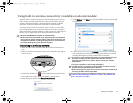
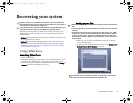
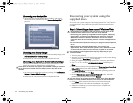
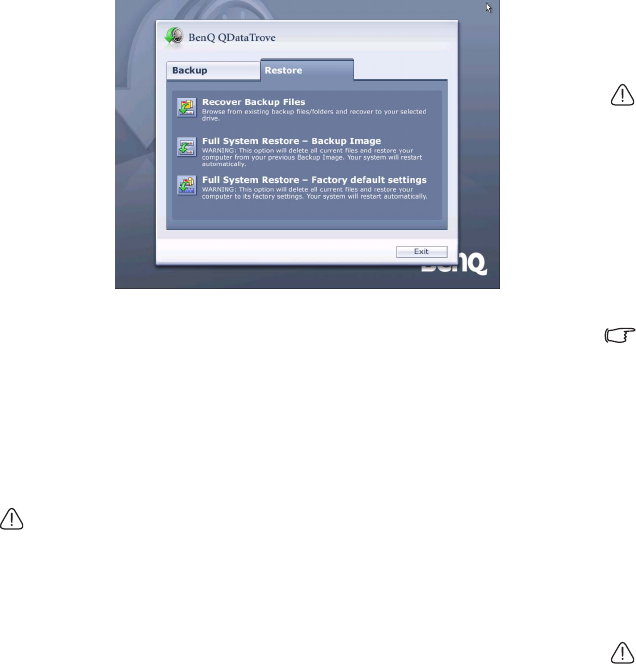
Recovering your backup files:
a. To browse your existing backup files or folders, and recover
them to the drive you selected, click Recover Backup Files to
proceed.
b.Follow the on-screen instructions to complete the task.
Restoring your backup image:
a. To restore your Joybook from your previous backup image, click
Full System Restore - Backup Image.
b.Follow the on-screen instructions to complete the task.
Restoring your Joybook to factory default settings:
This process will ERASE ALL data on your system drive C: and
restore the system to default factory configuration.
If this option is selected, all programs you installed or data you saved on
the C: drive will be erased. However, data on the D: drive will not be
affected.
a. To restore your Joybook to its factory settings, click Full System
Restore - Factory default settings.
b.Follow the on-screen instructions to complete the task.
Recovering your system using the
supplied discs
To recover your system using the “Operating System Disc” and “Drivers
and Applications” discs, follow the procedure and instructions below
carefully.
Step 1: Reinstalling a clean copy of Windows Vista
• All programs you installed or data you saved on the C: drive will be
erased. However, data on the D: drive will not be affected.
• Recovering your system by using Method 2 (the supplied “Operating
System Disc” and “Drivers and Applications” discs) will cause the
QDataTrove function to become unavailable. You will also need to
install the device drivers manually from the “Drivers and Applications”
discs.
• Do not remove discs when the recovery is in progress until prompted to
do so.
• Before using the “Operating System Disc” and “Drivers and
Applications” discs, make sure the system is not in hibernation mode
or turned off. Also make sure the lid of your Joybook is not closed.
The availability of the supplied discs may vary depending on your
purchased model.
1. Turn on your Joybook.
2. Press the <F9> key when the BenQ logo appears on the screen during
system startup. A Boot Menu screen appears.
3. Insert the supplied “Operating System Disc” into your optical drive.
4. Use <> or <> to select CD-ROM/DVD-ROM, and then press
Enter.
5. Press any key when you are prompted with Press any key to boot from
CD or DVD. Please wait while Windows is loading files.
6. The Install Windows screen appears. Select the operating system you
want to install, and then click Next.
7. On the Where do you want to install Windows? screen, select the
primary disk partition, and then click Format.
This will remove all programs and data on the C: drive where Windows
Vista is currently installed. However, other drives will not be affected.
8. Click Next. Your Joybook will restart several times during the
installation. Please wait while the installation is in progress.
9. Follow the remaining on-screen instructions to complete the
installation and setup.
JB_A52.book Page 22 Monday, February 12, 2007 10:44 AM


