


11
®
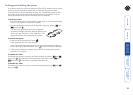
1
ON
4
2
3
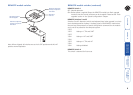
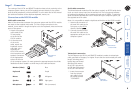
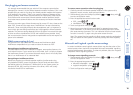
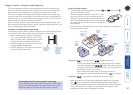
Audio connections (ACU5116A only)
On the ACU5116A REMOTE module, audio connections are available at the two
3.5” jack sockets mounted on the side (same side as the switch bank). Note:
The microphone input (labelled ) has a dual function whereby it can either
support a mono-channel microphone or alternatively receive stereo line input.
Switch 3 on the LOCAL module controls the setting of this port: LOCAL switch 3
OFF - microphone, LOCAL switch 3 ON - stereo line in.
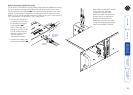
1 Connect the microphone
(or stereo line input) plug
to the REMOTE module
socket labelled .
Note: Ensure that the
setting of switch 3 on the
LOCAL module matches
the input to this socket:
OFF-microphone;
ON-stereo line input).
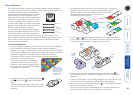
2 Connect the speaker plug
to the socket labelled .
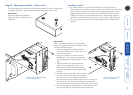
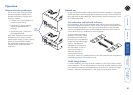
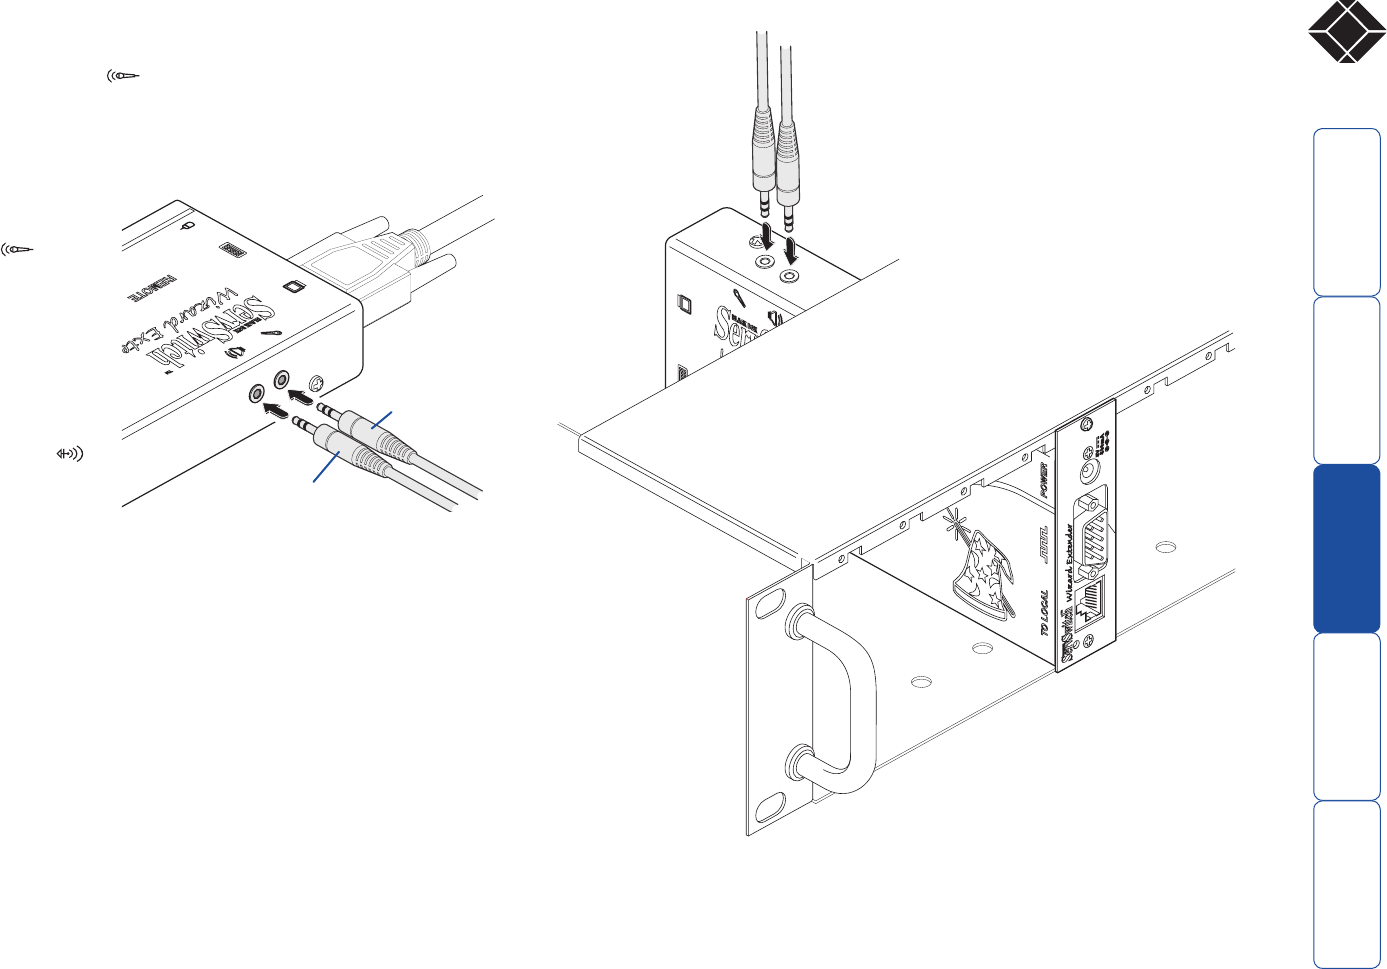
Note: When the REMOTE module
is rack mounted, the audio
connections must be made
after the module has been xed
in place. Access is required to
the rear and above the rack.
Remember to remove the audio
connections before attempting to
slide out the REMOTE module.
Microphone (or
stereo line-in)
connection
Speaker
connection