11
2003 Bontrager Service Manual
FREEHUB BODY RUNNING CHANGE
Bontrager rear hubs use an unique freehub body that
in some cases has encountered removal issues. In these
cases, a high amount of torque is necessary to remove or
install the freehub body attachment bolt.
To resolve this problem a running change was made
to the 2001 product line. The older, direct contact style
of freehub body has been replaced with a splined freehub
body attachment. This splined attachment requires less
bolt torque. Since it is a running change, the following
information is necessary to identify which freehub body
is on a wheel.
If there is a date code stamped on the freehub body
it probably uses a splined attachment. If there is no date,
it is a threaded attachment. After May 2000, both styles
of freehub bodies (both attachment types) will have this
date mark.
These different styles of freehub bodies are not inter-
changeable.
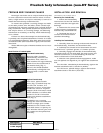
Identification of freehub bodies
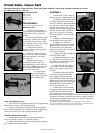
Threaded freehub body
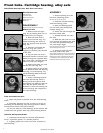
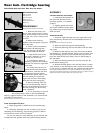
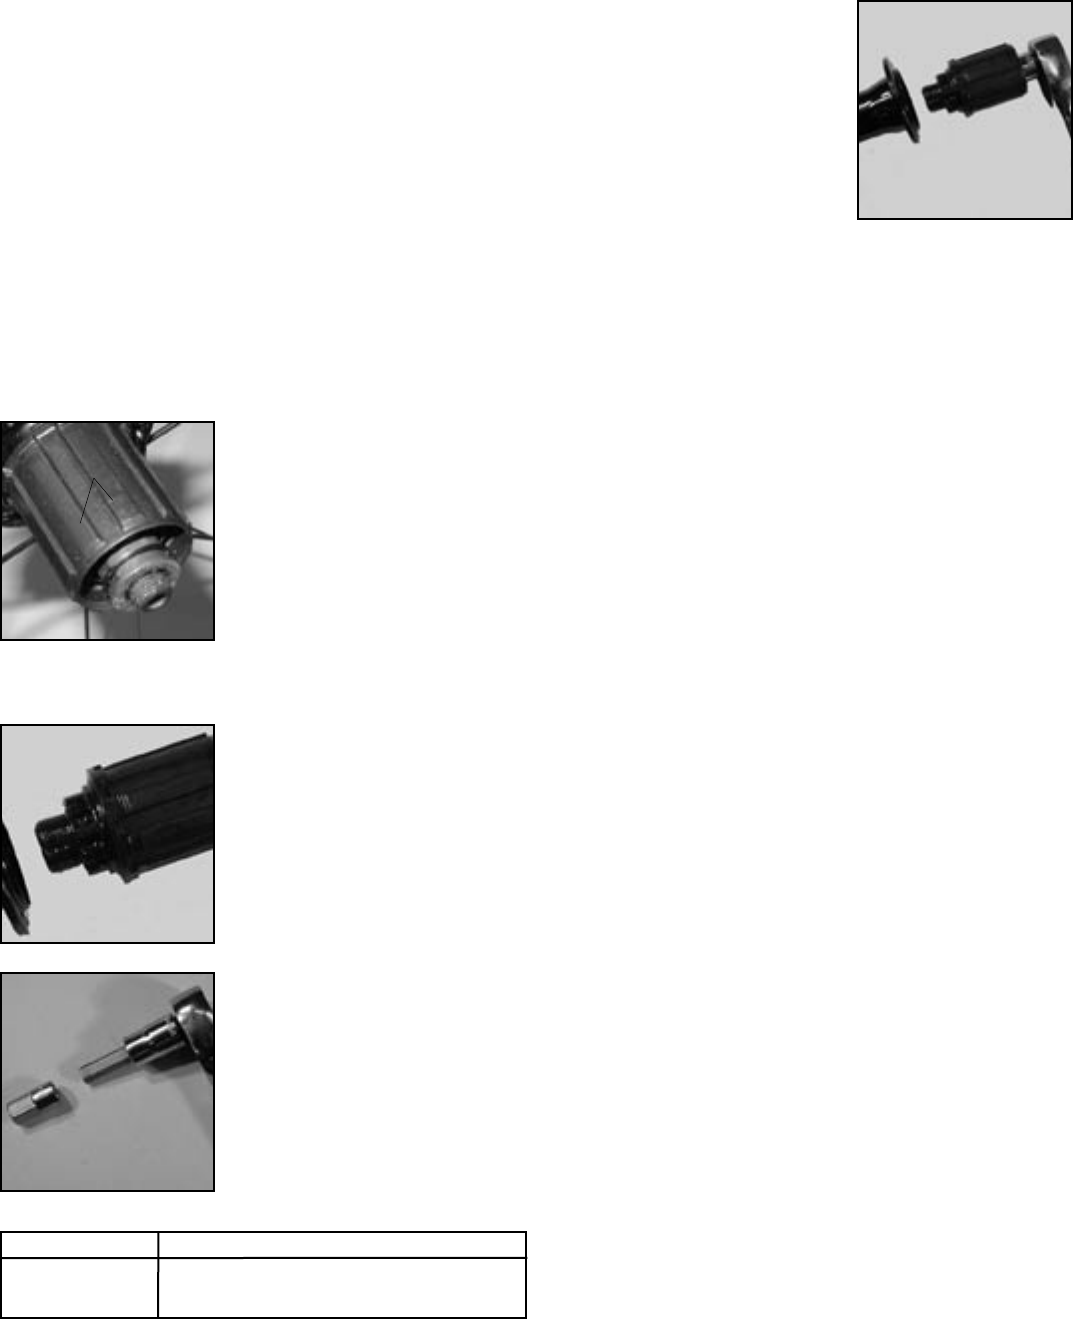
With the older, threaded
freehub body, there are two
identifiers. First, there is a
CNC machine line approximately
10mm from the outside end of
the freehub body (Fig. 1).
Second, the thread-attached
freehub body is designed to be
removed with a 12mm allen
wrench.
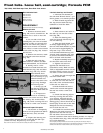
Splined freehub body
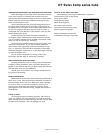
The newer, splined attach-
ment (Fig. 2) freehub body has
no CNC line. Further, it is
designed to use an 11mm allen
wrench for removal. A special
adapter (TCG #211338) is made
which attaches to an 8mm allen
wrench to fit the 11mm allen
head of the freehub attachment
bolt (Fig. 3).
In addition, as a running
change the new hub bodies will
include a 6-digit part number
embossed on the outside of the
hub shell where it is plainly vis-
ible. All hubs with the part num-
ber visible use the splined free-
hub body.
INSTALLATION AND REMOVAL
If the freehub body is worn or damaged, replace it.
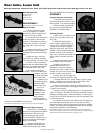
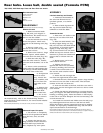
Removing the freehub body
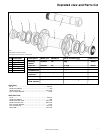
1. Follow the Disassembly
instructions for the hub. Remove
the axle, and then the right side
bearings.
2. Determine the correct size
of allen wrench to engage the
freehub body attachment bolt.
3. Unthread the bolt in a
counter-clockwise direction
(standard threading).
Installing the freehub body
1. Carefully clean the mating surfaces and threads of
the freehub body, hub shell, and attachment bolt.
2. Lubricate the threads of the attachment bolt with
Wrench Force™ synthetic grease, or a similar product.
3. Carefully engage the threads of the freehub body
attachment bolt into the hub shell. The bolt is steel, and
the hub is aluminum, so cross-threading the bolt will
result in destruction of the hub shell.
4. With the new splined freehub engagement, make
sure the splines are aligned as you tighten the attachment
bolt.
For the older, threaded style freehub body, tighten the
freehub attachment bolt to 350 lb•in (40Nm).
For the newer, splined design, tighten the freehub
attachment bolt to 400 lb•in (45.2 Nm).
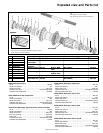
Freehub body information (non-DT Swiss)
Fig. 3
Fig. 2
Fig. 4
Fig. 1
CNC line
Description TCG Part #
Freehub tool, 211338
11mm adapter


