


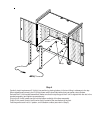

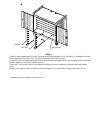
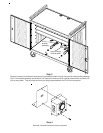
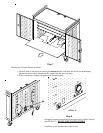


Step 6
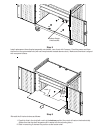
Install replacement timer/bracket assembly onto bottom, rear of cart with 2 screws. Feed the power cord from
the timer out the grommeted hole (with cord wrap bracket located above cutout). Make sure timer face is aligned
with rear panel cutouts. Swing the E-Unit back into position and reinstall bracket assembly.
Plug in the E-Units power cords into the bottom outlets of the timer assembly.
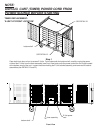
bottom flange-
timer/bracket
bracket
assembly
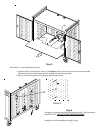
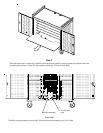
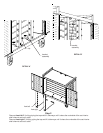
Step 5
Install bracket to replacement timer with 2 nuts. Adjust timer dial to current time. If necessary, adjust
timer charging times to match the original timer.
Timer vents & bracket must be
attached as shown.