


46
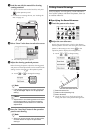
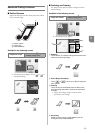
X The “Start/Stop” button in the operation panel
lights up.
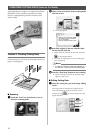
b Adjust the pen pressure.
For details on adjusting the drawing pressure, see step
e (page 44) in “Drawing”.
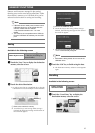
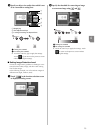
c Press the “Start/Stop” button to start drawing.
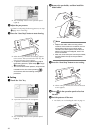
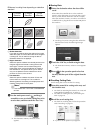
X When drawing is finished, the message appears
in the screen. After you touch the “OK” key, the
draw/cut selection screen appears.
• To perform trial drawing operations to adjust
the drawing pressure, repeat steps
a through
c in this section.
• To cut around the drawn patterns, keep the mat
inserted into the slot without pressing ,
and continue with the following cutting
procedure.
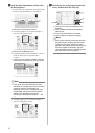
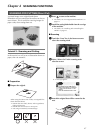
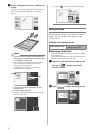
■ Cutting
a Touch the “Cut” key.
X A preview of the line to be cut appears.
X The “Start/Stop” button in the operation panel
lights up.
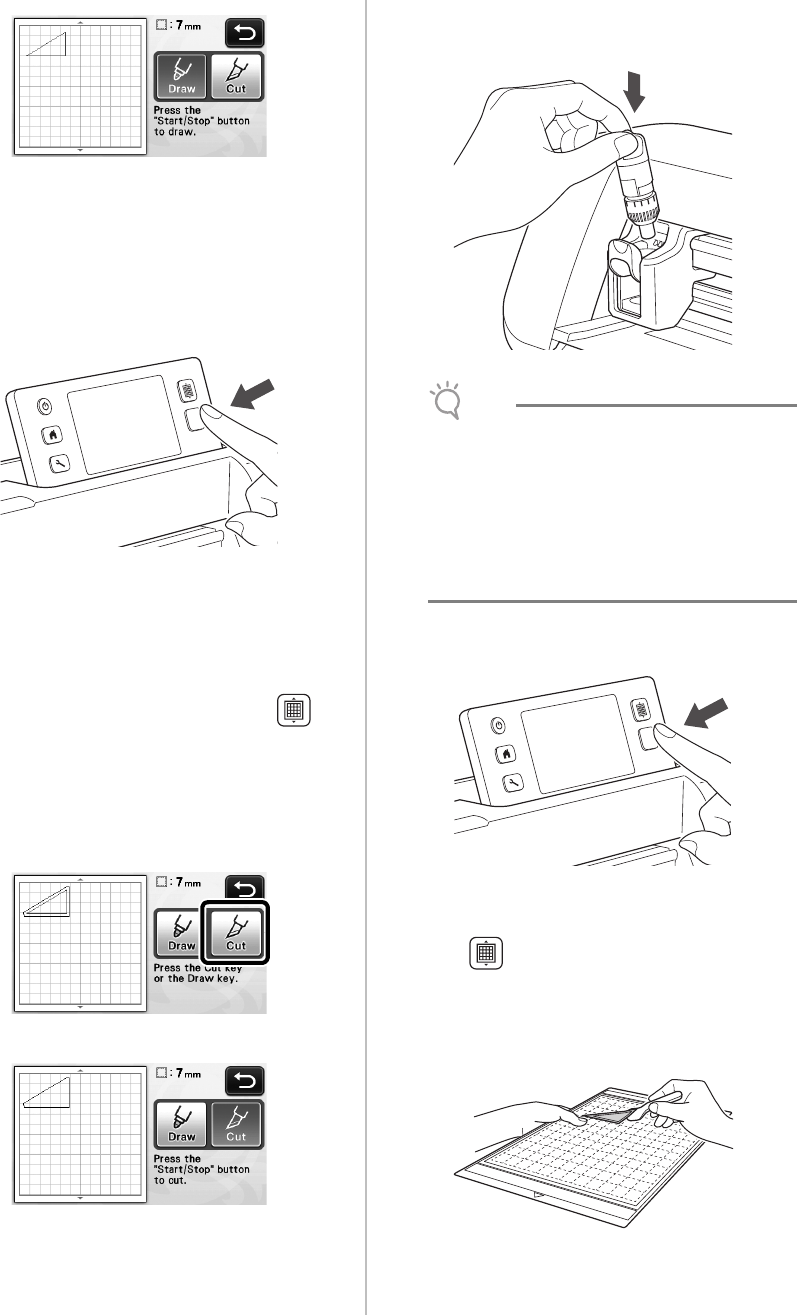
b Remove the pen holder, and then install the
blade holder.
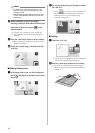
Note
• Replace the holder without turning off the
machine. If the machine is turned off, the mat
will be fed out when it is turned on again.
Therefore, the drawn pattern outline and cut
pattern may become misaligned, even if the
mat is re-inserted.
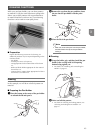
• After use, remove the pen from the pen holder,
and then attach the cap to the pen before
storing it.
c Press the “Start/Stop” button to start cutting.
X When cutting is finished, the draw/cut selection
screen appears.
d Press in the operation panel to feed out
the mat.
e Peel the patterns off the mat.
• For details, see “Unloading the Mat” on page 21.