Chapter 4
12
PhotoCapture Center
®
print settings
4
You can change the print settings temporarily
for the next printing.
These settings are temporary, and the
machine returns to its default settings
3 minutes after printing.
You can save the print settings you use
most often by setting them as the default.
(See Setting your changes as the new
default on page 14.)
1 No. of prints
(For View Photo(s)
You can see the total number of photos that will
be printed.
(For Print All Photos, Print Photos)
You can see the number of copies of each
photo that will be printed.
(For DPOF printing)
This does not appear.
Print Quality 4
a Press a or b to choose
Print Quality.
Press OK.
b Press a or b to choose Normal or
Photo.
Press OK.
c If you do not want to change additional
settings, press Color Start to print.
Paper options 4
Paper Type 4
a Press a or b to choose Paper Type.
Press OK.
b Press a or b to choose the paper type
you are using, Plain Paper,
Inkjet Paper, Brother BP71,
Brother BP61 or Other Glossy.
Press OK.
c If you do not want to change additional
settings, press Color Start to print.
Paper and print size 4
a Press a or b to choose Paper Size.
Press OK.
b Press a or b to choose the paper size
you are using, 4"x 6", 5"x 7",
Letter or A4.
Press OK.
c If you chose Letter or A4, press a or b
to choose the print size.
Press OK.
d If you do not want to change additional
settings, press Color Start to print.
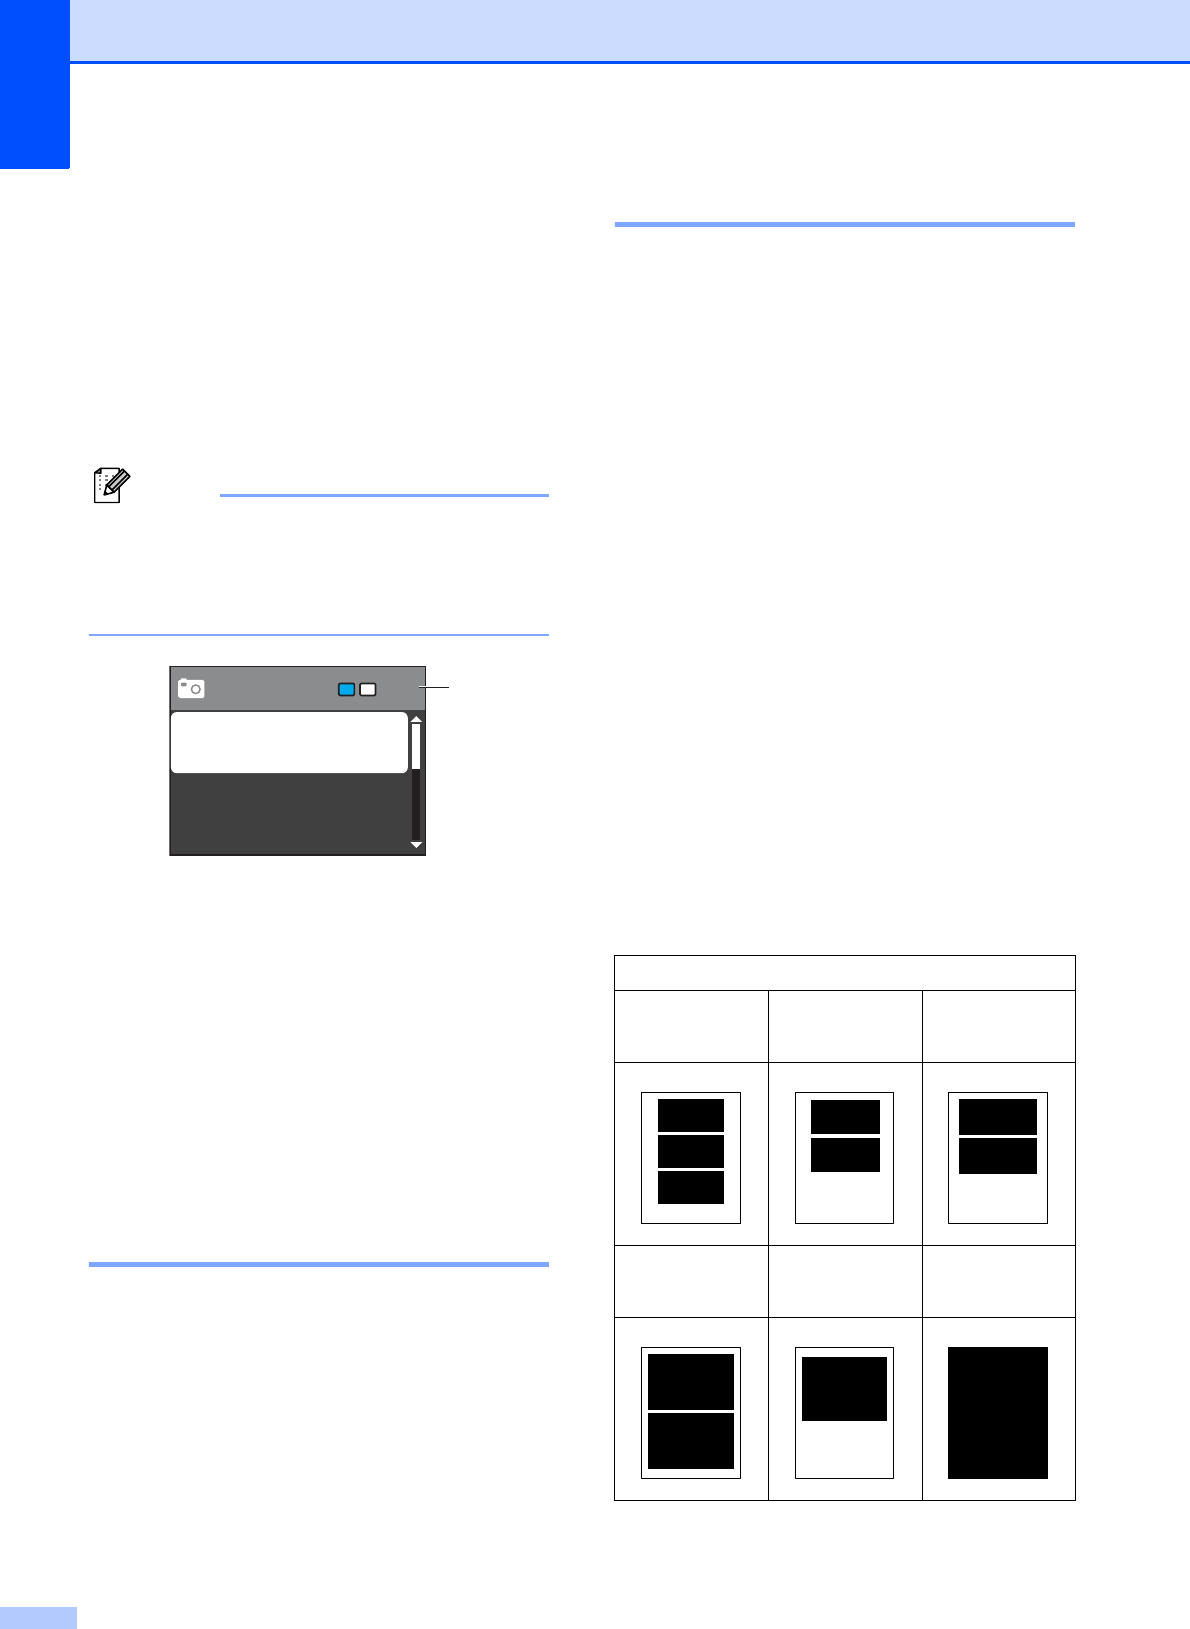
00001001
1
Press Start
Photo
Print Quality
Paper Type
Paper Size
Example: Printed position for Letter paper
1
3"x 4"
2
3.5"x 5"
3
4"x 6"
4
5"x 7"
5
6"x 8"
6
Max. Size


