


Installing the Driver & Software
22
STEP 2
Macintosh
®
Macintosh
®
USB
3
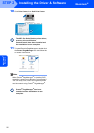
For USB Interface Cable Users
For Mac OS
®
X 10.2.4 or greater
Important
Make sure that you have finished the
instructions from step 1 Setting Up the
Machine on pages 4 through 11.
Note
For Mac OS
®
X 10.2.0 to 10.2.3 users, upgrade to
Mac OS
®
X 10.2.4 or greater. (For the latest
information for Mac OS
®
X, visit
http://solutions.brother.com/
)
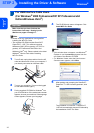
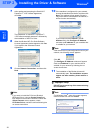
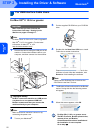
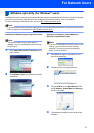
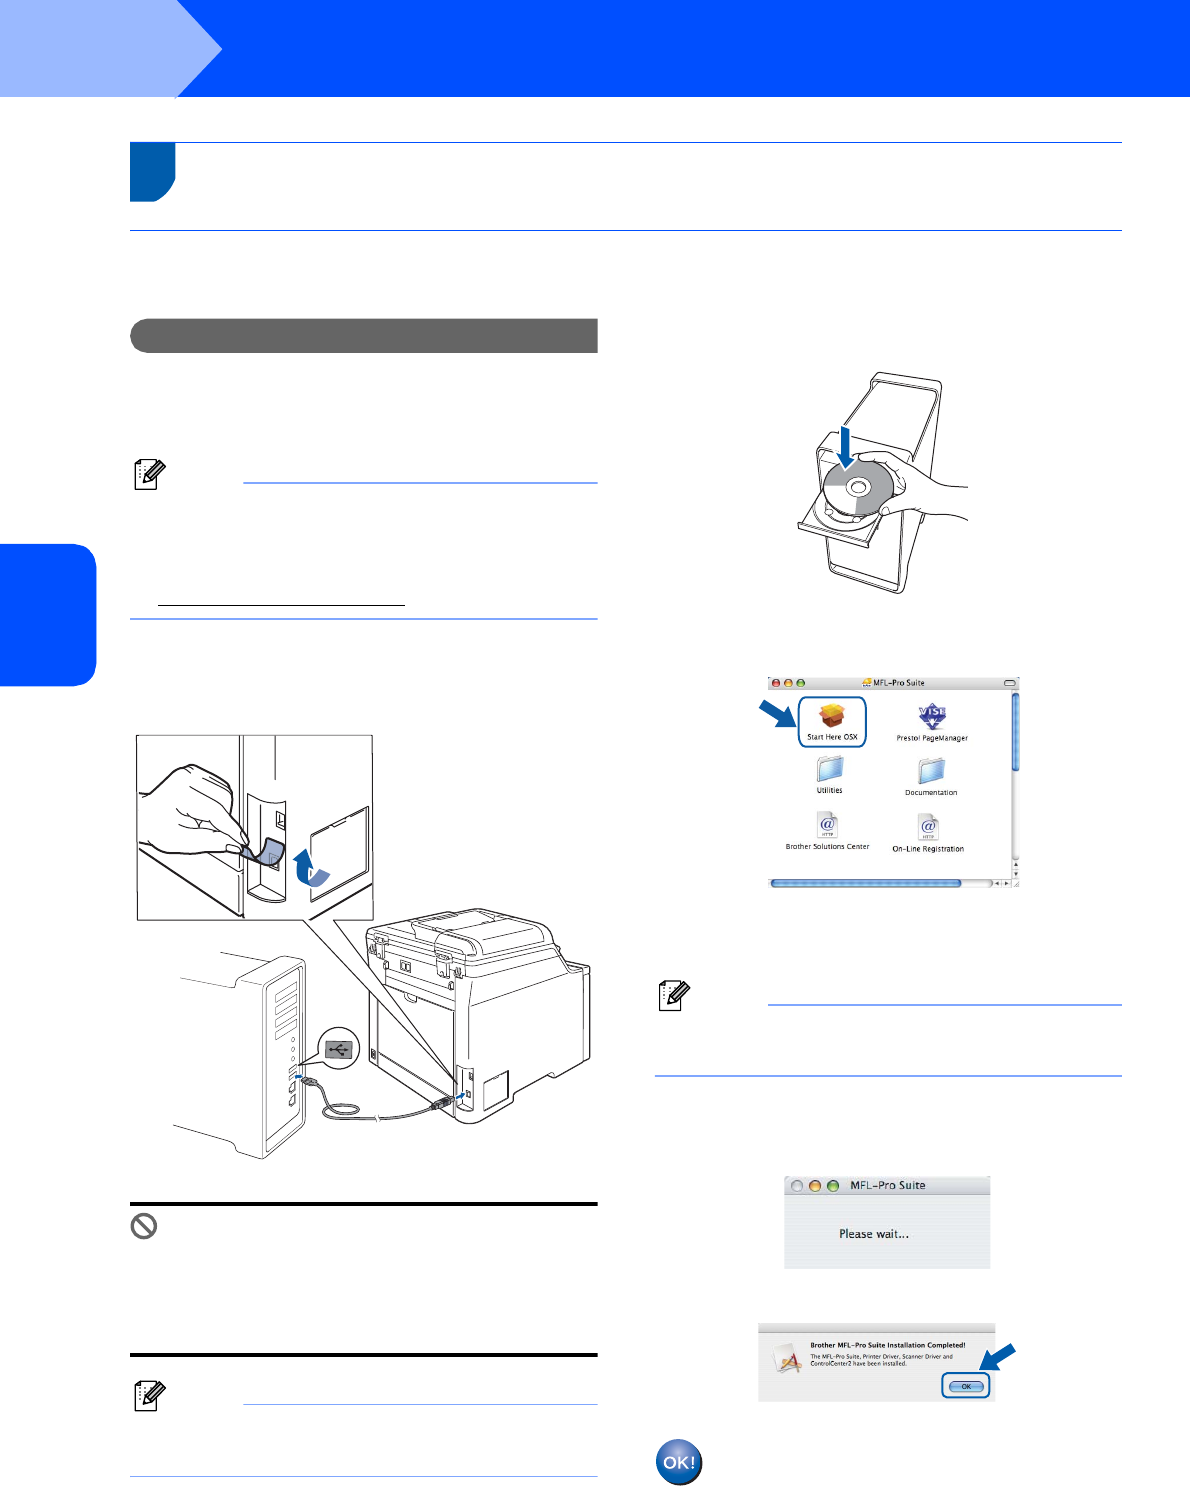
1 Remove the label covering the USB port on the
machine. Connect the interface cable to your
computer, and then connect it to the machine.
Improper Setup
DO NOT connect the machine to a USB port on
a keyboard or a non-powered USB hub.
Brother recommends that you connect the
machine directly to your computer.
Note
Make sure that the machine is turned on by
connecting the power cord.
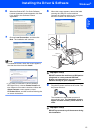
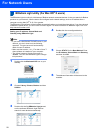
2 Turn on your Macintosh
®
.
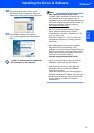
3 Put the supplied CD-ROM into your CD-ROM
drive.
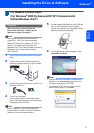
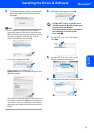
4 Double-click the Start Here OSX icon to install.
Follow the on-screen instructions.
Please wait, it will take a few seconds for the
software to install. After the installation, click
Restart to finish installing the software.
Note
Please see the Software User’s Guide on the
CD-ROM to install the PS driver.
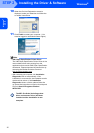
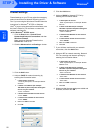
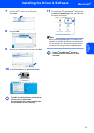
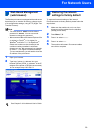
5 The Brother software will search for the Brother
device. During this time the following screen
will appear.
6 When this screen appears, click OK.
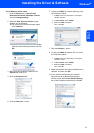
For Mac OS
®
X 10.3.x or greater users:
The MFL-Pro Suite, Brother printer driver,
scanner driver and Brother
ControlCenter2 have been installed and
the installation is now complete.
Go to step 11.