


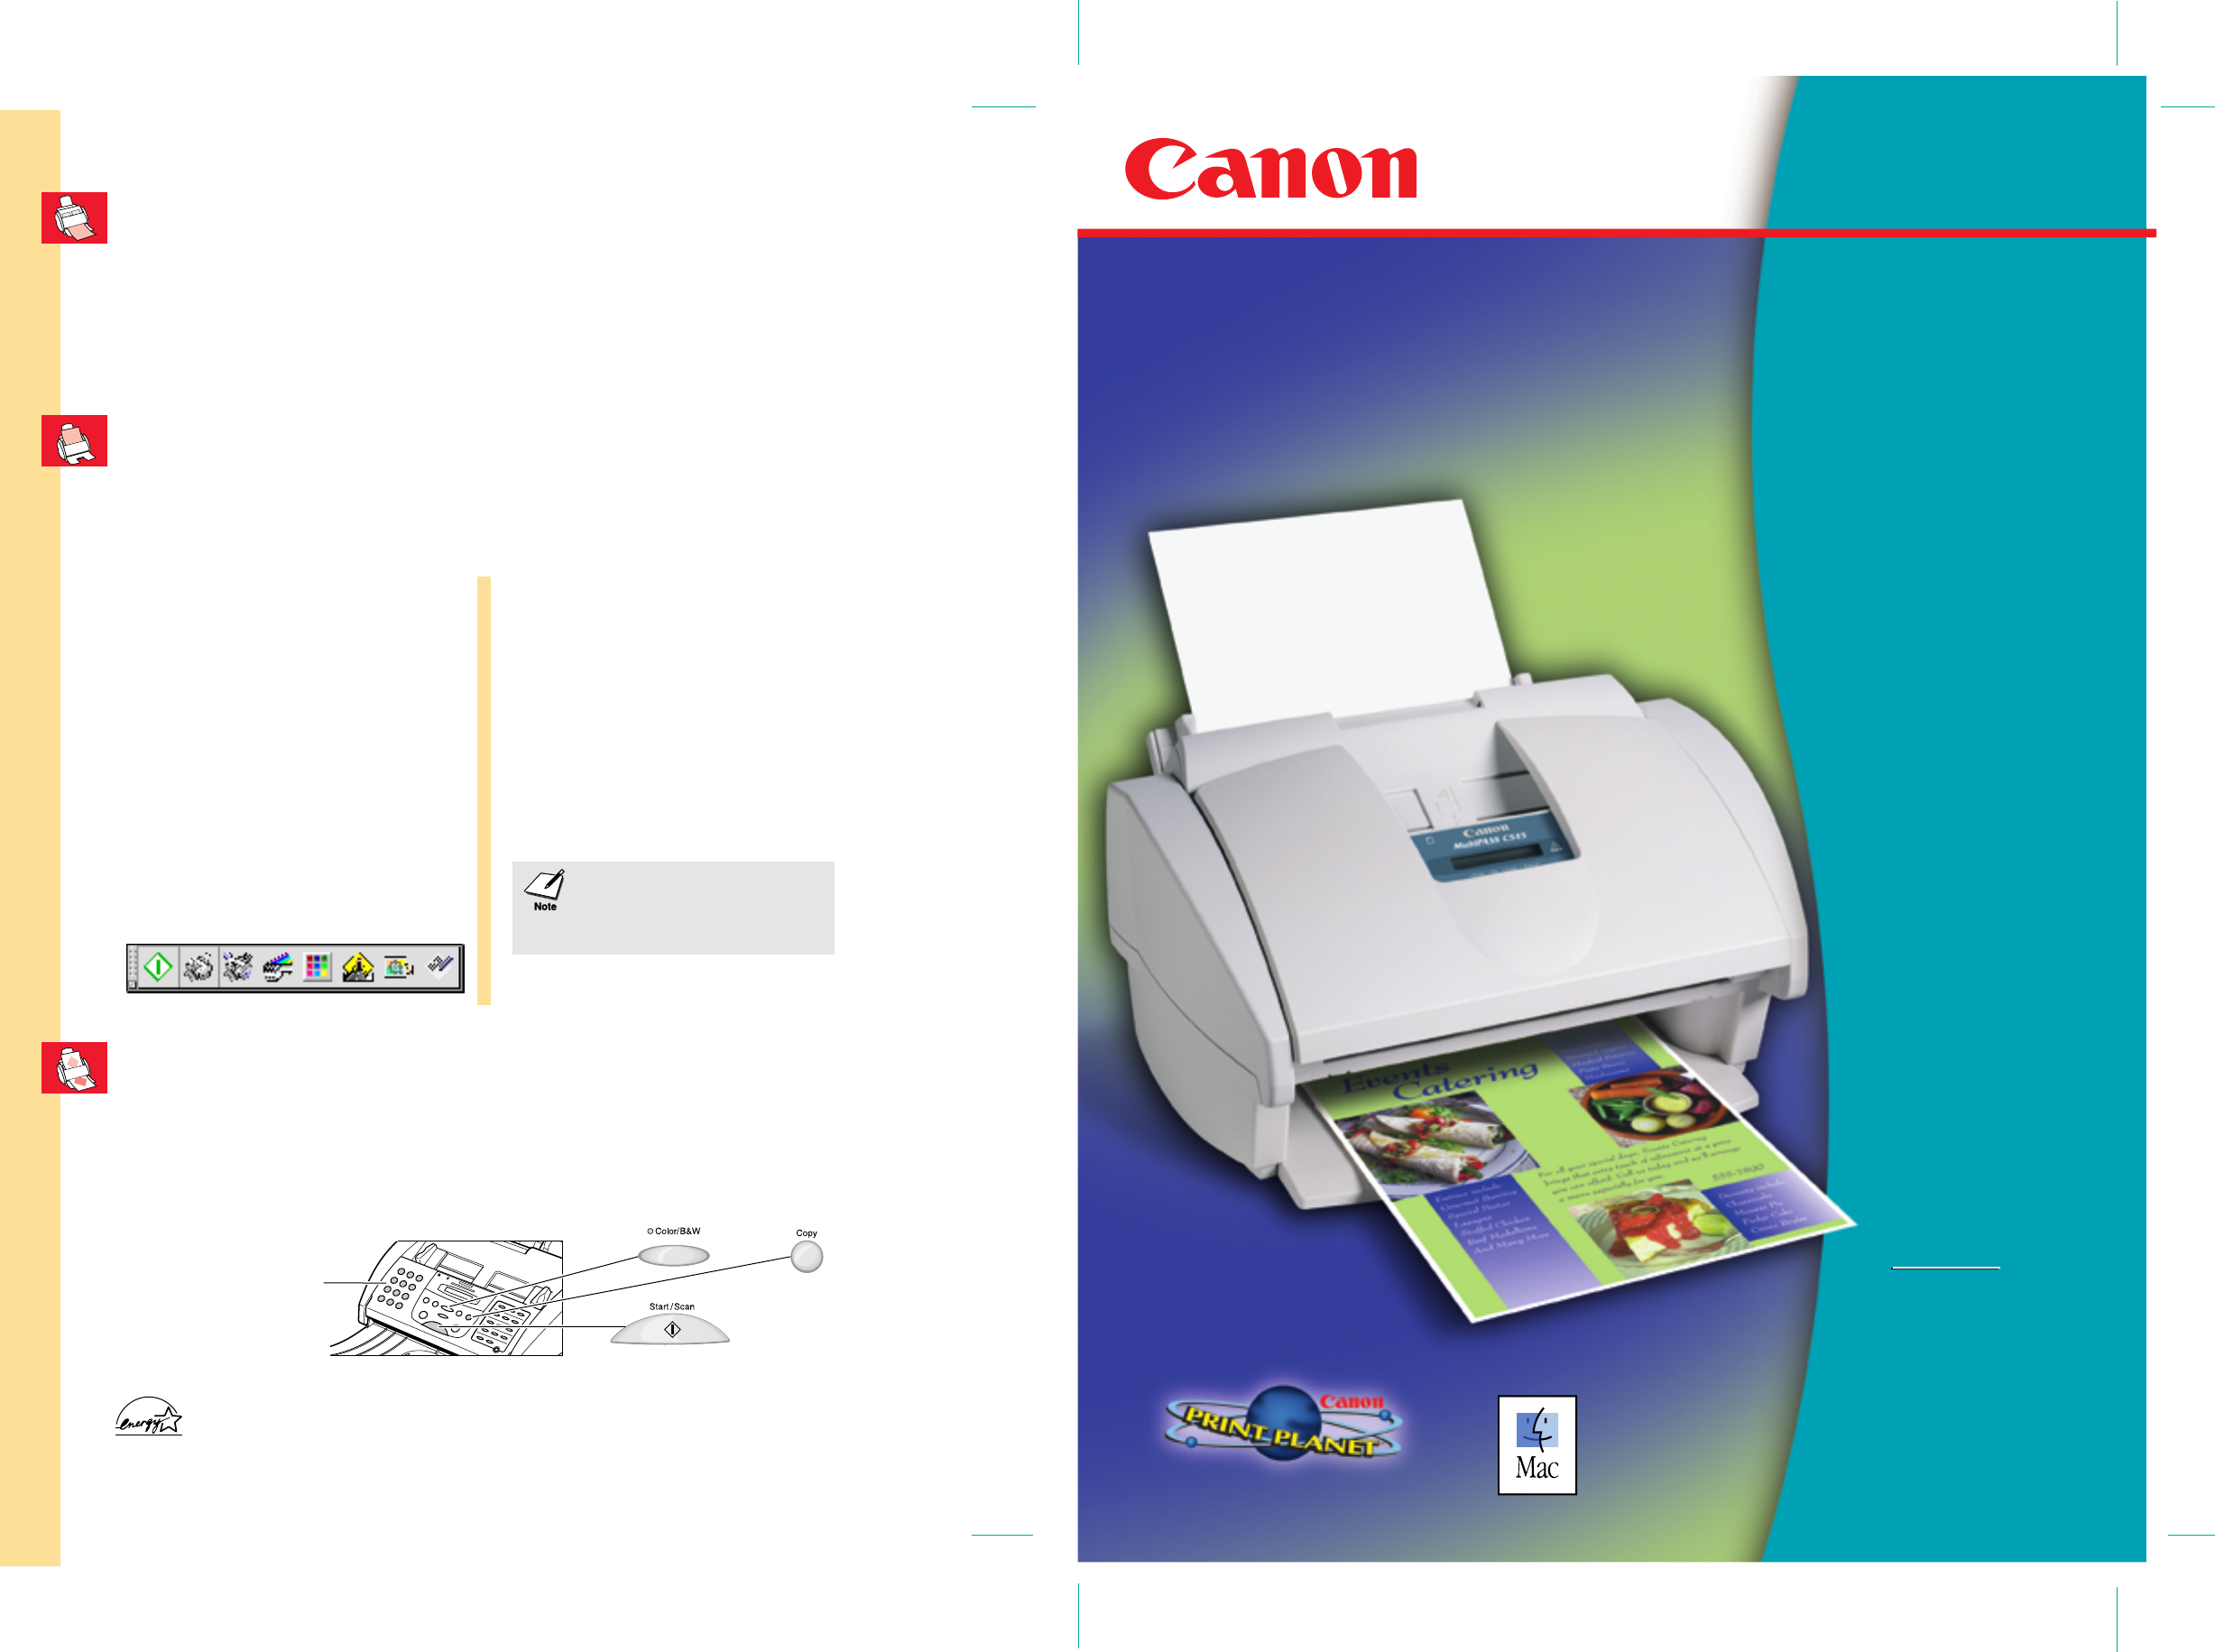
MultiPASS
™
C545
Qu i c k S ta rt G u i d e
MultiPASS
™
C545
Color Bubble Jet
™
Printer • Fax
Copier • Scanner
A Universe of Creative Projects
www.canonprintplanet.com
IMPORTANT
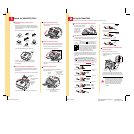
Follow the steps
in this Quick Start
Guide to unpack
and set up your new
MultiPASS C545
multifunction printer.
IMPORTANT
Follow the steps
in this Quick Start
Guide to unpack
and set up your new
MultiPASS C545
multifunction printer.
Printed in U.S.A.
CST-5257-000
30-32236-0100
ENERGY STAR
®
Compliant
©2000 Canon Computer Systems, Inc. BCI, BJ, Bubble Jet and MultiPASS are trademarks of Canon Inc.
Print Planet is a service mark of Canon Computer Systems, Inc. Mac and the Mac logo are trademarks of
Apple Computer, Inc., registered in the U.S. and other countries. All other products and brand names are
trademarks of their respective owners.
Faxing or Scanning an Image or Document
Scanning With the MultiPASS Toolbar
Use the MultiPASS Toolbar to scan a document
directly into an application.
If you installed Canon Photo and TextBridge
Pro, or if PictureViewer and SimpleText are
on your system, just click any of the application
buttons to scan directly into that application.
To customize the default settings associated
with a Toolbar button, click and hold the
button. To add an application to the Toolbar,
drag the application icon onto the Toolbar.
The Toolbar appears automatically. If you quit
the Toolbar, relaunch it by selecting MultiPASS
Toolbar from the Apple menu.
Scanning With ScanTastic or Other Applications
To set more detailed scan options, click the ScanTastic Central
button on the Toolbar, or select ScanTastic Central from the Apple
menu. You can also use ScanTastic as a plug-in, to scan directly
to applications that support the Adobe Photoshop plug-in standard.
Scanning With the Start/Scan Button
You can insert a document into the ADF and press the Start/Scan
button on the operator panel on the front of the MultiPASS. The
factory default setting for this button is to scan into Canon Photo,
if you have it installed. To customize the scan settings and scan
destination, click and hold the Start/Scan button on the Toolbar.
See your online MultiPASS Desktop Manager Software Guide for
complete details on using the Toolbar and ScanTastic.
To scan, load the image or document in the Automatic Document Feeder (ADF). Scan the document in the following ways.
The MultiPASS Toolbar must be
running to a scan with the
Start/Scan button on the operator
panel of the MultiPASS.
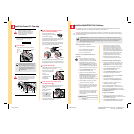
Printing an Image or Document
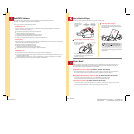
Copying an Image or Document
To copy an image or a document, make sure you have paper loaded in the sheet feeder. Next, place the image or
document you want to copy face-down in the ADF. On the operation panel, press the Copy button and then press the
Start/Scan button. (To make multiple copies, press Copy, enter the number of copies with the numeric buttons, and
then press Start/Scan. To make one color copy, press Color so the light comes on, press Copy, and then press Start/Scan.
See your online MultiPASS C545 User's Manual for details.)
Numeric Buttons
For faxing, you load the document face-down in the Automatic Document Feeder (ADF), dial the number you are
faxing to, and then press the Start/Scan button on the MultiPASS.
To print an image or a document, make sure you have paper loaded in the multi-purpose tray. Start the application
that you used to create the image or document. Make sure the Canon MultiPASS C545 printer is selected as your default
printer in the Chooser. In the application, choose Print or Page Setup from the File menu. Specify any special printing
options, then click Print to start the print job. See your online MultiPASS Desktop Manager Software Guide for details.